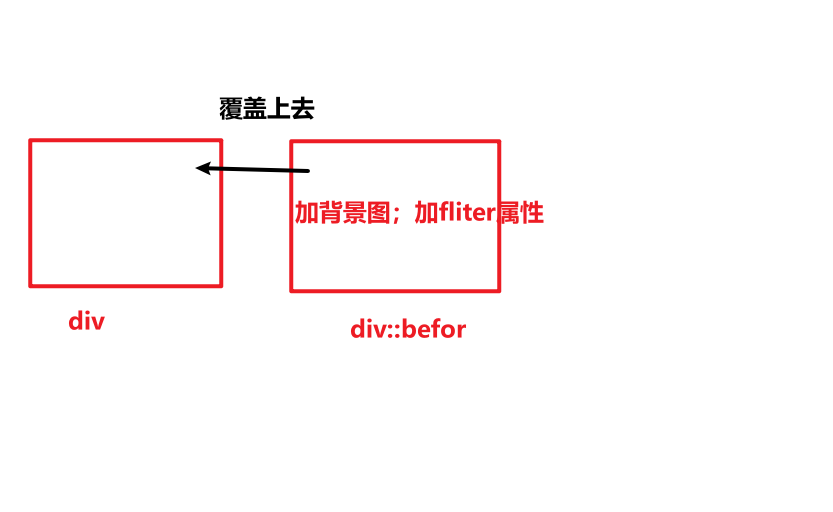
实现毛玻璃重点是利用filter属性的blur。原理是,可以给一个基础盒子的伪元素设置毛玻璃滤镜,再给伪元素设置背景图,让伪元素完全覆盖在这个基础盒子之上。

代码:
<template>
<div class="high-quality">
</div>
</template>
<style scoped lang="less">
.high-quality{
position: relative;
width:100%;
height: 175px;
padding:14px;
display: flex;
border-radius: 10px;
overflow: hidden; //多余的毛玻璃部分隐藏
}
.high-quality:before{
position: absolute;
width: 100%;
height: 100%;
z-index:1;
top: 0;
left: 0;
bottom: 0;
right: 0;
content: '';
display: inline-block;
background: url('https://img2.baidu.com/it/u=2241564326,399361128&fm=253&fmt=auto&app=120&f=JPEG?w=300&h=300') no-repeat;
background-size:102% ;
background-position: center center;
border-radius: 10px;
filter: blur(20px); //增加毛玻璃
}
</style>
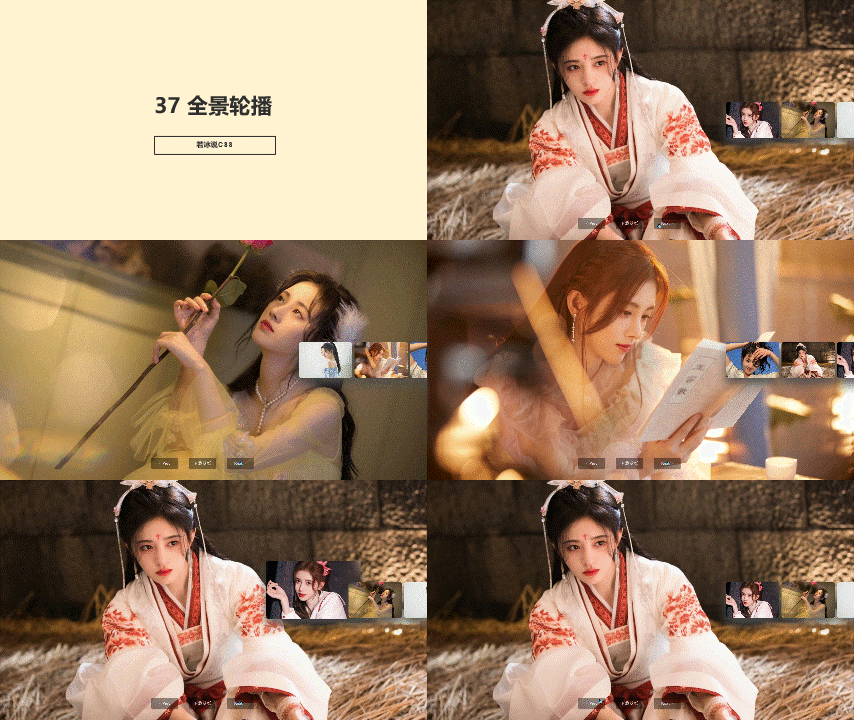
效果:

原文地址:https://blog.csdn.net/w1311004532/article/details/128062363
本文来自互联网用户投稿,该文观点仅代表作者本人,不代表本站立场。本站仅提供信息存储空间服务,不拥有所有权,不承担相关法律责任。
如若转载,请注明出处:http://www.7code.cn/show_41958.html
如若内容造成侵权/违法违规/事实不符,请联系代码007邮箱:suwngjj01@126.com进行投诉反馈,一经查实,立即删除!
声明:本站所有文章,如无特殊说明或标注,均为本站原创发布。任何个人或组织,在未征得本站同意时,禁止复制、盗用、采集、发布本站内容到任何网站、书籍等各类媒体平台。如若本站内容侵犯了原著者的合法权益,可联系我们进行处理。


