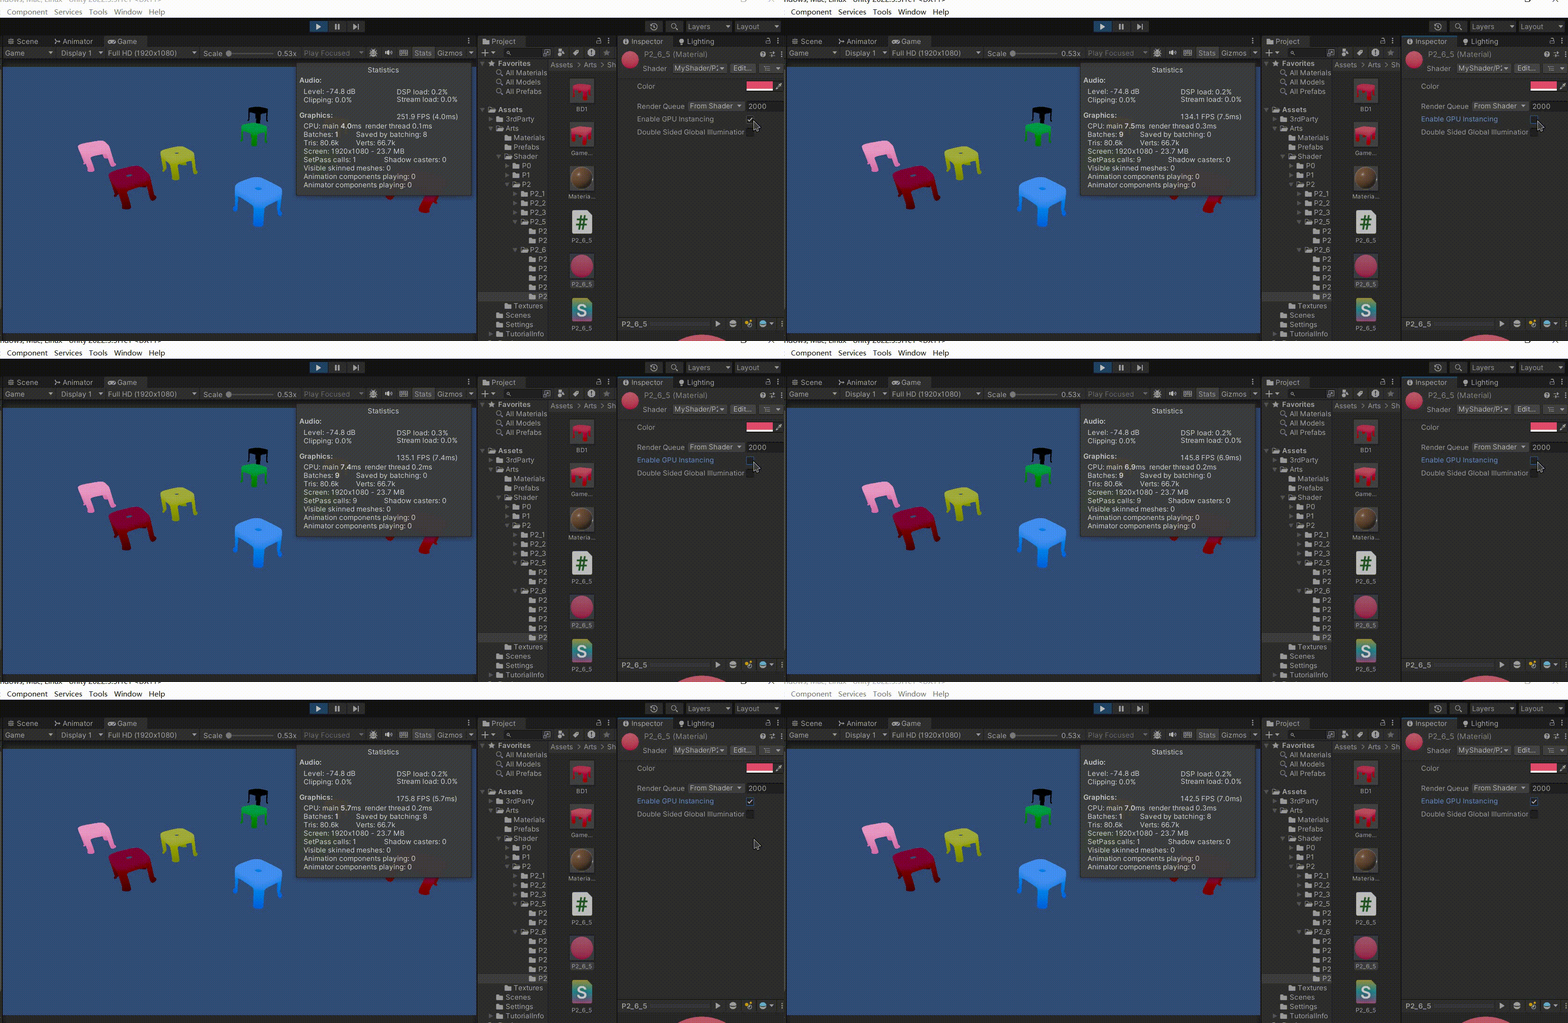
本文介绍: 我们在之前的文章中,实现了GPU实例化的支持,我们在这篇文章中来整理总结一下Unity中Batching优化的GPU实例化
文章目录
前言
我们在之前的文章中,实现了GPU实例化的支持,我们在这篇文章中来整理总结一下
一、GPU Instancing的支持
1、硬件支持
2、Shader支持
3、脚本支持
二、我们来顺着理一下GPU实例化的使用步骤
1、GPU实例化前的C#代码准备
2、在 appdata 和 v2f 中定义GPU实例化ID
3、在顶点着色 和 片元着色器 设置GPU Instance ID,使实例化对象顶点位置正确(设置后坐标变换矩阵就生效)
4、如果GPU实例化后,需要不同对象使用不同属性,Shader中GPU实例化怎么定义和使用属性。以及在C#脚本中使用材质属性块来修改材质属性
三、最终代码

Shader代码:
Shader "MyShader/P2_6_5"
{
    Properties
    {
        _Color("Color",Color) = (1,1,1,1)
    }
    SubShader
    {
        Tags { "RenderType"="Opaque" }
        LOD 100

        Pass
        {
            CGPROGRAM
            #pragma vertex vert
            #pragma fragment frag
            #pragma multi_compile_instancing
            #include "UnityCG.cginc"

            struct appdata
            {
                float4 vertex : POSITION;
                float2 uv : TEXCOORD0;
                //1、定义GPU实例化 ID
                UNITY_VERTEX_INPUT_INSTANCE_ID
            };

            struct v2f
            {
                float2 uv : TEXCOORD0;
                float4 pos : SV_POSITION;
                float3 worldPos : TEXCOORD4;
                //1、定义GPU实例化 ID
                UNITY_VERTEX_INPUT_INSTANCE_ID
            };

	        UNITY_INSTANCING_BUFFER_START(prop)
	        UNITY_DEFINE_INSTANCED_PROP(fixed4,_Color)
	        UNITY_INSTANCING_BUFFER_END(prop)

            v2f vert (appdata v)
            {
	            //2、设置GPU实例化ID,使实例化对象顶点位置正确
                UNITY_SETUP_INSTANCE_ID(v);
                v2f o;
	            UNITY_TRANSFER_INSTANCE_ID(v, o);
                o.pos = UnityObjectToClipPos(v.vertex);
                o.worldPos = mul(unity_ObjectToWorld,v.vertex);
                o.uv = v.uv;

                return o;
            }

            fixed4 frag (v2f i) : SV_Target
            {
                //2、设置GPU实例化ID,使实例化对象顶点位置正确
                UNITY_SETUP_INSTANCE_ID(i);
                return i.worldPos.y * 0.15 + UNITY_ACCESS_INSTANCED_PROP(prop,_Color);
            }
            ENDCG
        }
    }
}
C#代码:
using UnityEngine;

public class P2_6_5 : MonoBehaviour
{
    public GameObject Prefab;
    public int Count = 1;
    public int Range = 10;
    // Start is called before the first frame update
    void Start()
    {


        for (int i = 0;i < Count;i++)
        {
            Vector3 pos = Random.insideUnitCircle * Range;
            GameObject chair = Instantiate(Prefab,new Vector3(pos.x,0,pos.y),Quaternion.identity);
            Color color = new Color(Random.value,Random.value,Random.value);

            MaterialPropertyBlock prop = new MaterialPropertyBlock();
            prop.SetColor("_Color",color);
            chair.GetComponentInChildren<MeshRenderer>().SetPropertyBlock(prop);
        }
    }
}
原文地址:https://blog.csdn.net/qq_51603875/article/details/134883087
本文来自互联网用户投稿,该文观点仅代表作者本人,不代表本站立场。本站仅提供信息存储空间服务,不拥有所有权,不承担相关法律责任。
如若转载,请注明出处:http://www.7code.cn/show_51101.html
如若内容造成侵权/违法违规/事实不符,请联系代码007邮箱:suwngjj01@126.com进行投诉反馈,一经查实,立即删除!
声明:本站所有文章,如无特殊说明或标注,均为本站原创发布。任何个人或组织,在未征得本站同意时,禁止复制、盗用、采集、发布本站内容到任何网站、书籍等各类媒体平台。如若本站内容侵犯了原著者的合法权益,可联系我们进行处理。


