iOS 开发入门(Storyboard版)
1、项目工程的创建
打开Xcode后点击Create a new Xcode project

选择iOS下的App

Interface选择Storyboard,Language选择Swift

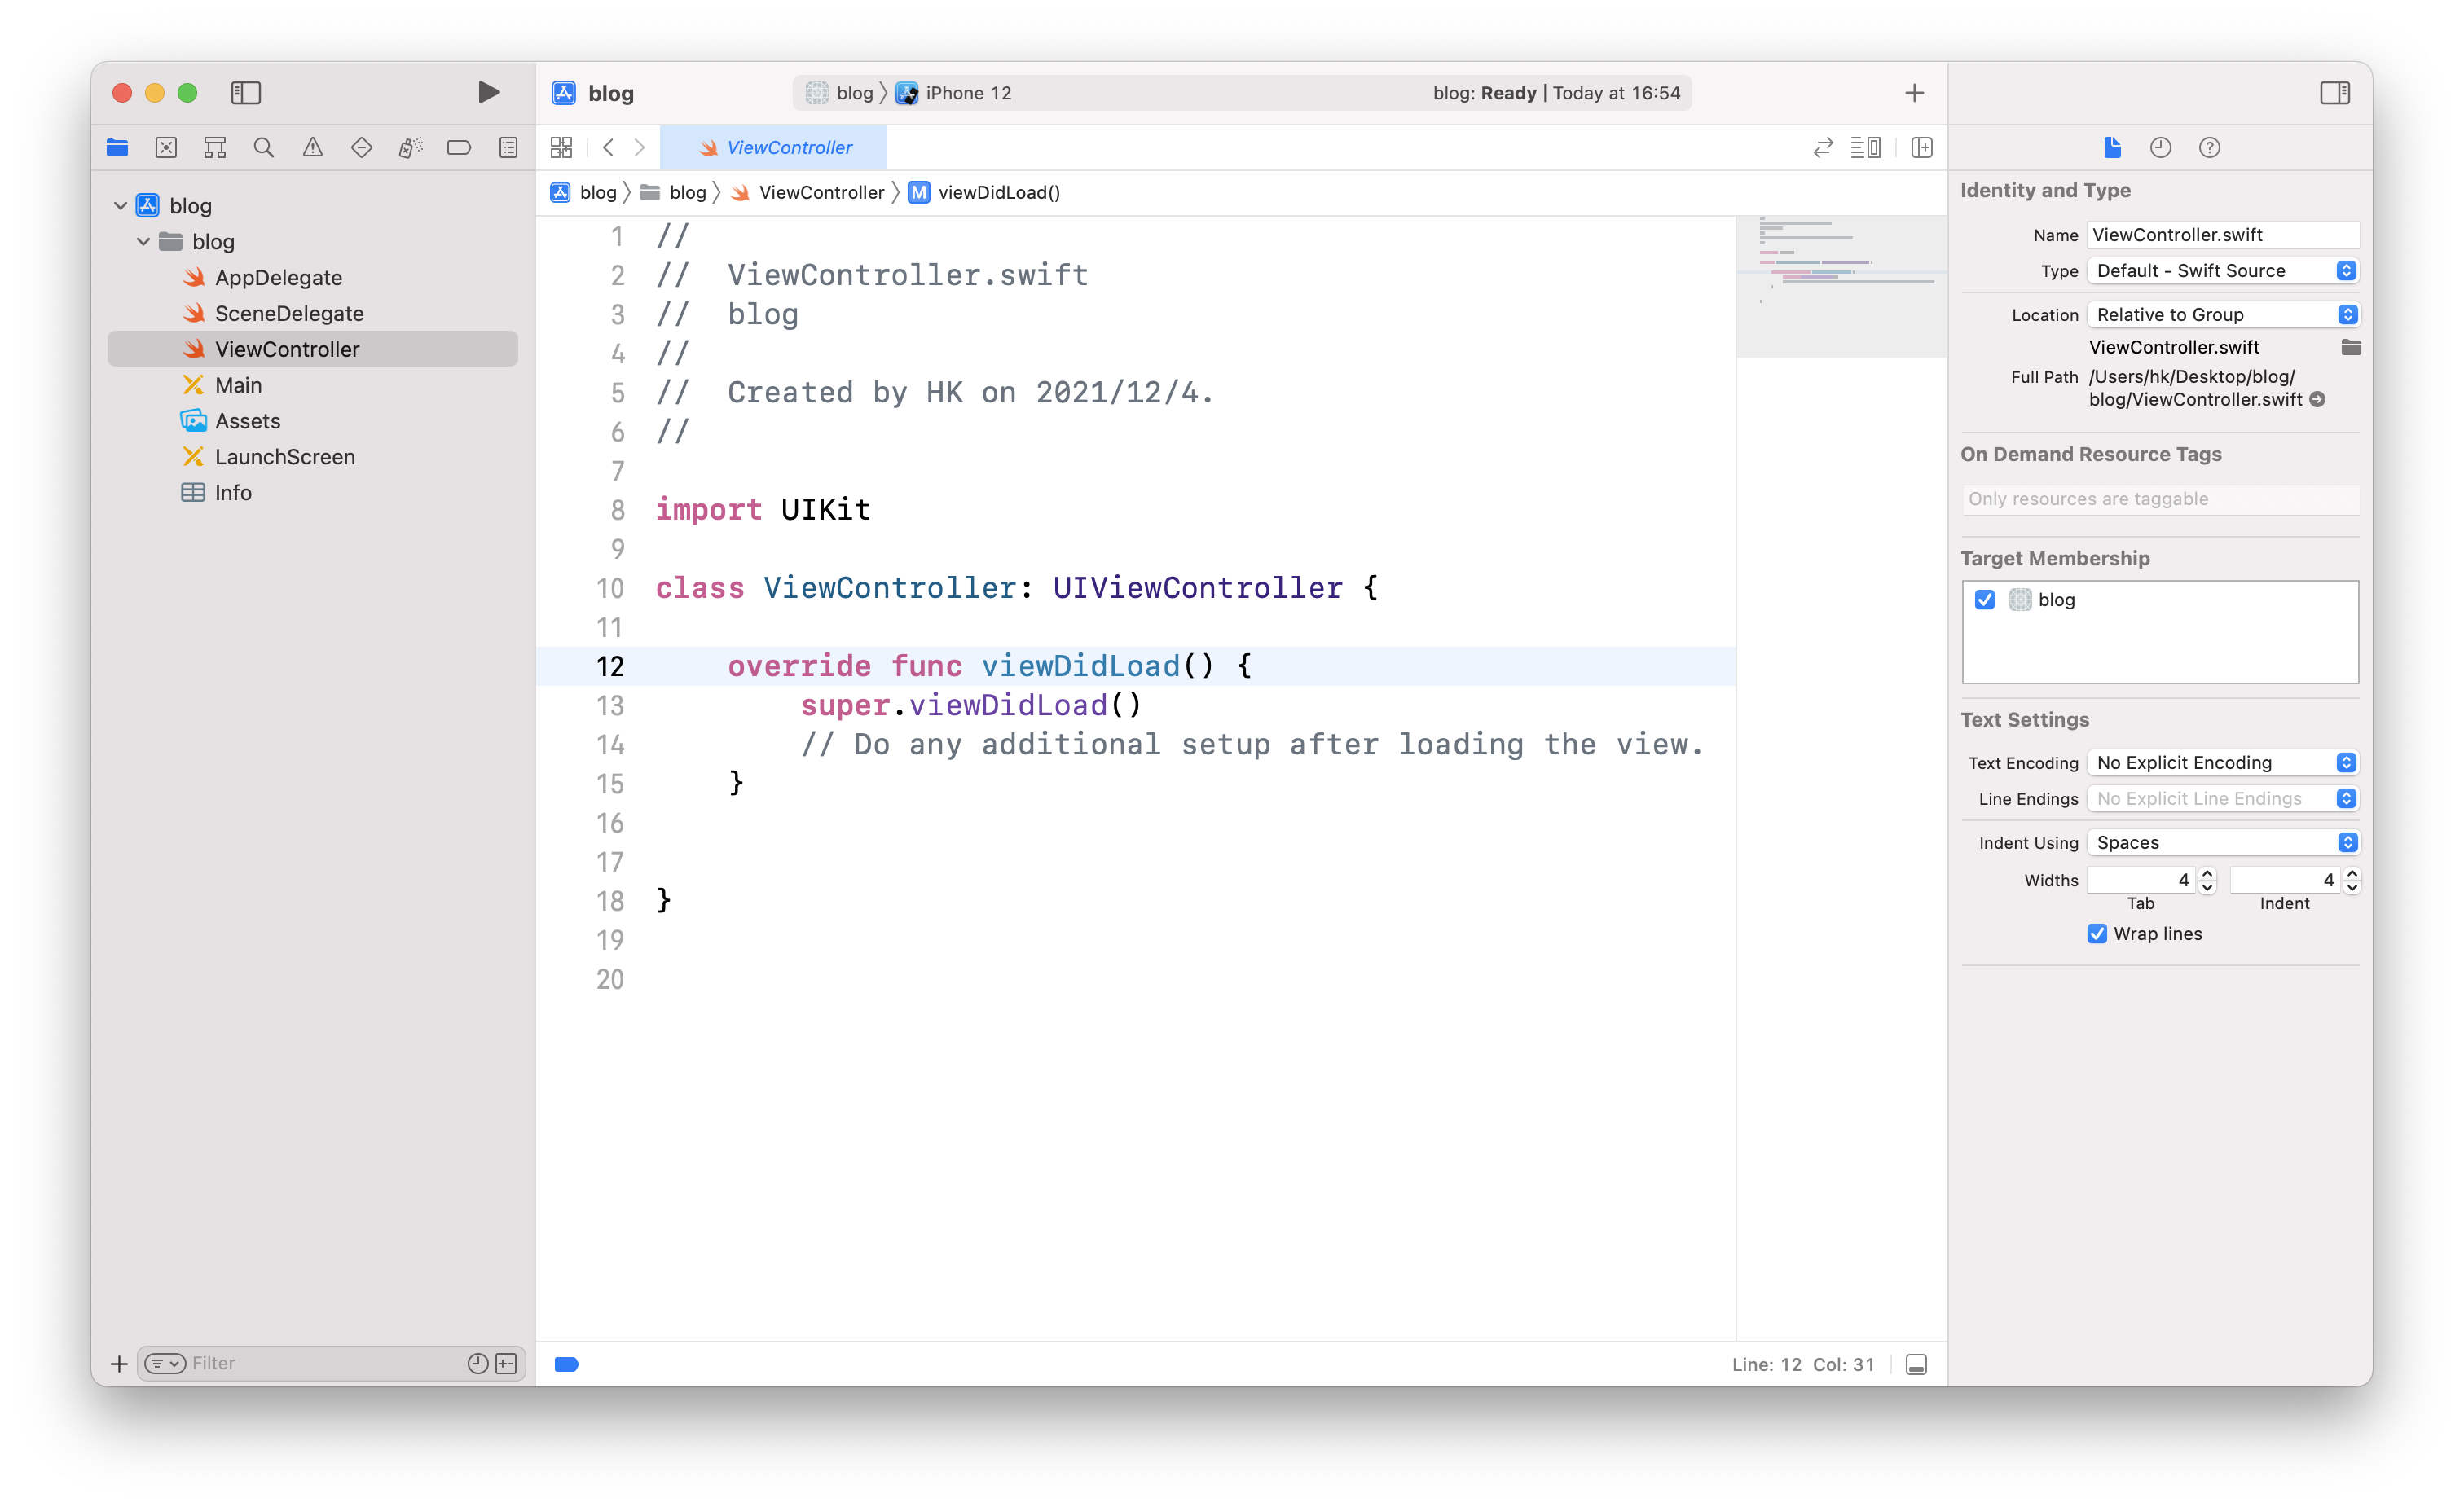
以storyboard方式创建一个项目文件后可以看到如下页面
2、以Storyboard方式给页面添加控件
点击左侧的Main文件,进入Storyboard界面,我们将在这里绘制这个App的界面。

分别选择一个Label、一个Button、一个TextField(可进行输入的文本框)拖入画布中,并在右侧窗口中对选中的控件进行设置,具体可以进行哪些设置大家可以自己探索一下。

由于接下来我们需要与Textfield和Button进行交互,所以需要在当前页面对应的ViewController中对其进行声明。点击右上角加号➕下的分屏按钮,同时打开Main和ViewController两个页面。将光标移动到对应的控件上,在按住control的同时点住鼠标向代码页拖动。

松开鼠标,建立控件与代码页的链接。将TextField的conncetion设为Outlet(插座变量),Button的connection设为Action(点击事件)。
//给Button绑定点击事件
@IBAction func confirm(_ sender: Any) {
  //点击Button所要实现的功能
}

//将TextField声明为插座变量
@IBOutlet weak var inputTextField: UITextField!
3、添加新页面
在文件目录中新建文件,可以选择以Cocoa Touch Class的方式创建UIViewController,命名为SecondViewController。

回到Main文件,点击右上角加号➕拖入一个新的View Controller页面。选中整个Controller,将右侧的Custom Class中的class设为刚才创建的SecondViewController,以建立代码文件对当前页面的控制。(由于上一个页面是自动创建的,默认与ViewController绑定,所以不需要我们手动设置)

4、Segue页面跳转和传值
(1)页面跳转
按住control的同时把Button向新建的页面拖动,可建立一个Storyboard Segue,设置其标识Identifier为nextPage。

让我们点击左上角的▶︎运行一下这个App,可以看到在点击Button后弹出了一个新页面。
(2)页面传值
在Main文件的第二个页面中添加一个新的Label用于展示传递过来的值,并在SecondViewController中添加如下代码。
import UIKit

class SecondViewController: UIViewController {

  	//viewDidLoad()方法中为当前页面加载时所要执行的操作
    override func viewDidLoad() {
        super.viewDidLoad()

      	//把message赋给Label的text以展示
        messageLabel.text = message
    }

  	//定义一个变量message用来存放传来的值
    var message : String?

  	//定义一个插座变量用于展示message
    @IBOutlet weak var messageLabel: UILabel!
}
import UIKit

class ViewController: UIViewController {

    override func viewDidLoad() {
        super.viewDidLoad()
        // Do any additional setup after loading the view.

    }

  	//segue传值
    override func prepare(for segue: UIStoryboardSegue, sender: Any?) {

      	//如果当前跳转的标识为"nextPage"
        if segue.identifier == "nextPage" {

          	//将SecondViewController实例化
            let secondVC = segue.destination as! SecondViewController

          	//将inputTextField中输入的内容传给SecondViewController中的message变量
            secondVC.message = inputTextField.text
        }
    }

    @IBOutlet weak var inputTextField: UITextField!
}
重新运行App,在TextField中输入“Hello World”,点击Button后在下一个页面上显示。


5、添加UITableView
在第二个页面中添加一个UITableView,并将其代理delegate和数据源dataSource都设置为当前页面。

在第二个页面的UITableView中添加一个Table View Cell,并新建一个TableViewCell文件用于控制cell。
选中拖入的Table View Cell控件,在右侧框中设置其Custom Class的Class为刚才新建的TableViewCell,设置其标识Identifier为”tableCell”。
在tableVeiwCell中添加一个Label,并在TableViewCell文件中定义这个Label的插座变量cellLabel。

回到SecondViewController文件中,添加以下代码。
import UIKit

//使SecondViewController类继承自UITableViewDelegate和UITableViewDataSource,以设置UITableView
class SecondViewController: UIViewController,UITableViewDelegate,UITableViewDataSource {

  	//该方法返回UITableView列表行数(numberOfRowsInSection)
    func tableView(_ tableView: UITableView, numberOfRowsInSection section: Int) -> Int {

      	//显示3行
        return 3
    }

  	//该方法返回UITableView每行所显示的UITableViewCell(ncellForRowAt)
    func tableView(_ tableView: UITableView, cellForRowAt indexPath: IndexPath) -> UITableViewCell {

      	//将刚才创建的标识为"tableCell"的UITableViewCell实例化
        let cell = tableView.dequeueReusableCell(withIdentifier: "tableCell", for: indexPath) as! TableViewCell

      	//将message赋给cell中cellLabel的text以展示
        cell.cellLabel.text = message

      	//返回该cell
        return cell
    }


    override func viewDidLoad() {
        super.viewDidLoad()

        // Do any additional setup after loading the view.
        messageLabel.text = message
    }

    var message : String?

    @IBOutlet weak var messageLabel: UILabel!
}
重新运行App,在TextField中输入”Hello World”后点击确定,可以看到跳转到下一页后显示了一个共有三行的UITableView。

在页面中添加一个返回Button,并在SecondViewController中绑定其触发事件。
@IBAction func dismiss(_ sender: Any) {
  	//销毁当前页面,返回上个页面
		dismiss(animated: true)
}
将第二个页面的显示方式改为Full Screen全屏显示。重新运行App,在第二个页面可通过点击按钮返回上个页面。

原文地址:https://blog.csdn.net/HHKKsdj/article/details/121746308
本文来自互联网用户投稿,该文观点仅代表作者本人,不代表本站立场。本站仅提供信息存储空间服务,不拥有所有权,不承担相关法律责任。
如若转载,请注明出处:http://www.7code.cn/show_16297.html
如若内容造成侵权/违法违规/事实不符,请联系代码007邮箱:suwngjj01@126.com进行投诉反馈,一经查实,立即删除!