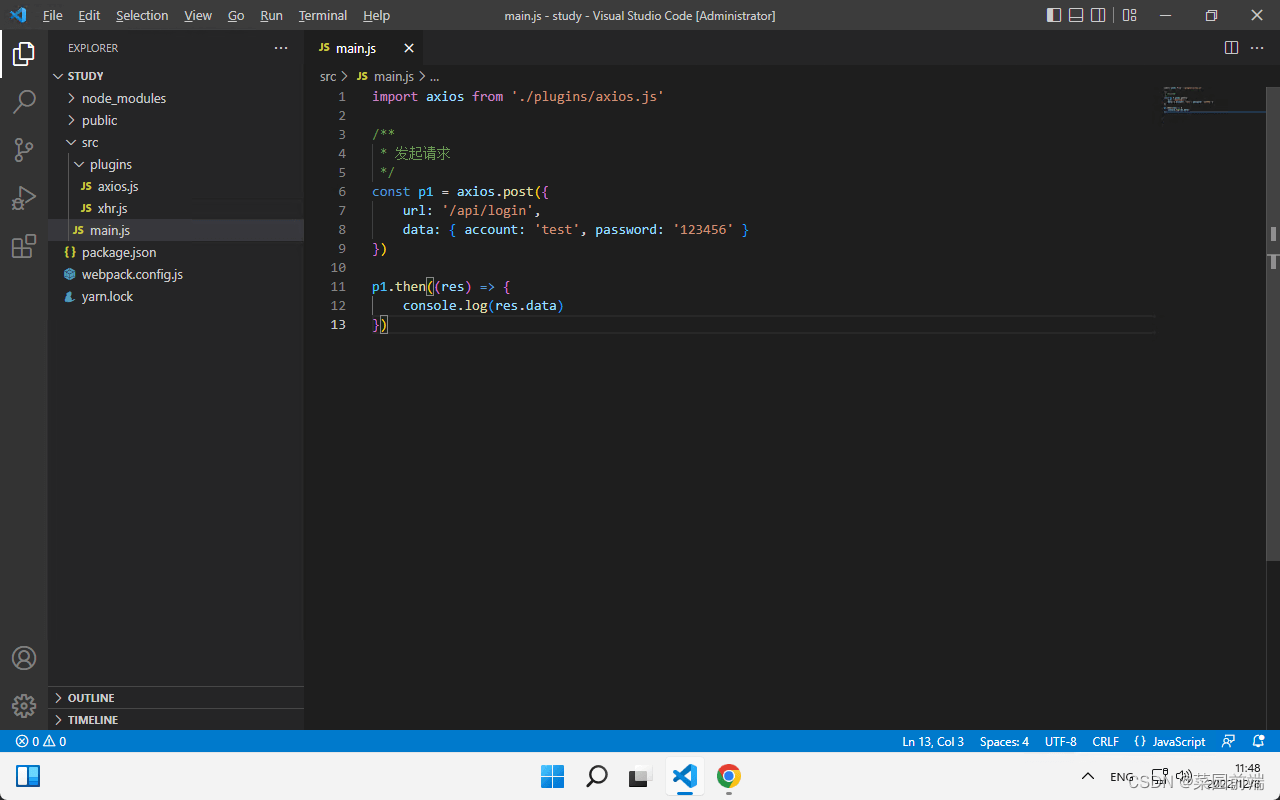
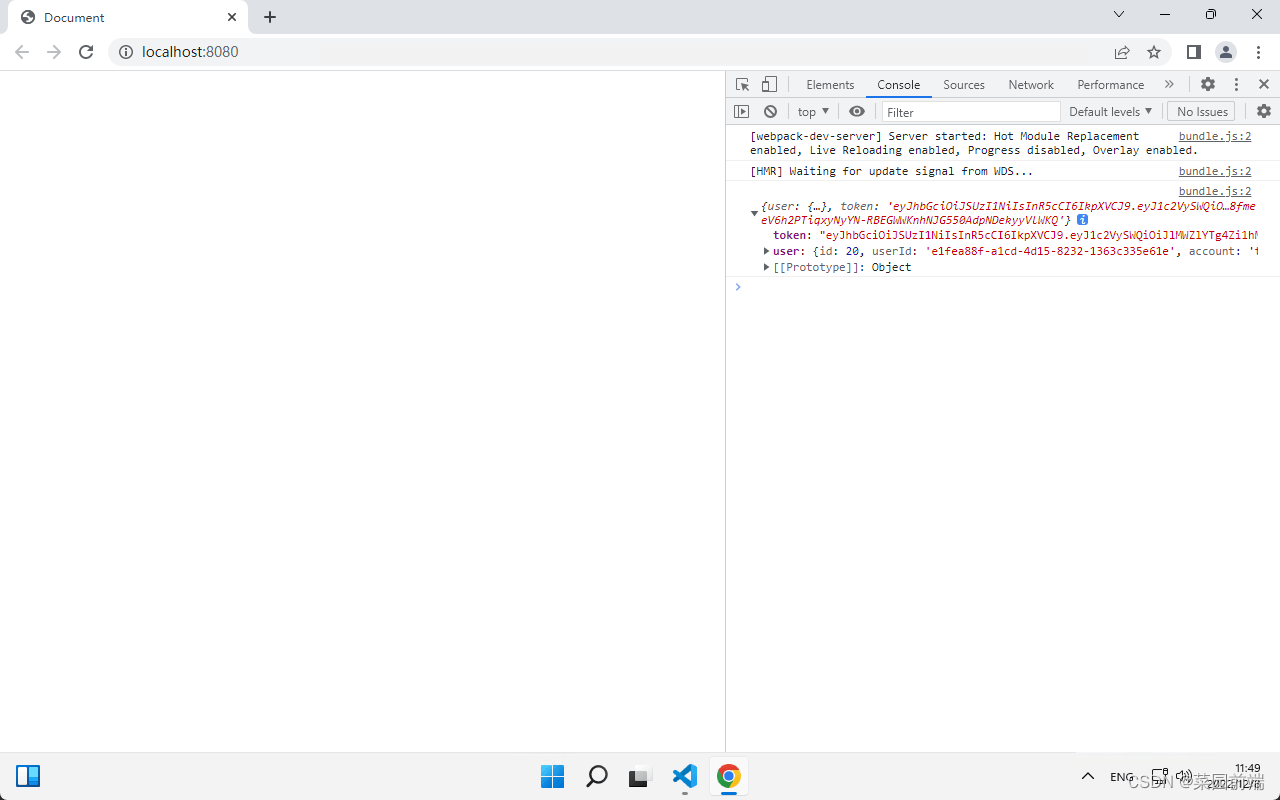
上面我们讲到二次封装 axios ,但是现在我们尝试完全脱离 axios,自己实现一个 axios,由于 axios 底层是基于 xhr 做了二次封装,所以我们也可以尝试一下。
/**
 * 请求拦截器队列
 * 响应拦截器队列
 */
const request = []
const response = []

/**
 * xhr 封装
 */
function axios(config) {
    return new Promise((resolve) => {
        request.forEach((fn) => (config = fn(config)))

        const { method, url, data, headers } = config

        /**
         * 新建请求
         */
        const xhr = new XMLHttpRequest()
        xhr.open(method, url)

        /**
         * 设置请求头
         */
        for (const key in headers) {
            xhr.setRequestHeader(key, headers[key])
        }

        /**
         * 发送请求
         */
        xhr.send(data)

        /**
         * 监听返回值
         */
        xhr.onreadystatechange = () => {
            if (!(xhr.readyState === 4 && xhr.status === 200)) return

            let data = JSON.parse(xhr.responseText)

            response.forEach((fn) => (data = fn(data)))

            resolve(data)
        }
    })
}

/**
 * 拦截器定义
 */
axios.interceptors = {
    request: {
        use: (fn) => {
            request.push(fn)
        }
    },
    response: {
        use: (fn) => {
            response.push(fn)
        }
    }
}

export default axios
import axios from './xhr'
import qs from 'qs'

/**
 * 请求拦截器
 */
axios.interceptors.request.use((config) => {
    config.data = qs.stringify(config.data)

    return config
})

/**
 * 响应拦截器
 */
axios.interceptors.response.use((response) => {
    if (response.code !== 200) {
        alert('接口响应失败')
    }

    return response
})

/**
 * 接口请求方法
 */
const request = (method, option) => {
    return axios({
        method: method,
        url: 'https://study.noxussj.top' + option.url,
        data: option.data,
        headers: {
            'Content-Type': 'application/x-www-form-urlencoded'
        }
    })
}

export default {
    get: (option) => request('get', option),
    post: (option) => request('post', option),
    put: (option) => request('put', option)
}
import axios from './plugins/axios.js'

/**
 * 发起请求
 */
const p1 = axios.post({
    url: '/api/login',
    data: { account: 'test', password: '123456' }
})

p1.then((res) => {
    console.log(res.data)
})


原文地址:https://blog.csdn.net/qq2603375880/article/details/132540070
本文来自互联网用户投稿,该文观点仅代表作者本人,不代表本站立场。本站仅提供信息存储空间服务,不拥有所有权,不承担相关法律责任。
如若转载,请注明出处:http://www.7code.cn/show_11713.html
如若内容造成侵权/违法违规/事实不符,请联系代码007邮箱:suwngjj01@126.com进行投诉反馈,一经查实,立即删除!