一、Anaconda的安装
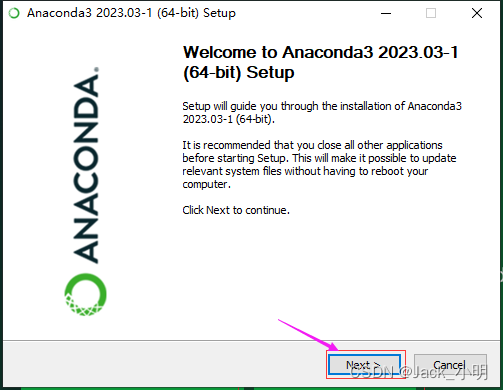
步骤1:访问Anaconda官网,点击Download,下载Anaconda软件安装包。

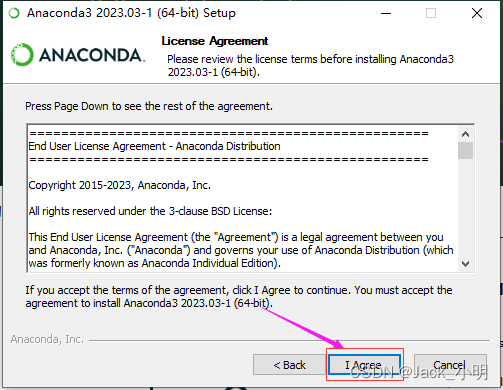
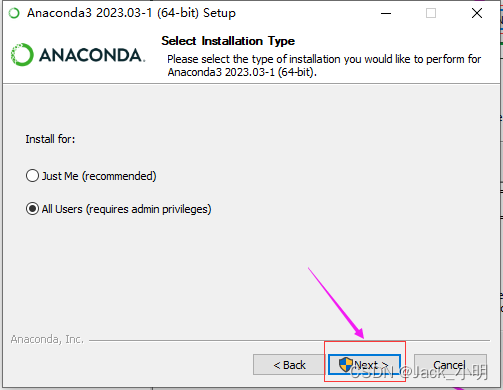
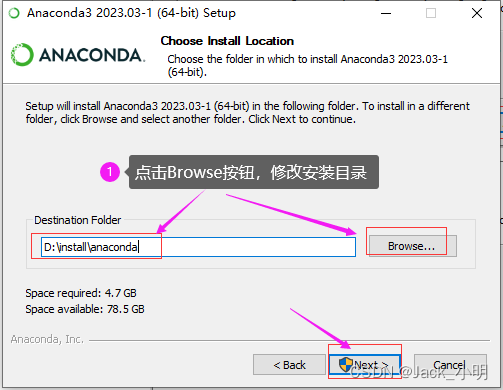
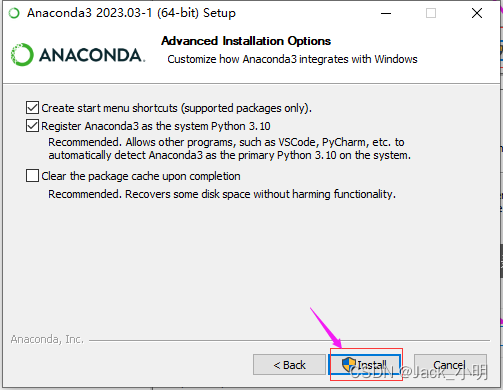
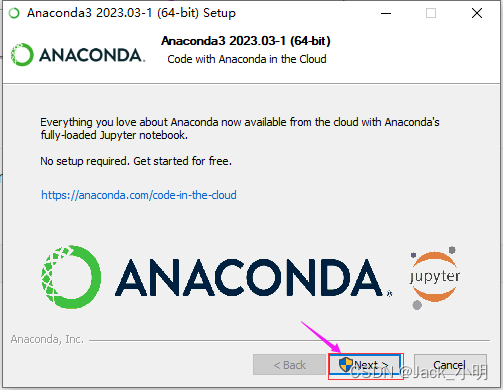
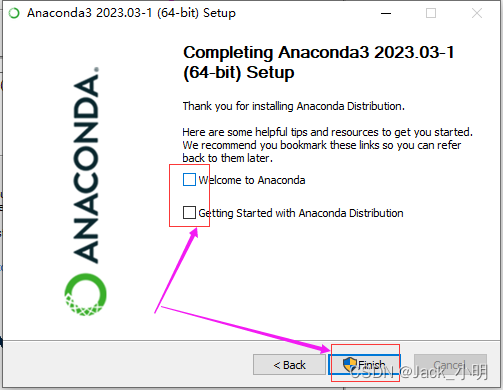
步骤2:双击刚下载好的anaconda软件安装包,按照提示进行下一步操作即可。
二、安装labelme
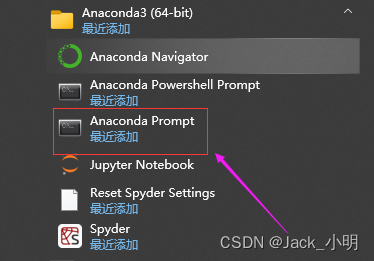
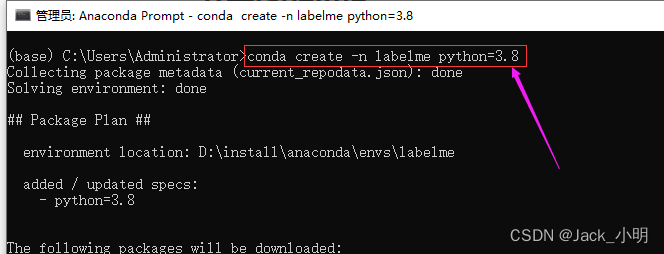
步骤1:打开Anaconda Prompt,然后执行下面的命令,创建 labelme虚拟环境
conda create -n labelme python=3.8
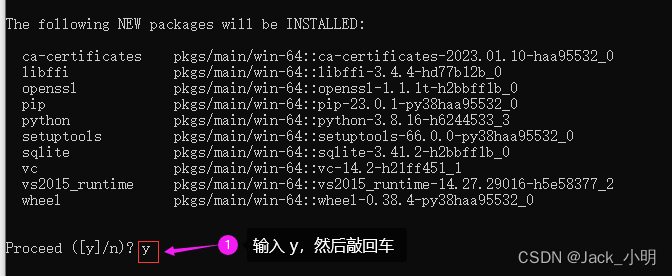
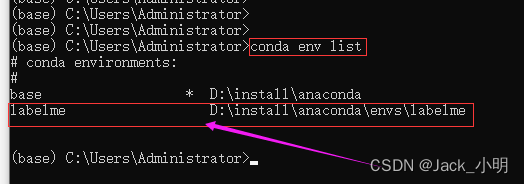
步骤2:输入下面的命令,检查labelme是否下载成功,如果有如下图所示的打印,说明labelme已经安装成功。
conda env list
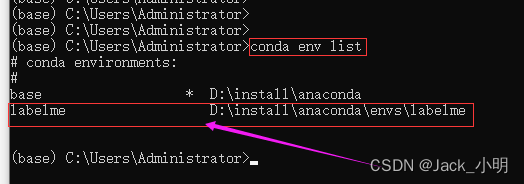
步骤3:执行下面的命令,激活labelme虚拟环境,当命令行的最前面出现(labelme),就说明labelme虚拟环境已经被激活了。
conda activate labelme

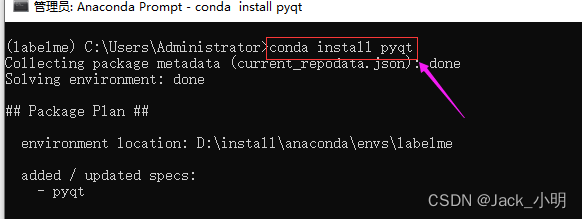
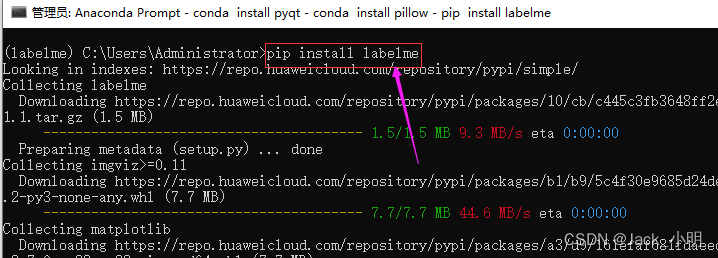
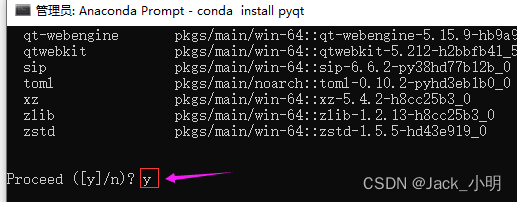
步骤4:分步指行下面的命令,下载并安装labelme已经依赖软件包。如果中间提示([y]/n) ?的时候,输入 y,然后回车即可。
conda install pyqt

conda install pillow

pip install labelme
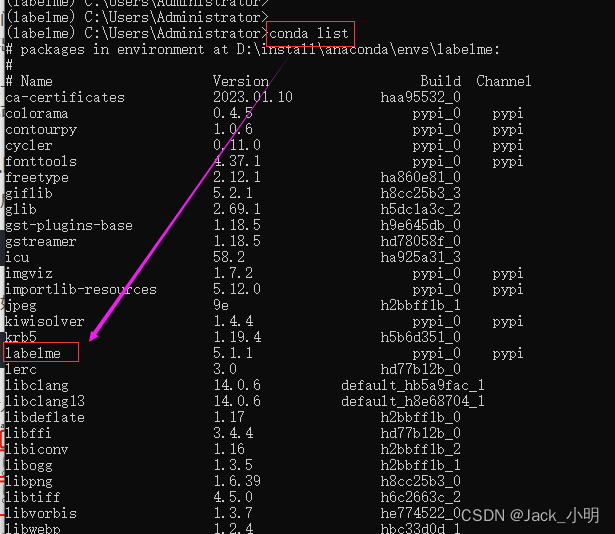
conda list
三、打开labelme
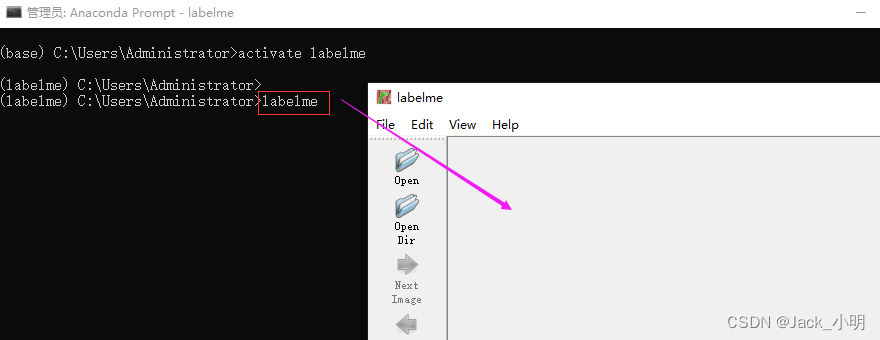
步骤1:执行下面的命令,激活labelme虚拟环境,以后每次打开anaconda prompt,或者命令行的最前面不是(labelme),都需要执行这条命令。
activate labelme

步骤2:执行下面的命令,然后敲回车,就可以打开labelme工具了。
labelme
四、使用labelme进行图片标注
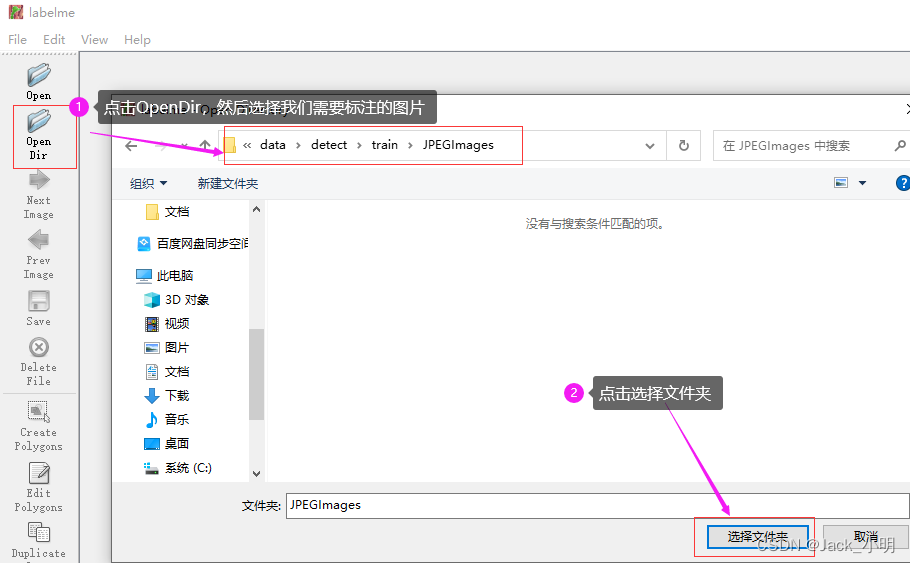
步骤1:点击OpenDir按钮,然后选择我们需要标注的图片的路径,然后再点击右下角的选择文件夹按钮。
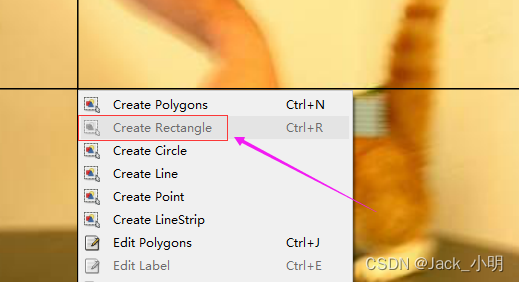
步骤2:将鼠标放在图片上面,然后鼠标右键,选择 Create Rectangle
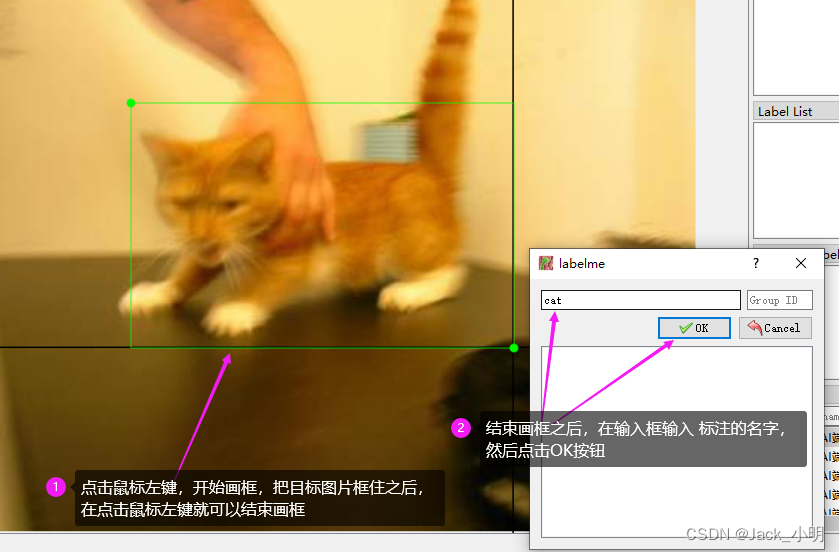
步骤3:点击鼠标左键,开始画框,把目标图片框住之后,再点击鼠标左键,结束画框,此时会弹出一个对话框,可以在输入框中输入你标注的目标的名字,如果是猫的话,就输入cat,如果是狗的话,就输入dog,然后点击OK按钮即可。
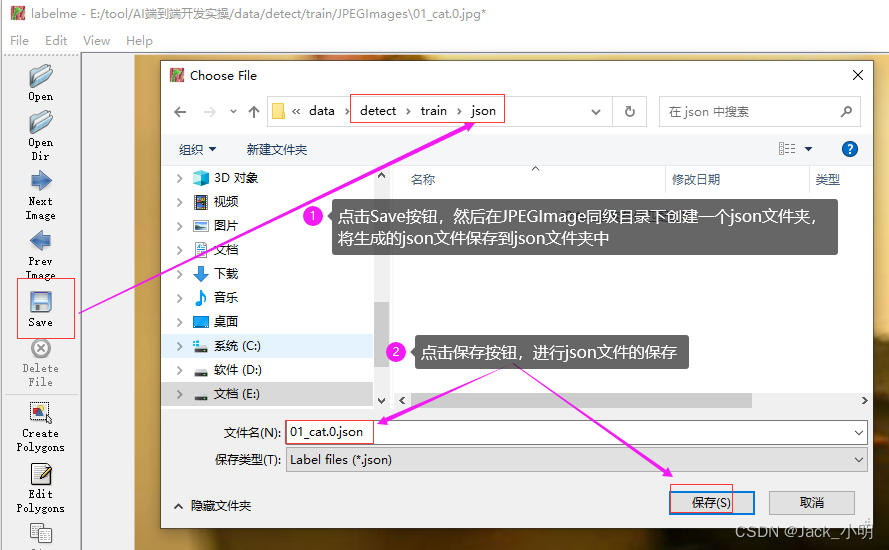
步骤4:点击Save按钮,进行json标注文件的保存,首先在JPEGImage同级目录下创建一个json文件夹,然后把标注生成的json文件保存到该json文件中,点击保存按钮,即可进行保存。
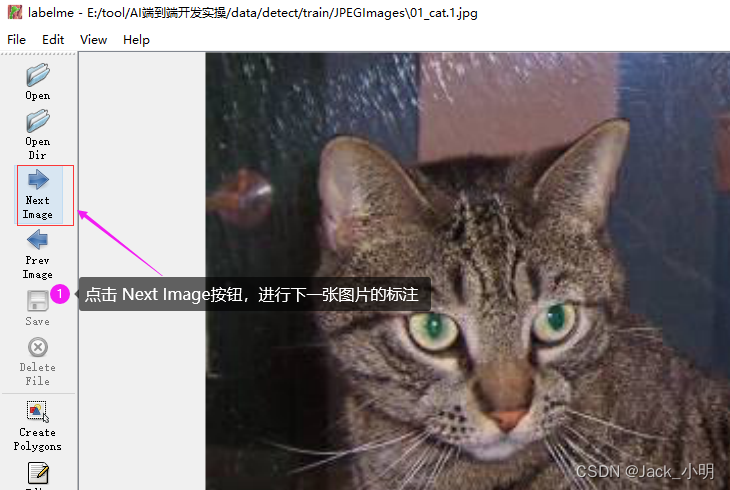
步骤5:点击Next Image按钮,进行下一张图片的标注。
五、数据标注的归一化处理
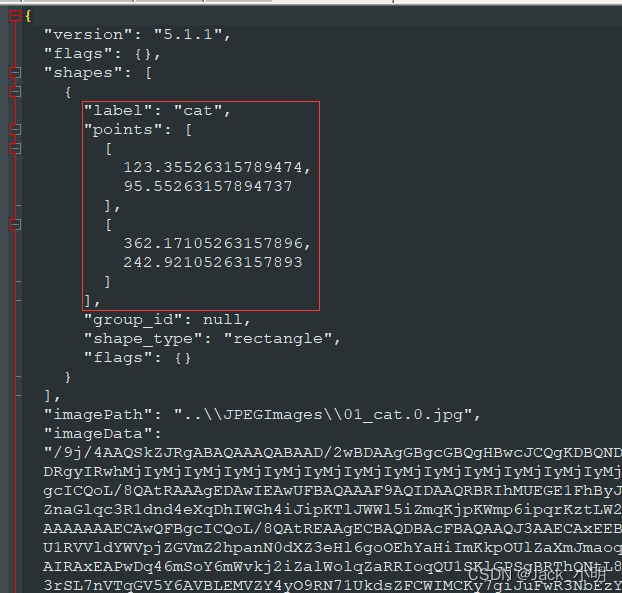
Class id    center_x    center_y    w    h
对数据格式解释如下:
Class id:表示标注框的类别,从0开始计算,当前只要手部1类检测物体,故Class id全为0;
center_x:表示归一化后的手部框中心点坐标的X值。归一化坐标 = 实际坐标 / 整个图片宽
center_y:表示归一化后的手部框中心点坐标的Y值。归一化坐标 = 实际坐标 / 整个图片高
w:表示归一化后的手部框的宽。归一化长度 = 实际长度 / 整个图片宽
h:表示归一化后的手部框的高。归一化长度 = 实际长度 /整个图片高
步骤1:创建一个 json_to_txt.py文件,然后将下面的代码复制到json_to_txt.py文件中。然后根据自己的数据集路径及数据集名称,修改代码。
# 处理labelme多边形矩阵的标注  json转化txt
import json
import os

name2id = {'cat': 0, 'dog': 1} #此处需要根据你自己的数据集类型进行修改

def convert(img_size, box):
    dw = 1. / (img_size[0])
    dh = 1. / (img_size[1])
    x = (box[0] + box[2]) / 2.0
    y = (box[1] + box[3]) / 2.0
    w = abs(box[2] - box[0])
    h = abs(box[3] - box[1])
    x = x * dw
    w = w * dw
    y = y * dh
    h = h * dh
    return (x, y, w, h)


def decode_json(json_floder_path, txt_outer_path, json_name):
    txt_name = txt_outer_path + json_name[:-5] + '.txt'
    with open(txt_name, 'w') as f:
        json_path = os.path.join(json_floder_path, json_name)  # os路径融合
        data = json.load(open(json_path, 'r', encoding='gb2312', errors='ignore'))
        img_w = data['imageWidth']  # 图片的高
        img_h = data['imageHeight']  # 图片的宽
        isshape_type = data['shapes'][0]['shape_type']
        print(isshape_type)
        for i in data['shapes']:
            label_name = i['label']  # 得到json中你标记的类名
            if (i['shape_type'] == 'polygon'):  # 数据类型为多边形 需要转化为矩形
                x_max = 0
                y_max = 0
                x_min = 100000
                y_min = 100000
                for lk in range(len(i['points'])):
                    x1 = float(i['points'][lk][0])
                    y1 = float(i['points'][lk][1])
                    # print(x1)
                    if x_max < x1:
                        x_max = x1
                    if y_max < y1:
                        y_max = y1
                    if y_min > y1:
                        y_min = y1
                    if x_min > x1:
                        x_min = x1
                bb = (x_min, y_max, x_max, y_min)
            if (i['shape_type'] == 'rectangle'):  # 为矩形不需要转换
                x1 = float(i['points'][0][0])
                y1 = float(i['points'][0][1])
                x2 = float(i['points'][1][0])
                y2 = float(i['points'][1][1])
                bb = (x1, y1, x2, y2)
            bbox = convert((img_w, img_h), bb)
            try:
                f.write(str(name2id[label_name]) + " " + " ".join([str(a) for a in bbox]) + 'n')
            except:
                pass


if __name__ == "__main__":
    json_floder_path = '.\json\'  # 存放json的文件夹的绝对路径
    txt_outer_path = '.\labels\'  # 存放txt的文件夹绝对路径
    json_names = os.listdir(json_floder_path)
    print("共有:{}个文件待转化".format(len(json_names)))
    flagcount = 0
    for json_name in json_names:
        decode_json(json_floder_path, txt_outer_path, json_name)
        flagcount += 1
        print("还剩下{}个文件未转化".format(len(json_names) - flagcount))

    # break
    print('转化全部完毕')
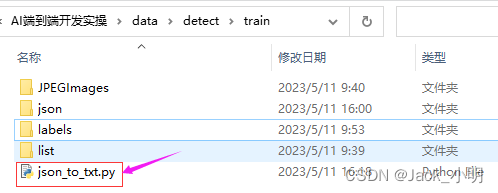
步骤2:在 json_to_txt.py文件所在的位置,打开dos界面,执行下面的命令,进行json数据的归一化处理。

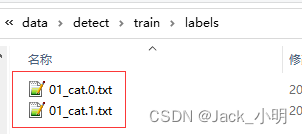
执行完上一步骤,就会在labels目录下,生成与图片相对于的txt文件。

原文地址:https://blog.csdn.net/Wu_GuiMing/article/details/130625940
本文来自互联网用户投稿,该文观点仅代表作者本人,不代表本站立场。本站仅提供信息存储空间服务,不拥有所有权,不承担相关法律责任。
如若转载,请注明出处:http://www.7code.cn/show_20084.html
如若内容造成侵权/违法违规/事实不符,请联系代码007邮箱:suwngjj01@126.com进行投诉反馈,一经查实,立即删除!

