第一步:编写框架
1.分别新建html,css和js文档后,将css和js分别链接至html中。
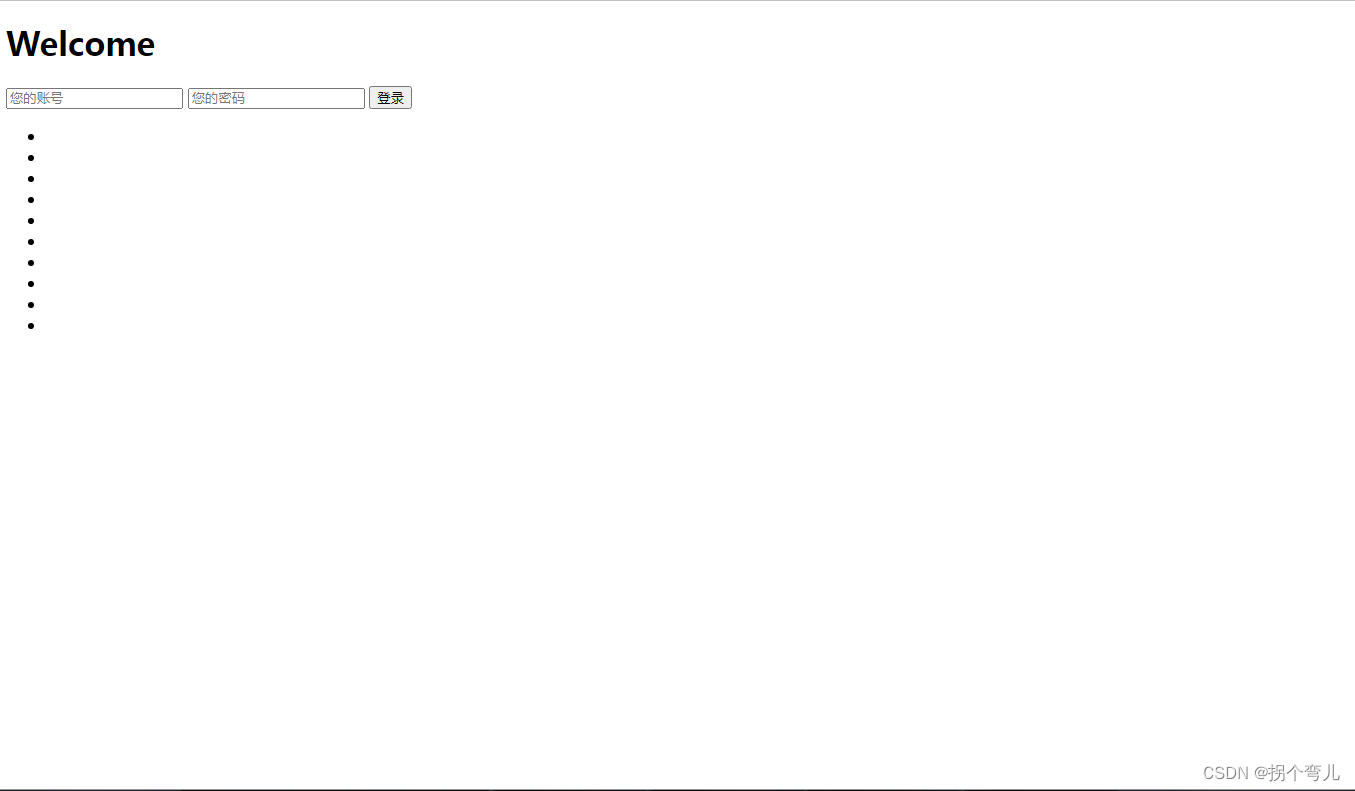
效果可参照示例图一
<!DOCTYPE html>
<html lang="en">
<head>
    <meta charset="UTF-8">
    <title>动态的登陆背景</title>
    <link rel="stylesheet" href="./css/登录界面.css">
</head>
<body>
    <div class="container">
        <h1>Welcome</h1>
        <div class="form">
            <input type="text" placeholder="您的账号">
            <input type="password" placeholder="您的密码">
            <button class="btn-login">登录</button>
        </div>
    </div>
    <ul class="bg-squares">
        <li></li>
        <li></li>
        <li></li>
        <li></li>
        <li></li>
        <li></li>
        <li></li>
        <li></li>
        <li></li>
        <li></li>
    </ul>
</body>
</html>
<script src="./js/登录界面.js"></script>示例图一
第二步:编写css样式表
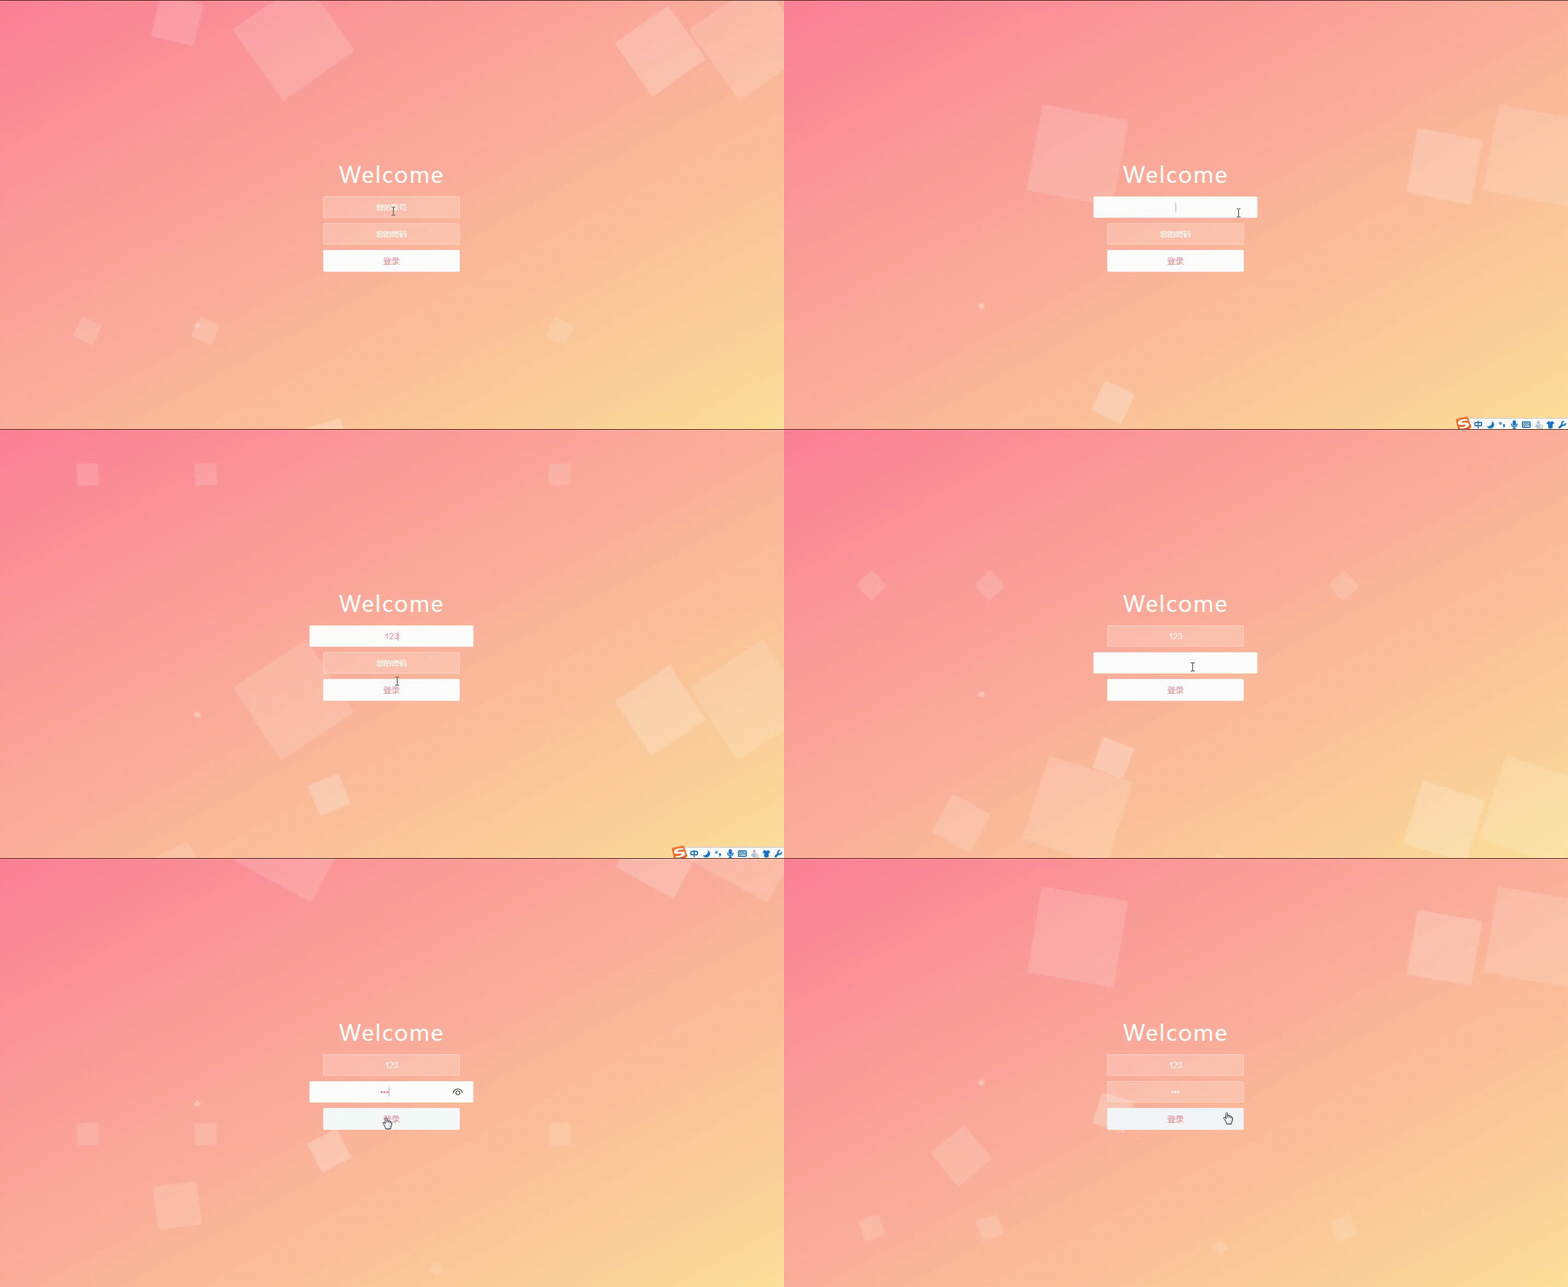
2.将框架中的十个点变成大小不一的方块并添加动画,可参照示例图二。
*{
    margin: 0;
    padding: 0;
    box-sizing: border-box;
}
body{
    height: 100vh;
    /* 弹性布局 居中显示 */
    display: flex;
    justify-content: center;
    align-items: center;
    /* 渐变背景 */
    background: linear-gradient(to top left,#ffe29f,#ffa99f,#ff719a);
    /* 溢出隐藏 */
    overflow: hidden;
}
.container{
    text-align: center;
    color: #fff;
}
.container h1{
    font-size: 40px;
    font-weight: 100;
    letter-spacing: 2px;
    margin-bottom: 15px;
    /* 过渡效果 */
    transition: 1s ease-in-out;
}
.form{
    display: flex;
    flex-direction: column;
    align-items: center;
    position: relative;
    z-index: 2;
    opacity: 1;
    /* 不透明度改变时的过渡效果 */
    transition: opacity 0.5s;
}
.form input{
    outline: none;
    border: 1px solid rgba(255, 255, 255, 0.4);
    background-color: rgba(255, 255, 255, 0.2);
    width: 250px;
    padding: 10px 15px;
    border-radius: 3px;
    margin: 0 auto 10px auto;
    text-align: center;
    color: #fff;
    font-size: 15px;
    transition: 0.25s;
}
.form input::placeholder{
    color: #fff;
    font-size: 14px;
    font-weight: 300;
}
.form input:hover{
    background-color: #fff;
}
.form input:focus{
    background-color: #fff;
    width: 300px;
    color: #ff719a;
}
.btn-login{
    outline: none;
    background-color: #fff;
    color: #ff719a;
    border: none;
    width: 250px;
    padding: 10px 15px;
    border-radius: 3px;
    font-size: 15px;
    cursor: pointer;
    transition: 0.25s;
}
.btn-login:hover{
    background-color: #f5f7f9;
}
/* 背景方块*/
.bg-squares{
    list-style: none;
    position: absolute;
    top: 0;
    left: 0;
    width: 100%;
    height: 100%;
    z-index: 1;
}
.bg-squares li{
    width: 40px;
    height: 40px;
    background-color: rgba(255, 255, 255, 0.15);
    position: absolute;
    bottom: -160px;
    /* 执行动画:动画名 时长 线性 无限次播放*/
    animation: squres 2s linear infinite ;
}
/* 为每一个方块设置不同的位置、大小、动画延迟时间、动画时长、背景色  */
.bg-squares li:nth-child(1){
    left: 10%;
}
.bg-squares li:nth-child(2){
    left: 20%;
    width: 80px;
    height: 80px;
    /* 动画延迟时间 */
    animation-delay:2s;
    /* 动画时长 */
    animation-duration: 17s;
}
.bg-squares li:nth-child(3){
    left: 25%;
    animation-delay: 4s;
}
.bg-squares li:nth-child(4){
    left: 40%;
    width: 60px;
    height: 60px;
    background-color:rgba(255, 255, 255, 0.25) ;
    animation-duration: 22s;
}
.bg-squares li:nth-child(5){
    left: 70%;
}
.bg-squares li:nth-child(6){
    left: 80%;
    width: 120px;
    height:120px;
    background-color:rgba(255, 255, 255, 0.2) ;
    animation-delay: 3s;
}
.bg-squares li:nth-child(7){
    left: 32%;
    width: 160px;
    height: 160px;
    animation-delay: 7s;
}
.bg-squares li:nth-child(8){
    left: 55%;
    width: 20px;
    height: 20px;
    animation-delay: 15s;
    animation-duration: 40s;
}
.bg-squares li:nth-child(9){
    left: 25%;
    width: 10px;
    height: 10px;
    background-color: rgba(255, 255, 255, 0.3);
    animation-delay: 2s;
    animation-duration: 40s;
}
.bg-squares li:nth-child(10){
    left: 90%;
    width: 160px;
    height: 160px;
    animation-delay: 11s;
}
.container.success h1{
    transform: translateY(75px);
}
.container.success .form{
     opacity: 0;
}
/*定义动画*/
@keyframes squres{
    0%{
        transform: translateY(0);
    }
    100%{
        transform: translateY(-120vh) rotate(600deg);
    }
}示例图二
此时如果不添加js代码,登陆键点完后没有动画;所以需要编写js代码,使画面看起来更高级。
第三步:编写js代码设置动态方块
//要操作的按钮
const container=document.querySelector('.container');
const btn_login=document.querySelector('.btn-login');

//登录按钮点击事件
btn_login.addEventListener('click',function(){
    container.classList.add('success');
})
示例图三

好了,到此就结束了。
原文地址:https://blog.csdn.net/m0_71749982/article/details/125916671
本文来自互联网用户投稿,该文观点仅代表作者本人,不代表本站立场。本站仅提供信息存储空间服务,不拥有所有权,不承担相关法律责任。
如若转载,请注明出处:http://www.7code.cn/show_22804.html
如若内容造成侵权/违法违规/事实不符,请联系代码007邮箱:suwngjj01@126.com进行投诉反馈,一经查实,立即删除!
主题授权提示:请在后台主题设置-主题授权-激活主题的正版授权,授权购买:RiTheme官网
声明:本站所有文章,如无特殊说明或标注,均为本站原创发布。任何个人或组织,在未征得本站同意时,禁止复制、盗用、采集、发布本站内容到任何网站、书籍等各类媒体平台。如若本站内容侵犯了原著者的合法权益,可联系我们进行处理。


