Android Termux 安装Kali Linux 或 kali Nethunter史诗级详细教程
一、Termux配置
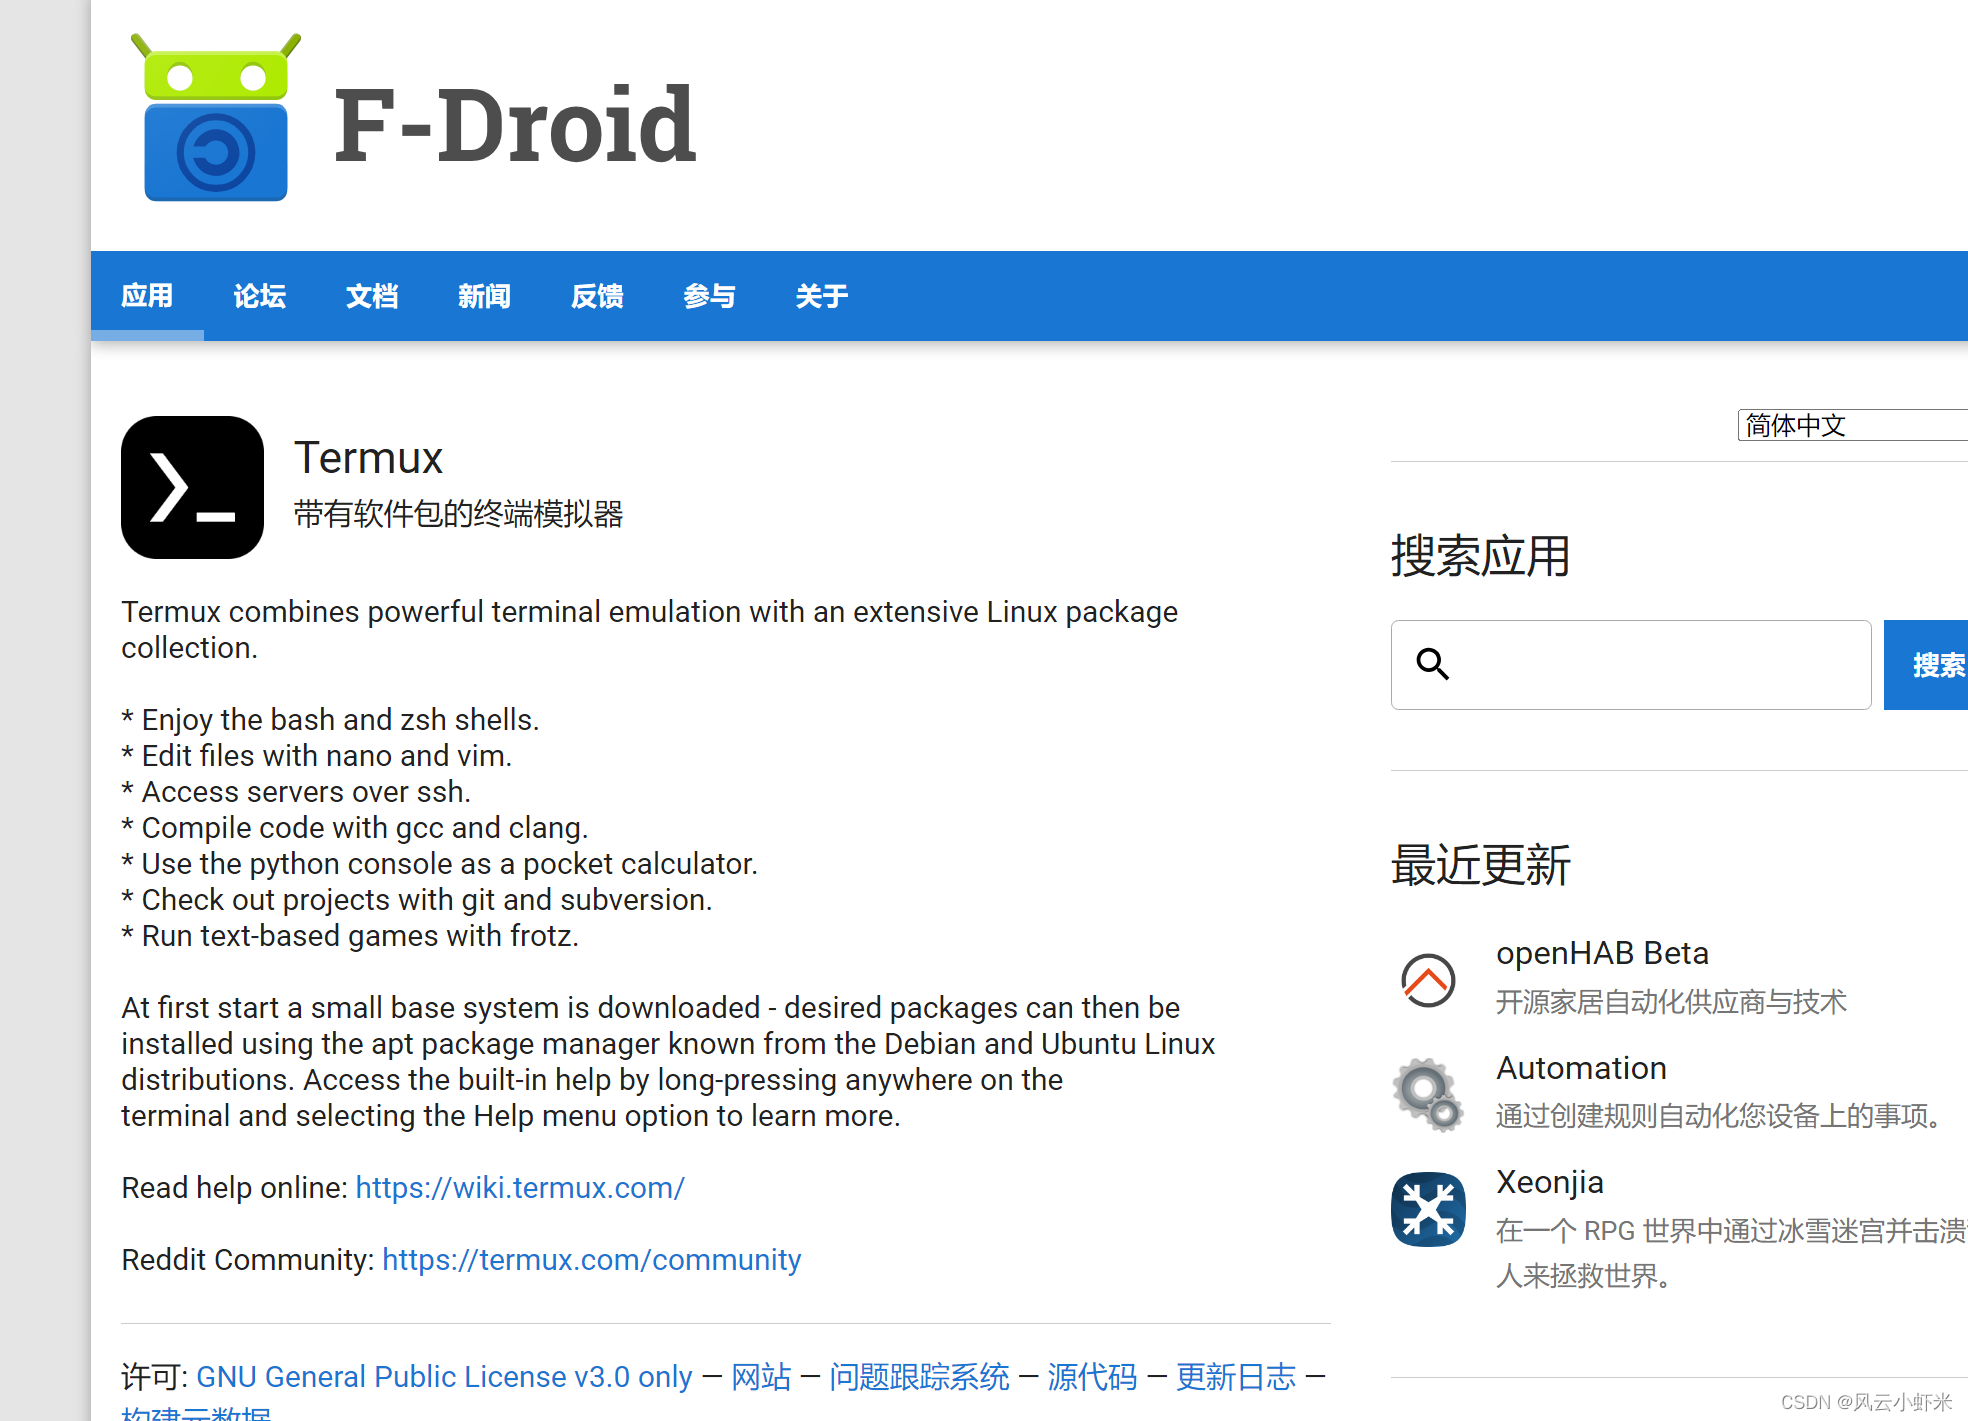
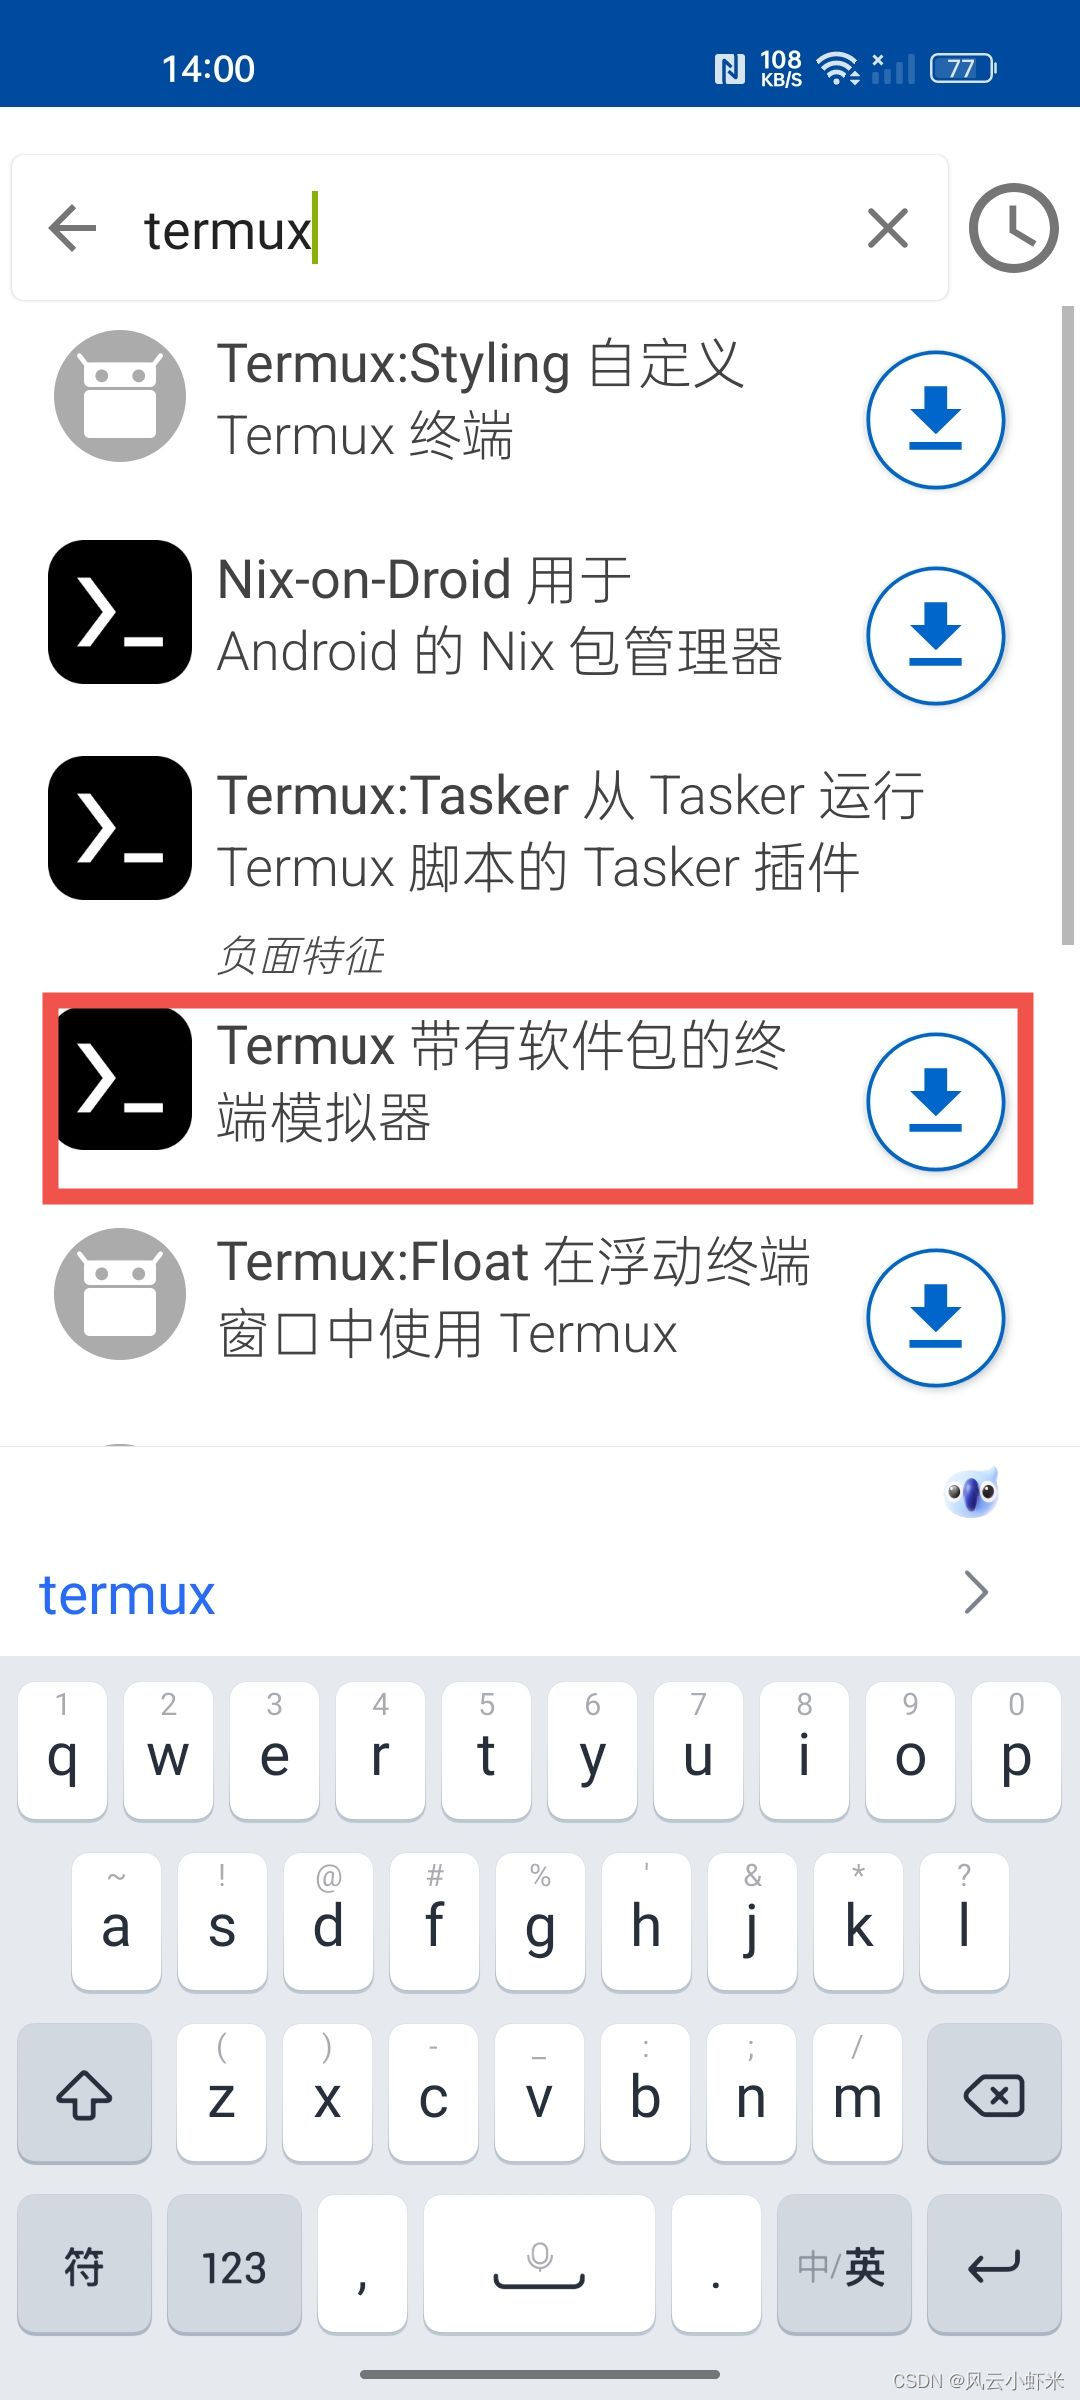
1、下载安装
https://f-droid.org/zh_Hans/packages/com.termux/
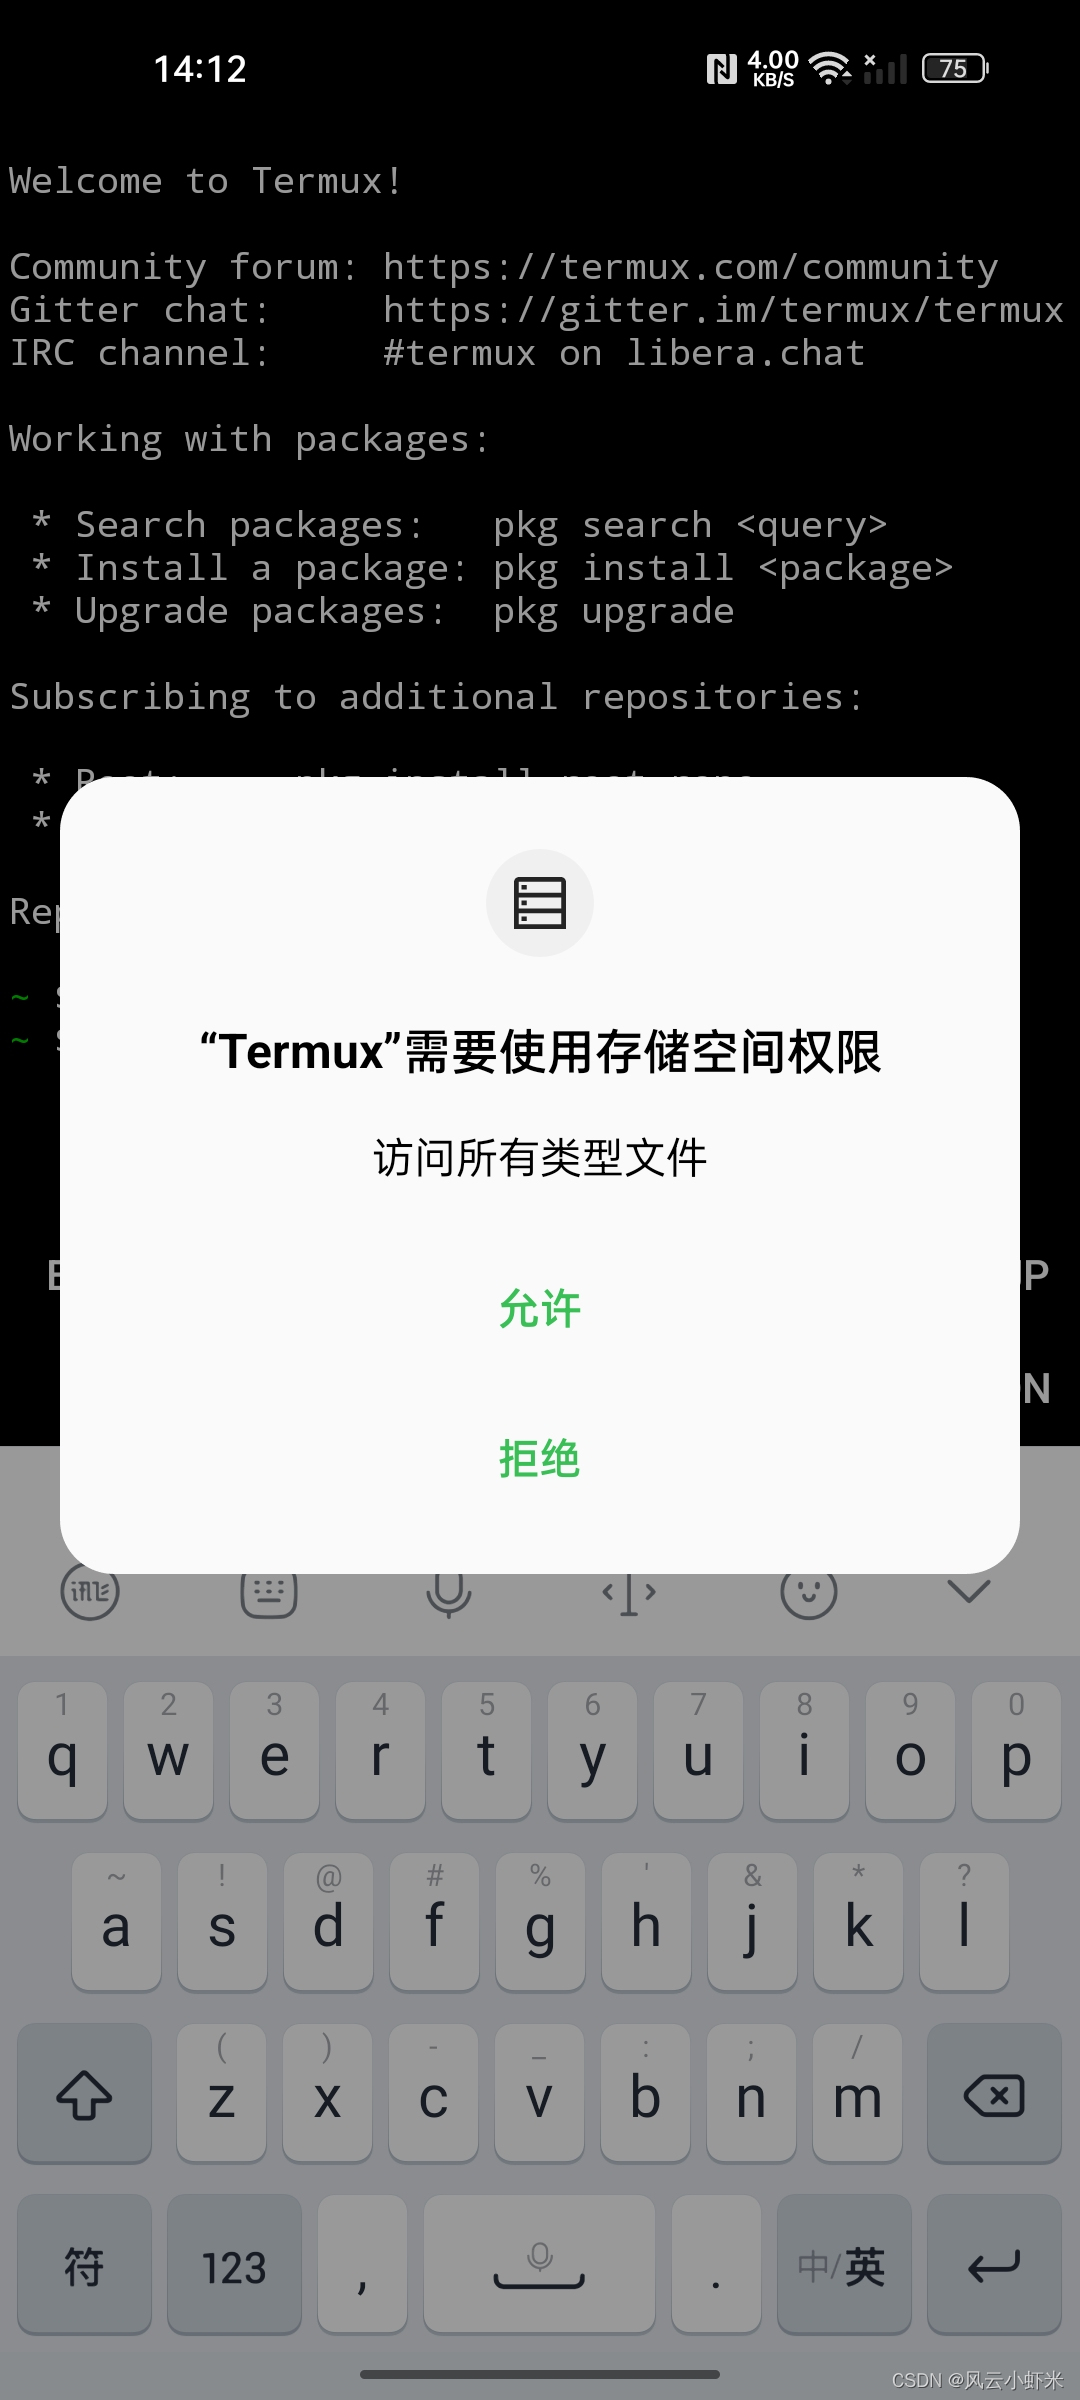
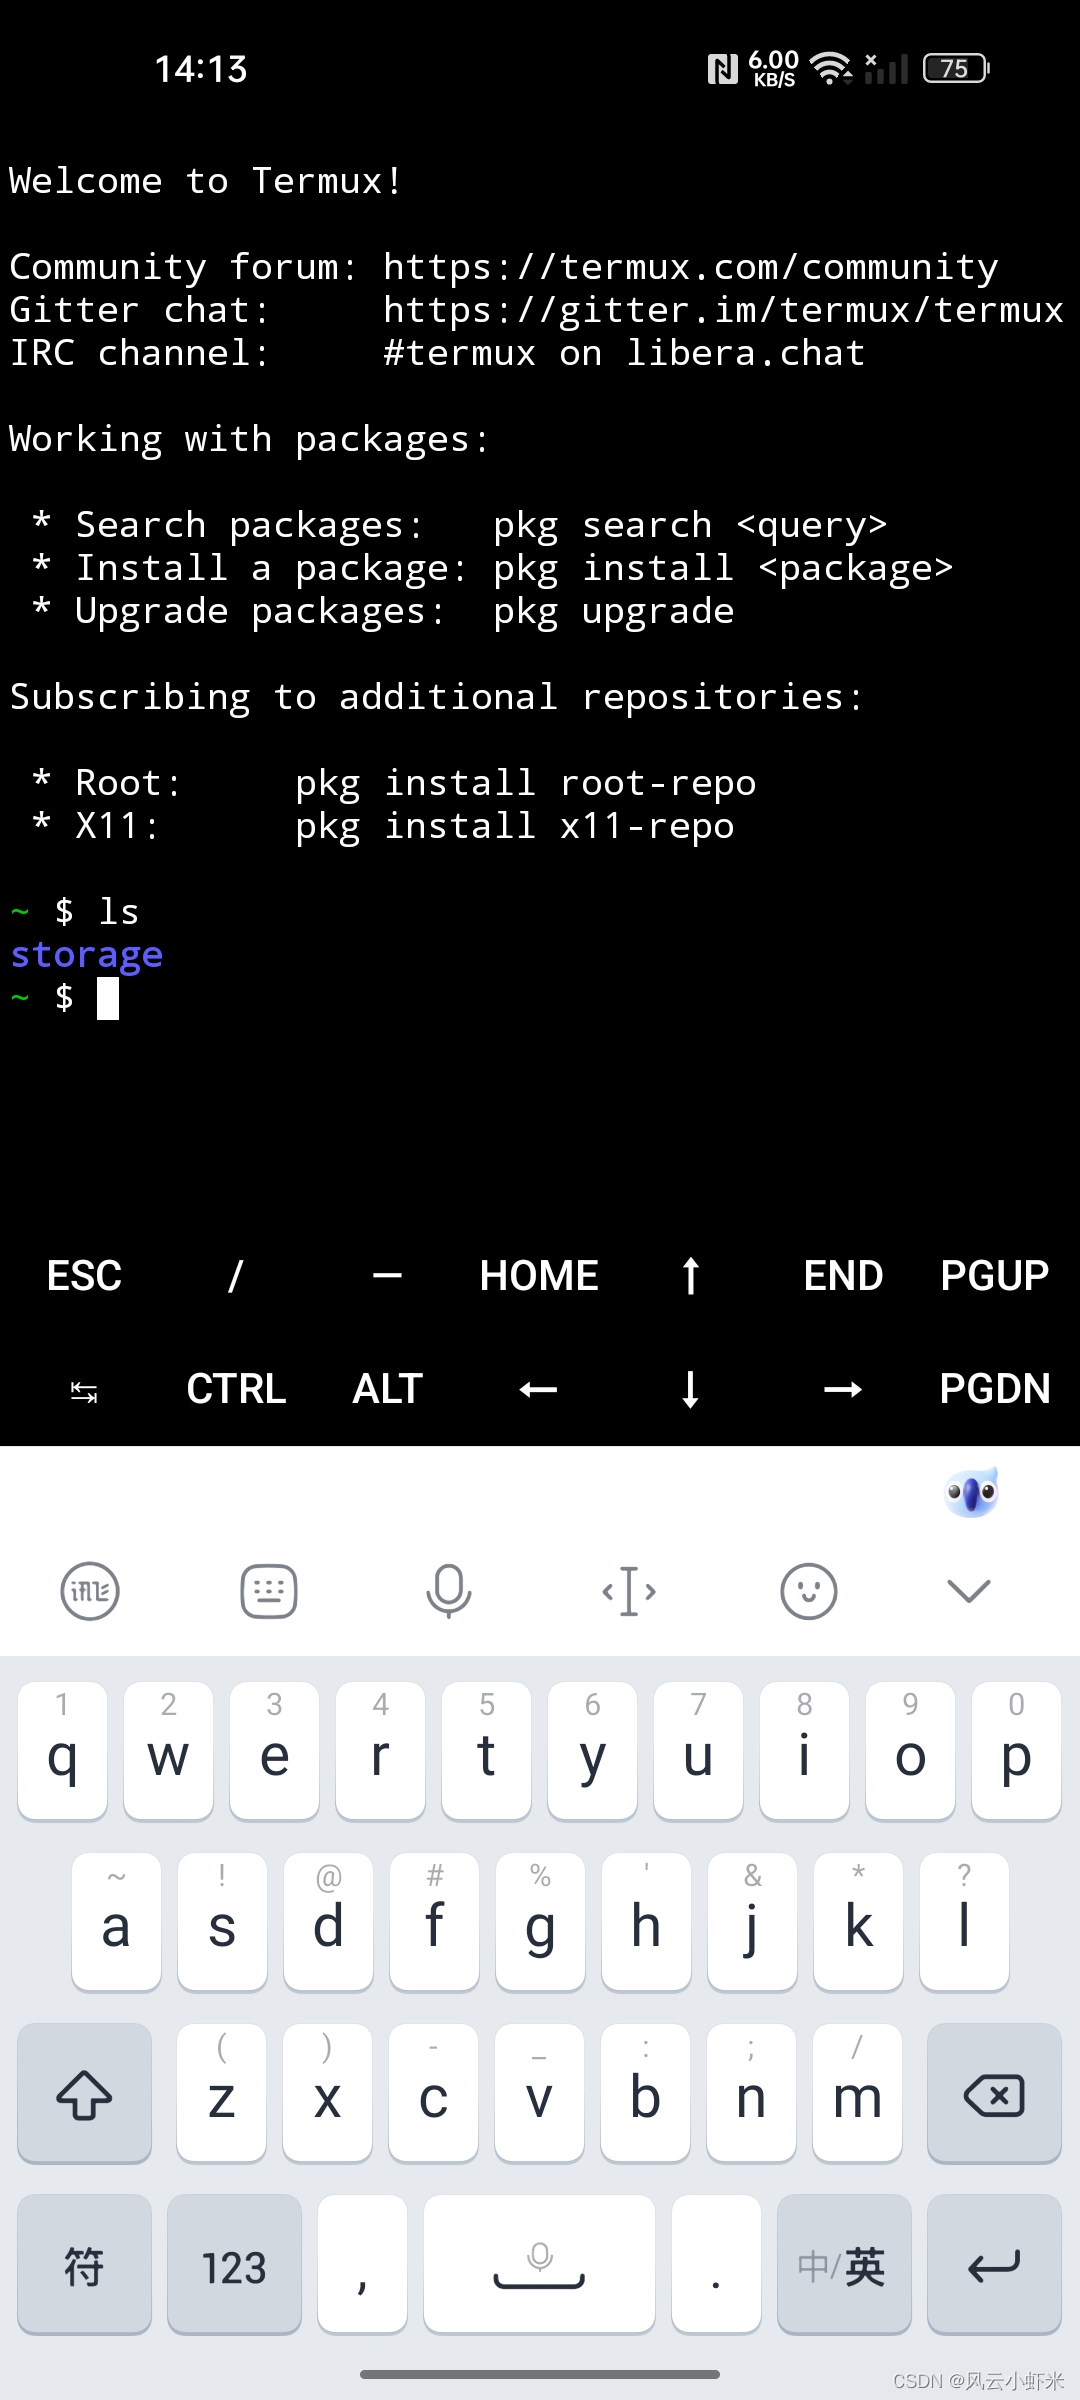
2、配置存储和换源
termux-setup-storage
sed -i 's@^(deb.*stable main)$@#1ndeb https://mirrors.tuna.tsinghua.edu.cn/termux/apt/termux-main stable main@' $PREFIX/etc/apt/sources.list
3、基本工具安装
pkg update
pkg upgrade
pkg install proot
pkg install git
pkg install wget
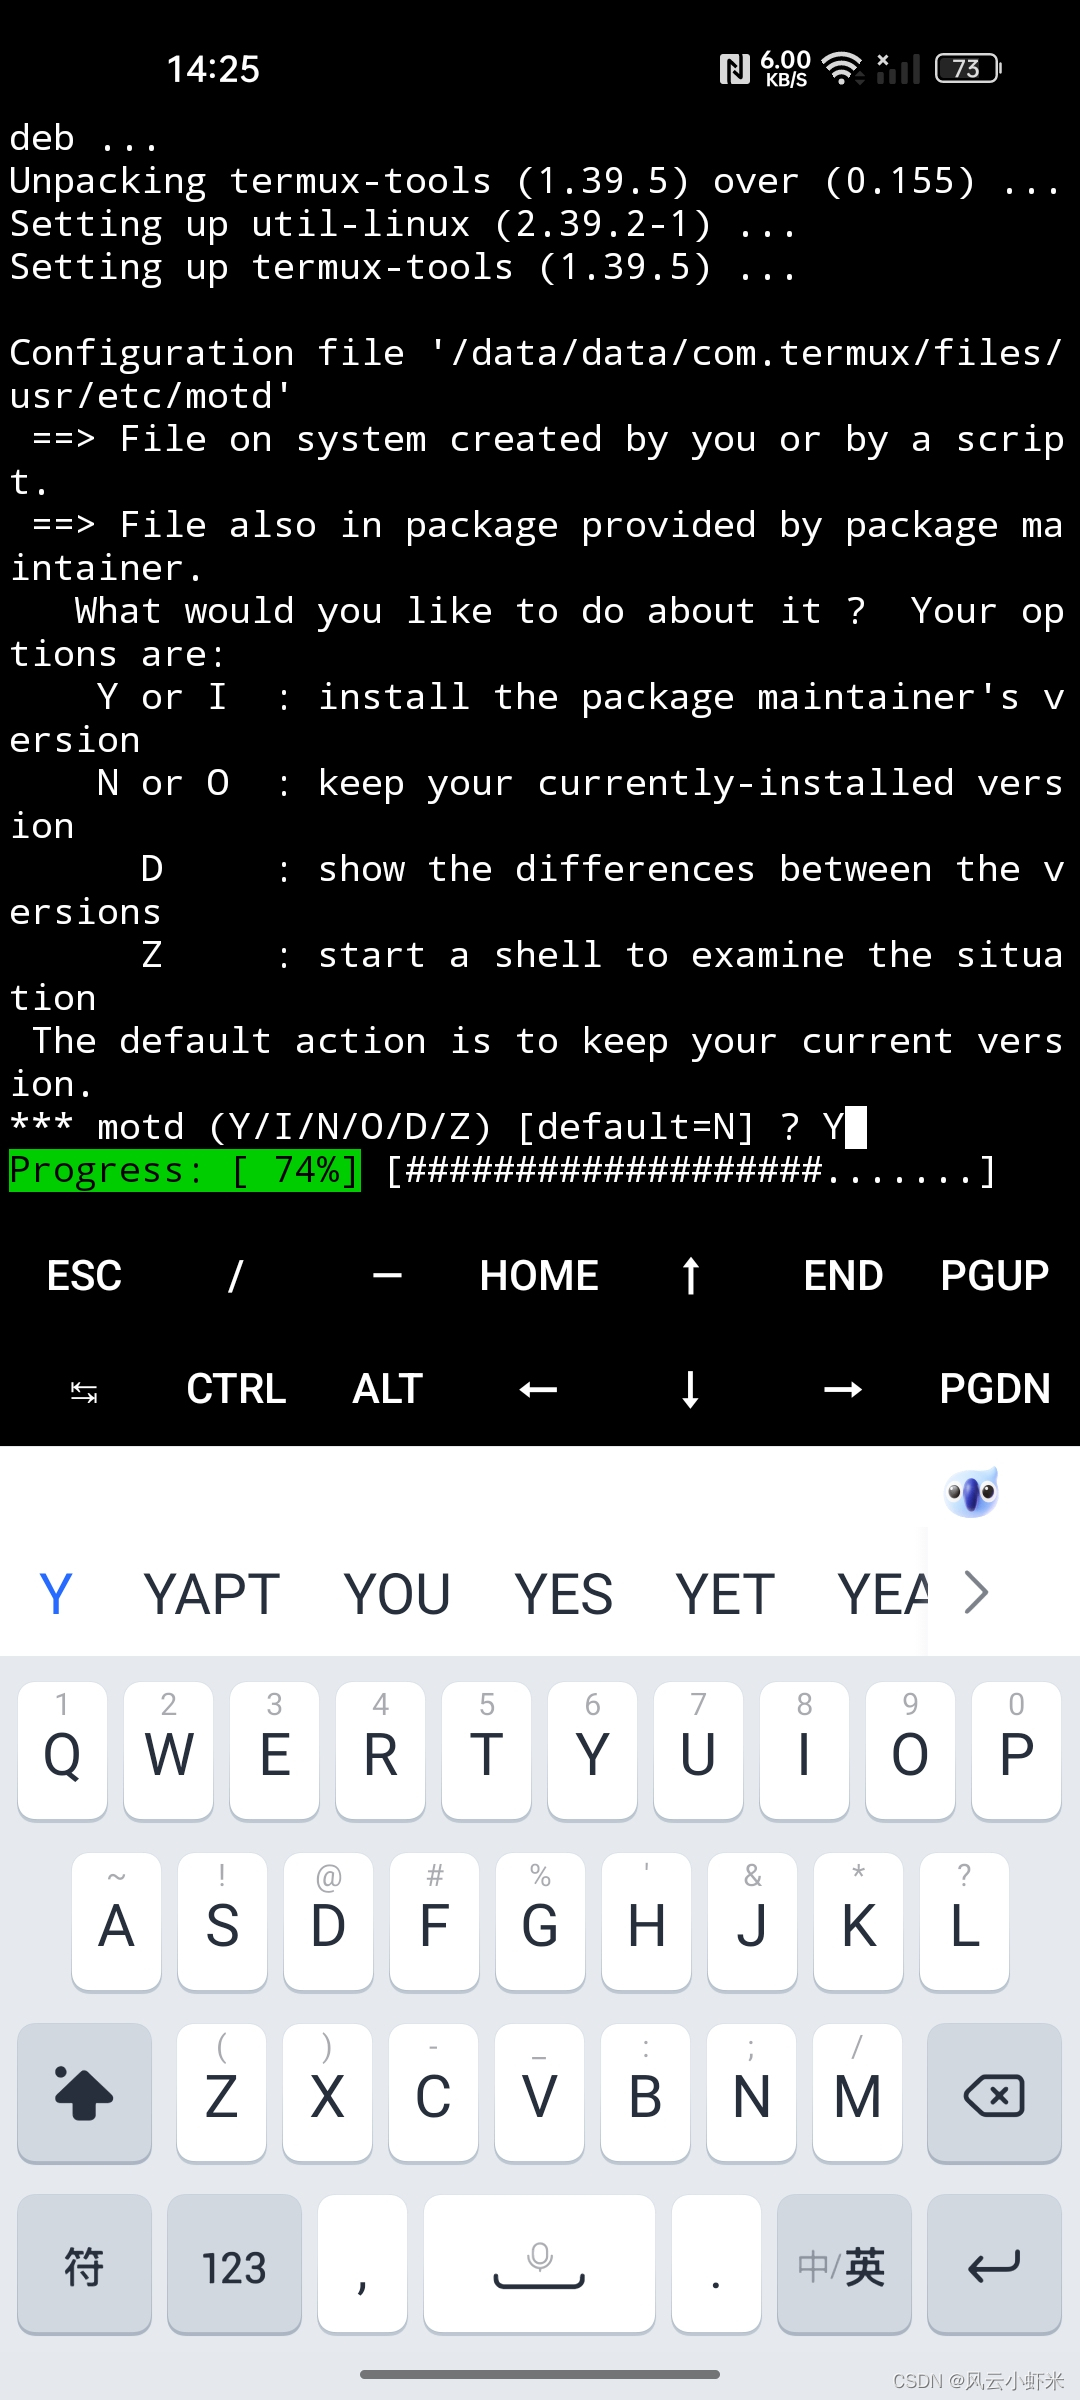
pkg install vim  # 建议单条执行,避免出错不好定位,过程提示的选择一直Y下去,会有很多个
二、Kali Linux安装
1、下载安装脚本
此版本安装建议完成之前的基本安装再安装
pkg install pythonpkg install python2避免出现问题,有很多坑,详细解决方案见报错解决
git clone https://gitee.com/zhang-955/clone.git
cd clone
cd AutoInstallKali
chmod +x kalinethunter finaltouchup.sh # 赋予脚本运行权限
./kalinethunter
具体过程因网上此版本较多不在赘述,这个脚本是《地球村的一枝花》版本的,具体可参考如下几个博主的教程
https://blog.csdn.net/m0_54471074/article/details/128475855
https://www.jianshu.com/p/9a325deeb50c
2、更换apt源
startkali

vim /etc/apt/source.list

deb http://mirrors.aliyun.com/kali kali-rolling main non-free contrib

deb-src http://mirrors.aliyun.com/kali kali-rolling main non-free contrib
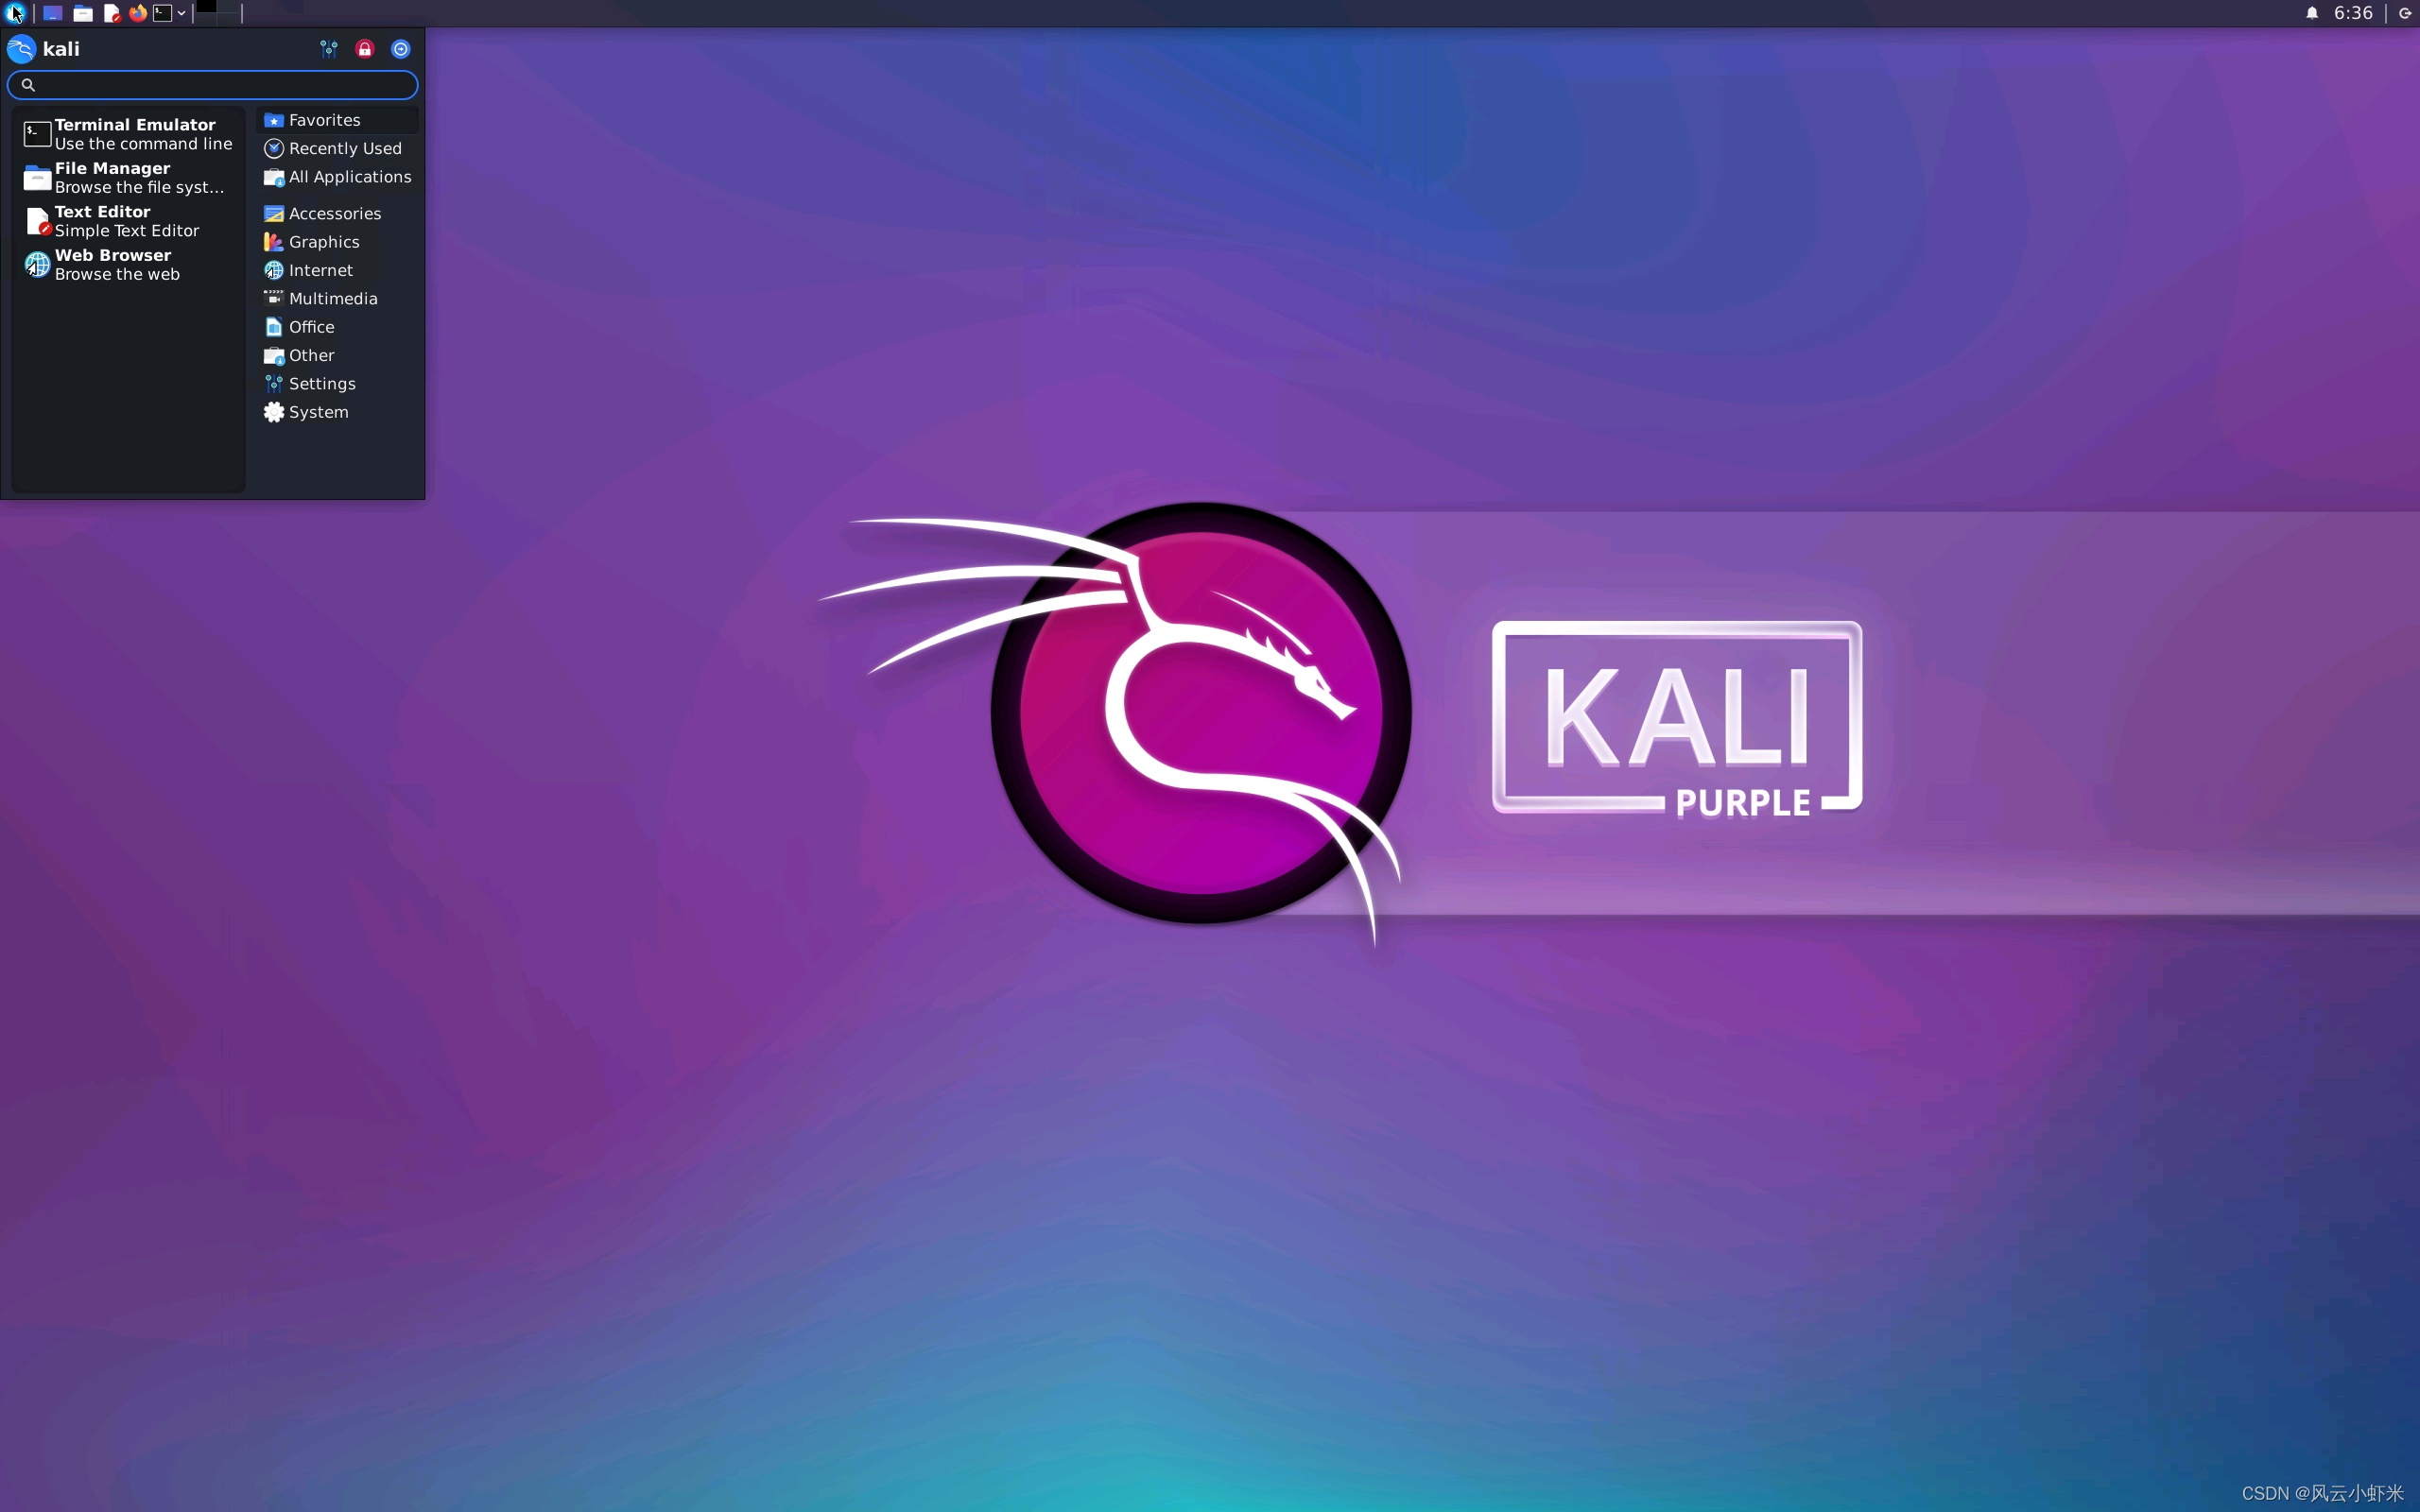
3、图形化安装
apt-get install xorg xdm xfce4
apt install tightvncserver -y
vncserver  #启动vnc,建议使用kali Nethunter kex连接,有自动适配分辨率功能,很可能会报错,解决详情见报错汇总
三、Kali Nethunter安装
1、下载安装脚本
时间很长,直接下载脚本放在目录下直接解压安装就可,具体资源在资源汇总,包含本文章所有用的到的资源,也可单独下载,如下:
https://images.kali.org/nethunter/rootfs/kalifs–arm64-full.tar.xz
wget -O install-nethunter-termux https://offs.ec/2MceZWr
chmod +x install-nethunter-termux
./install-nethunter-termux
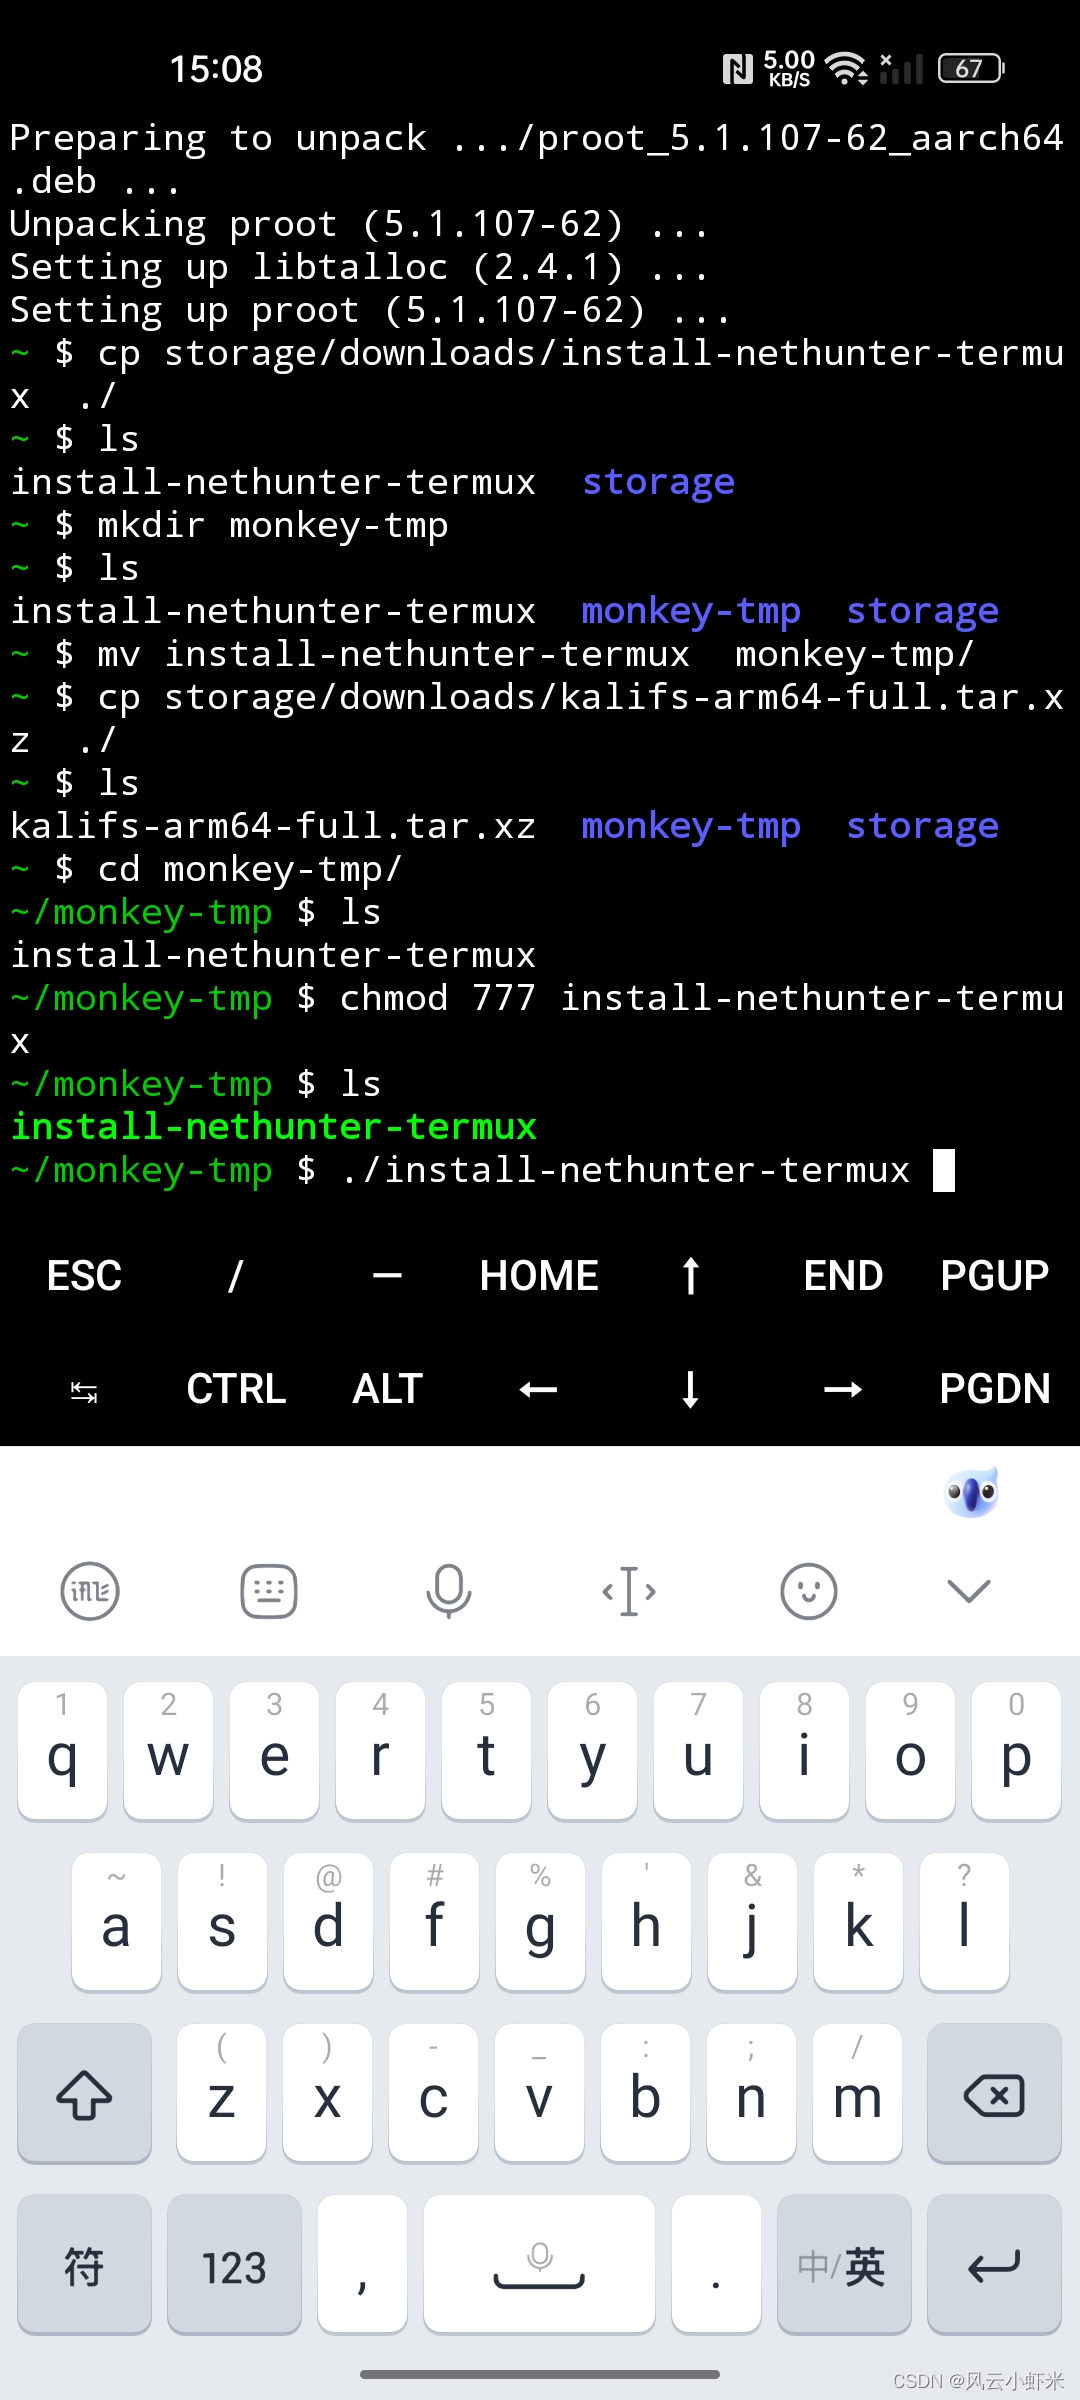
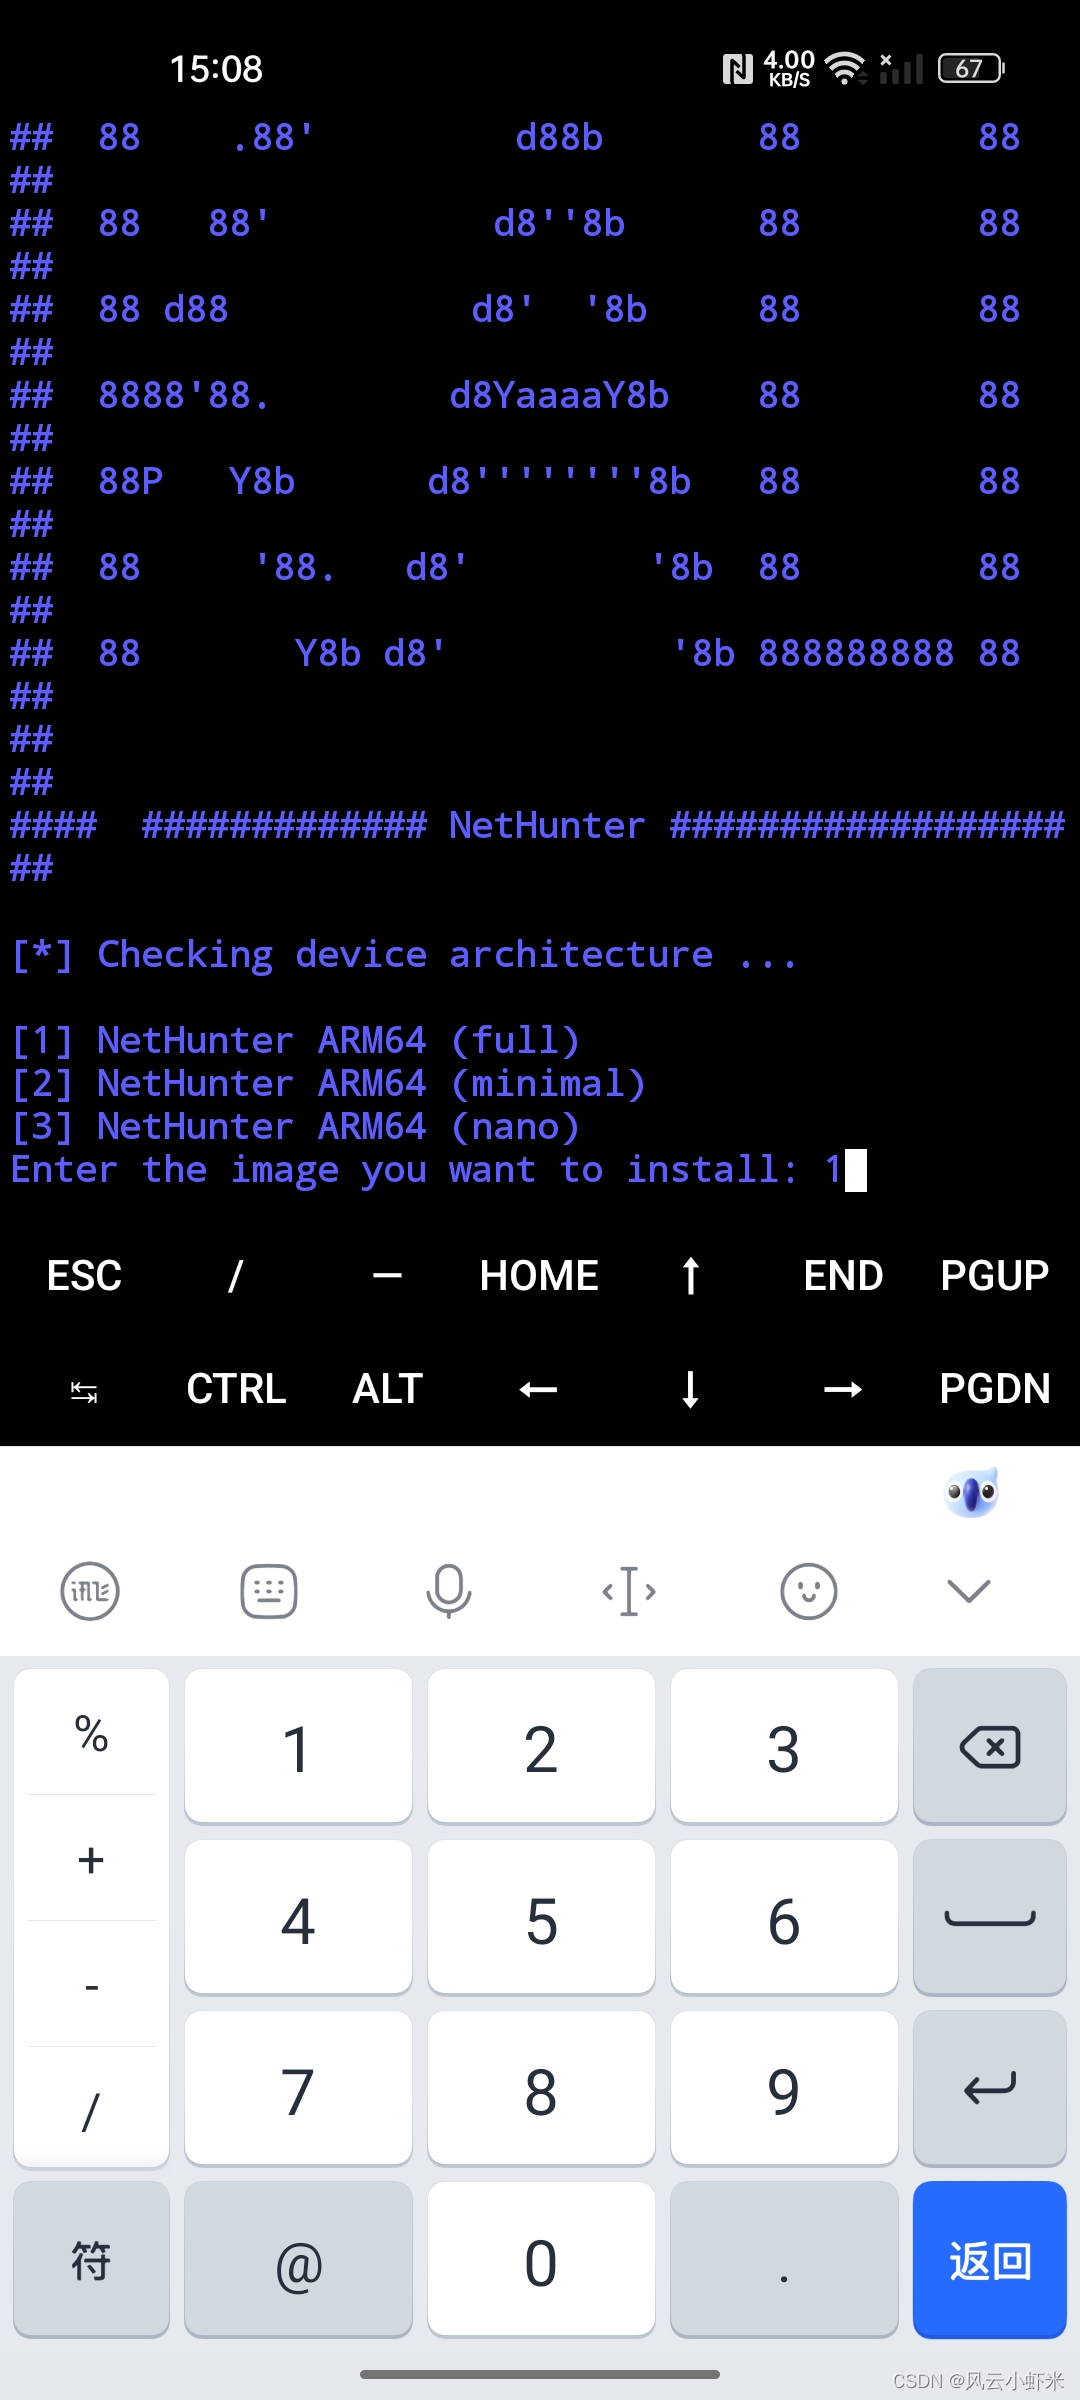
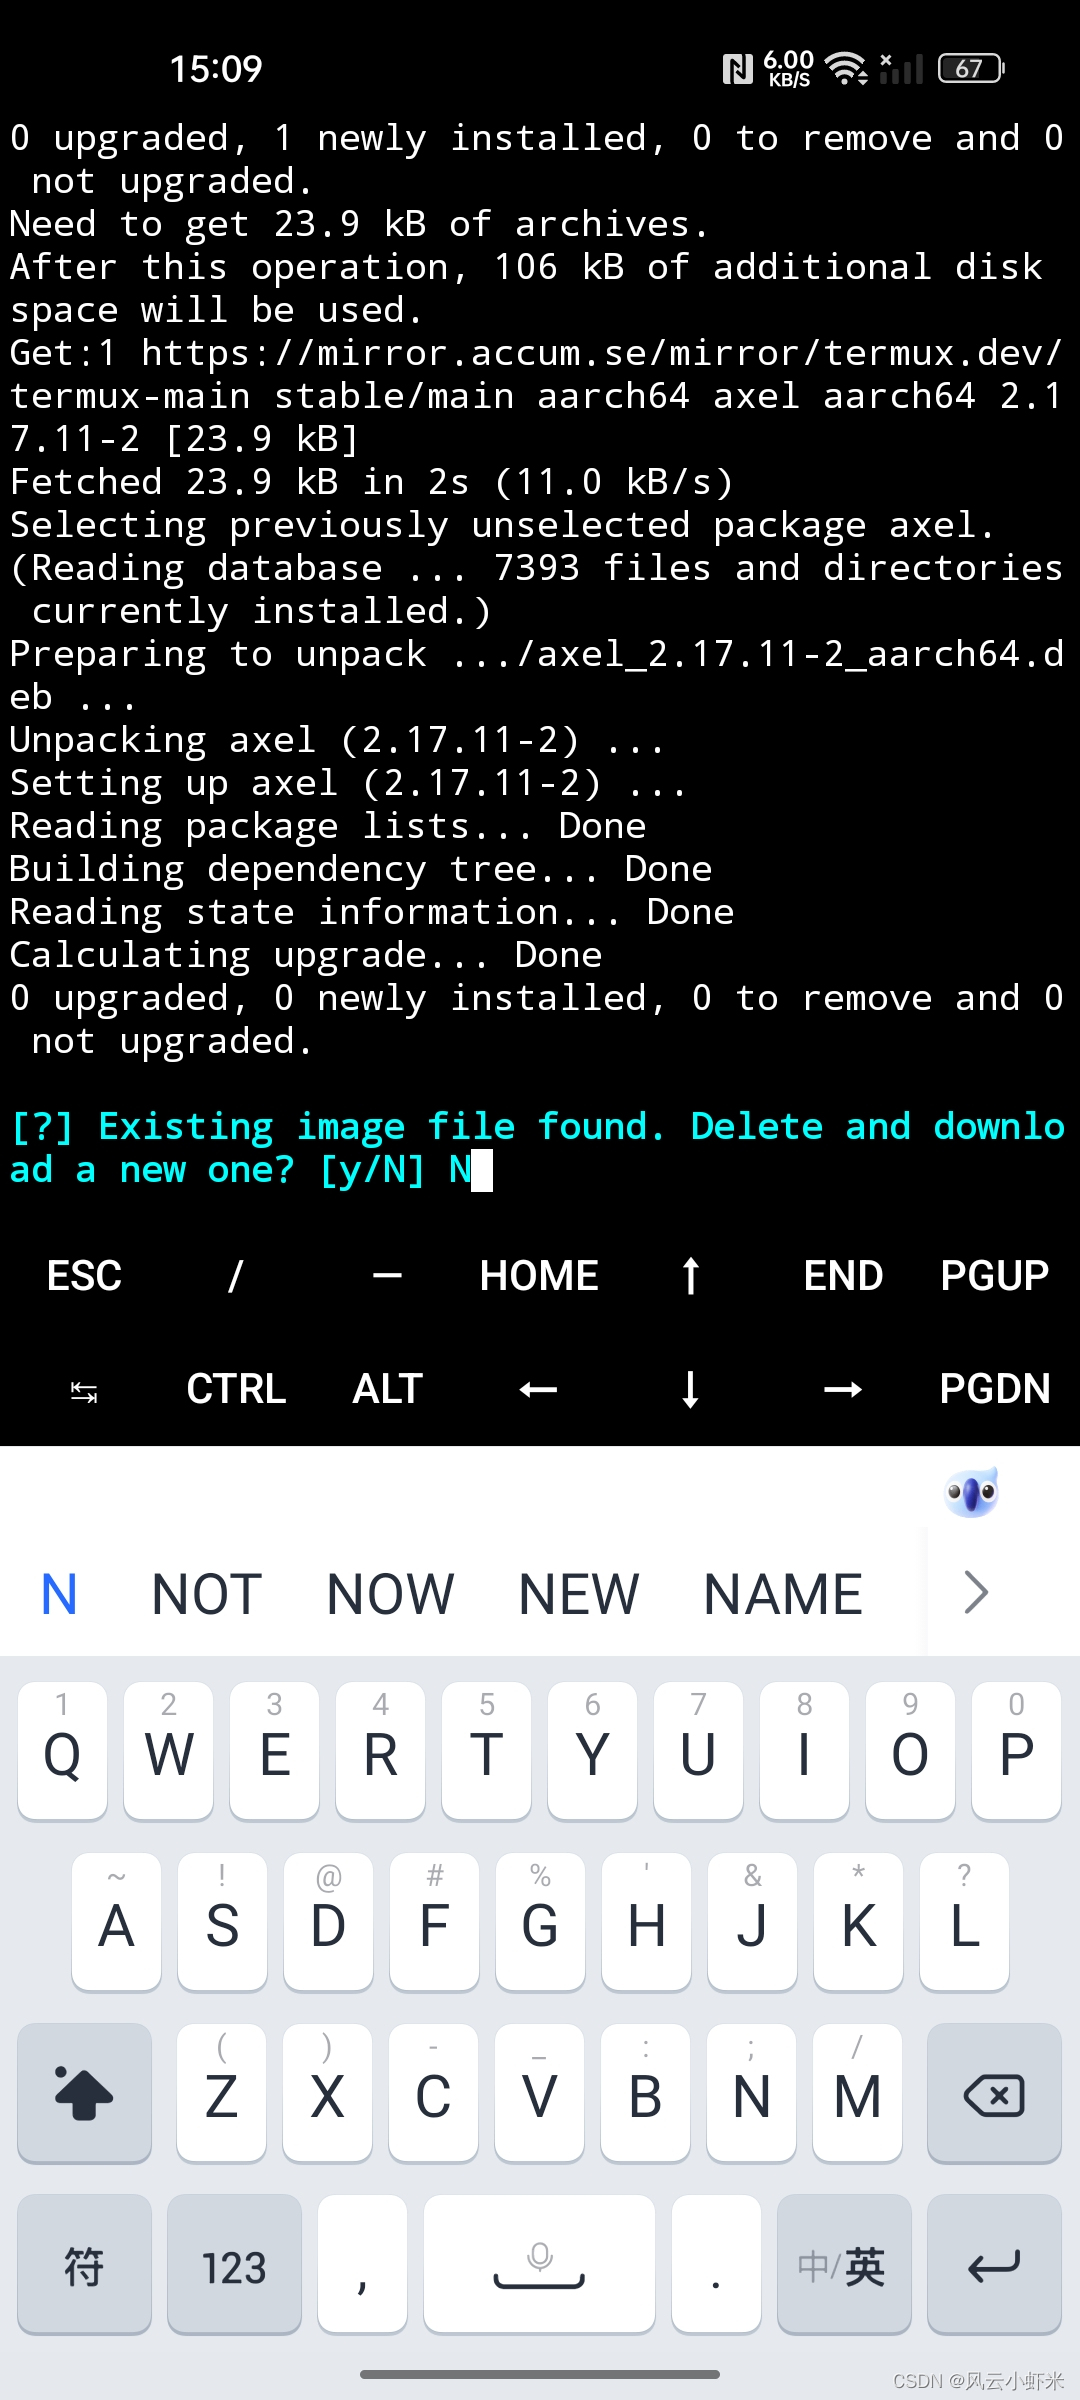
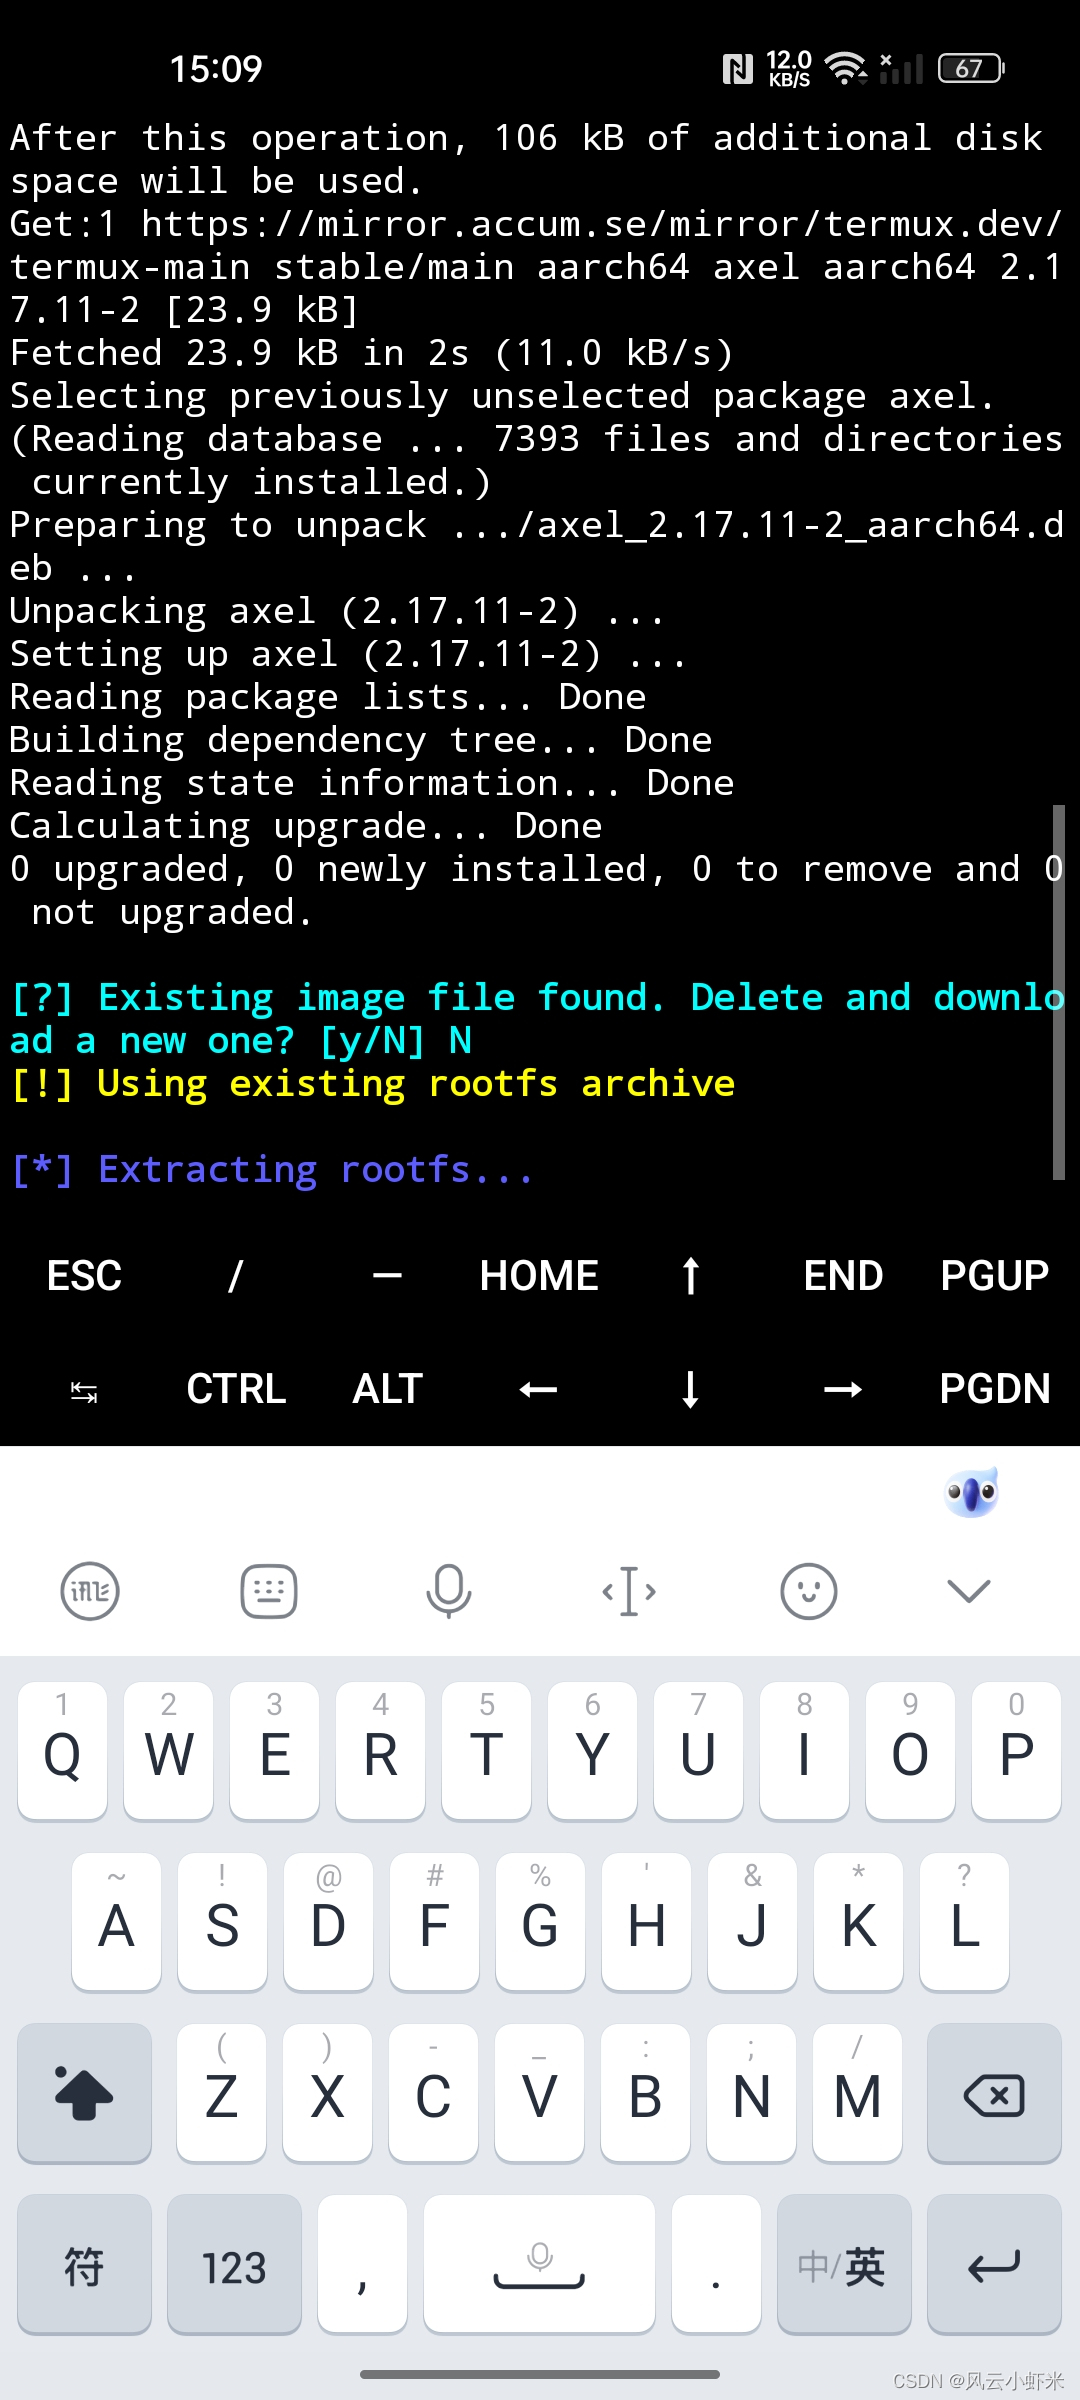
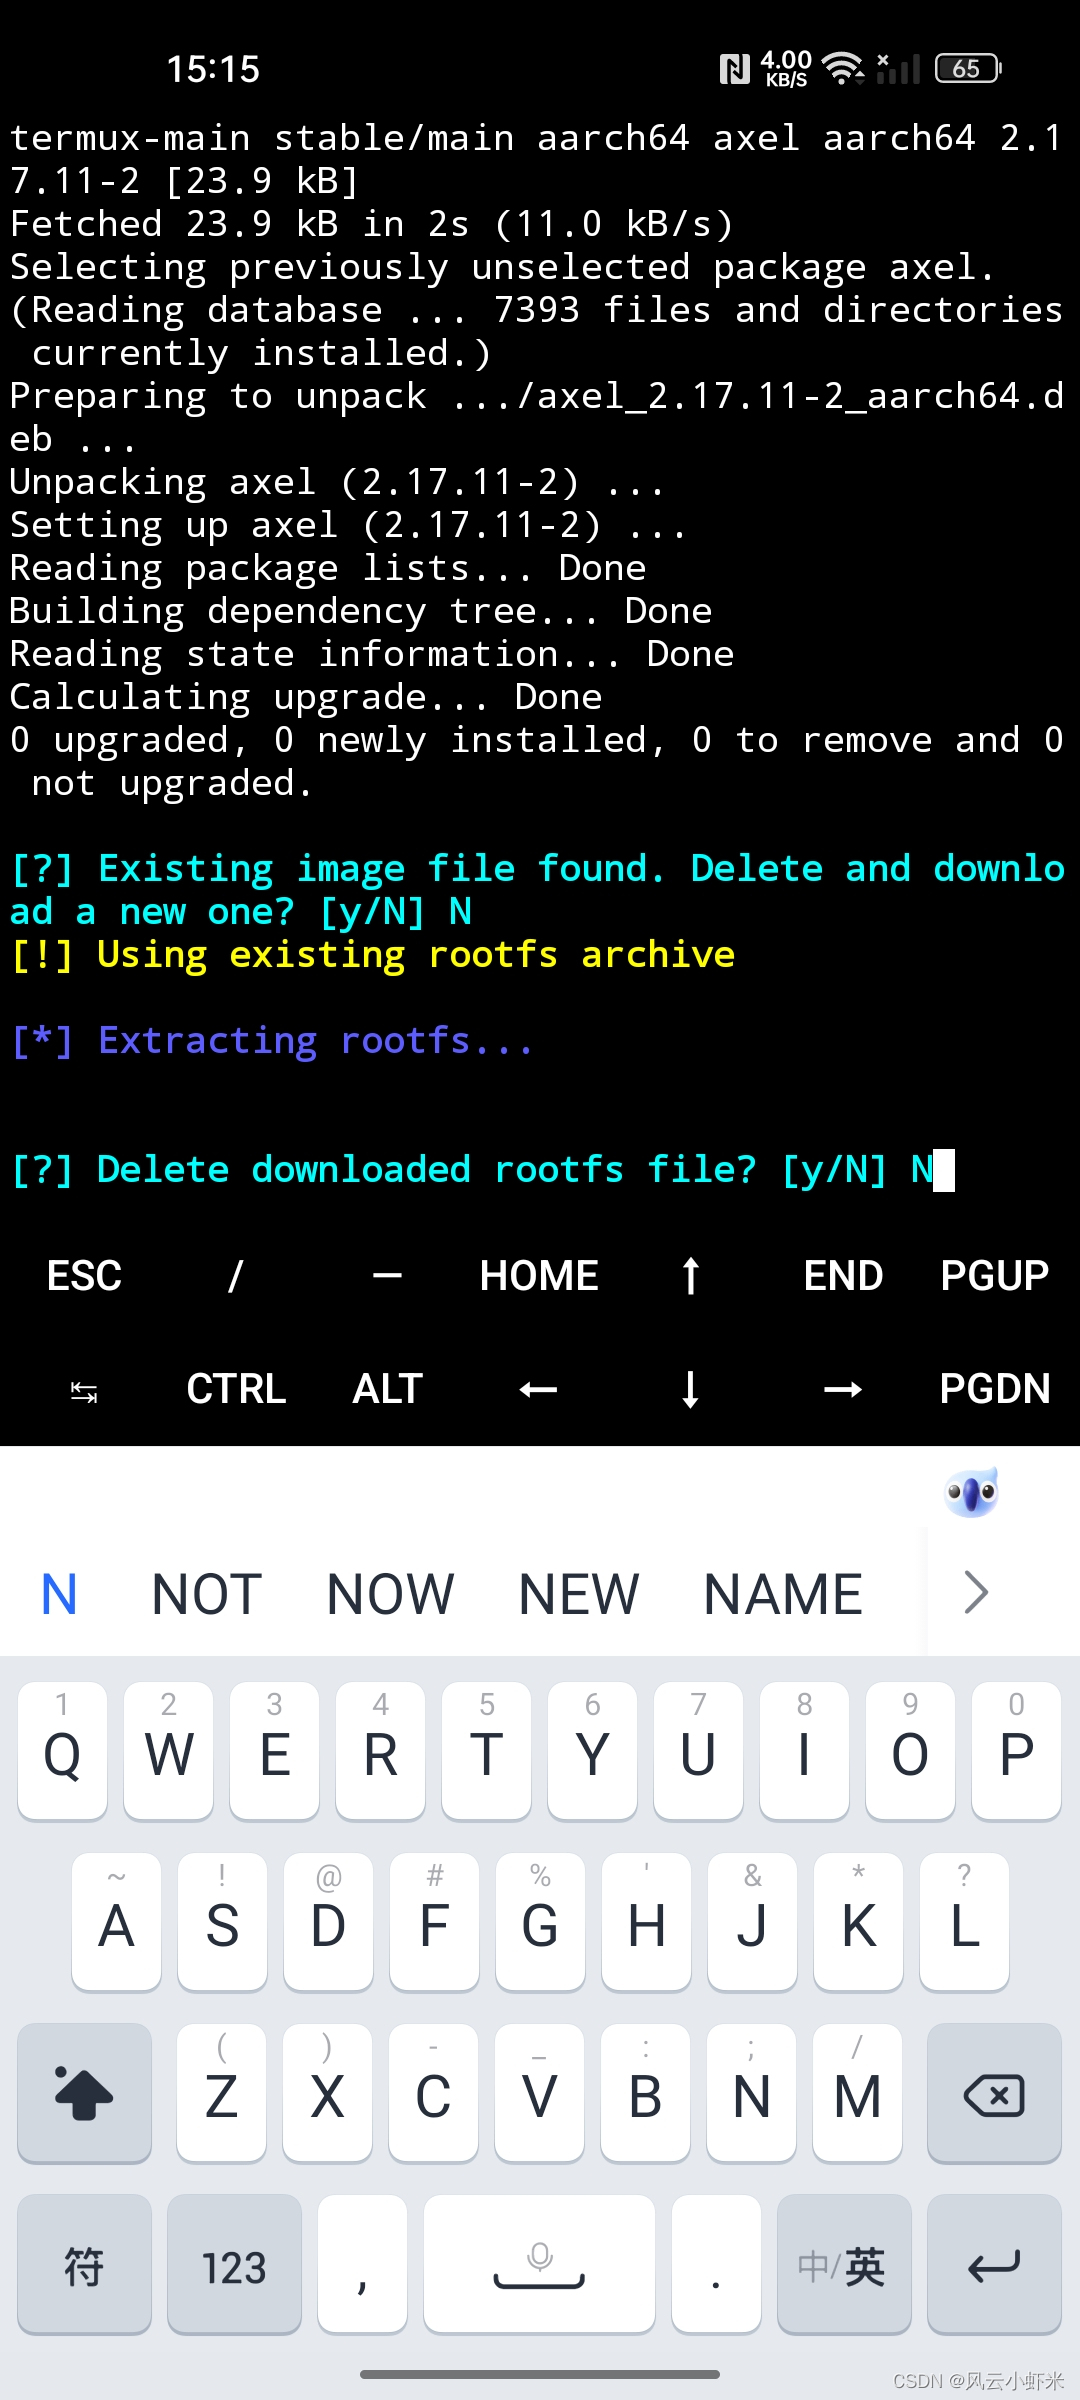
安装成功,如下:
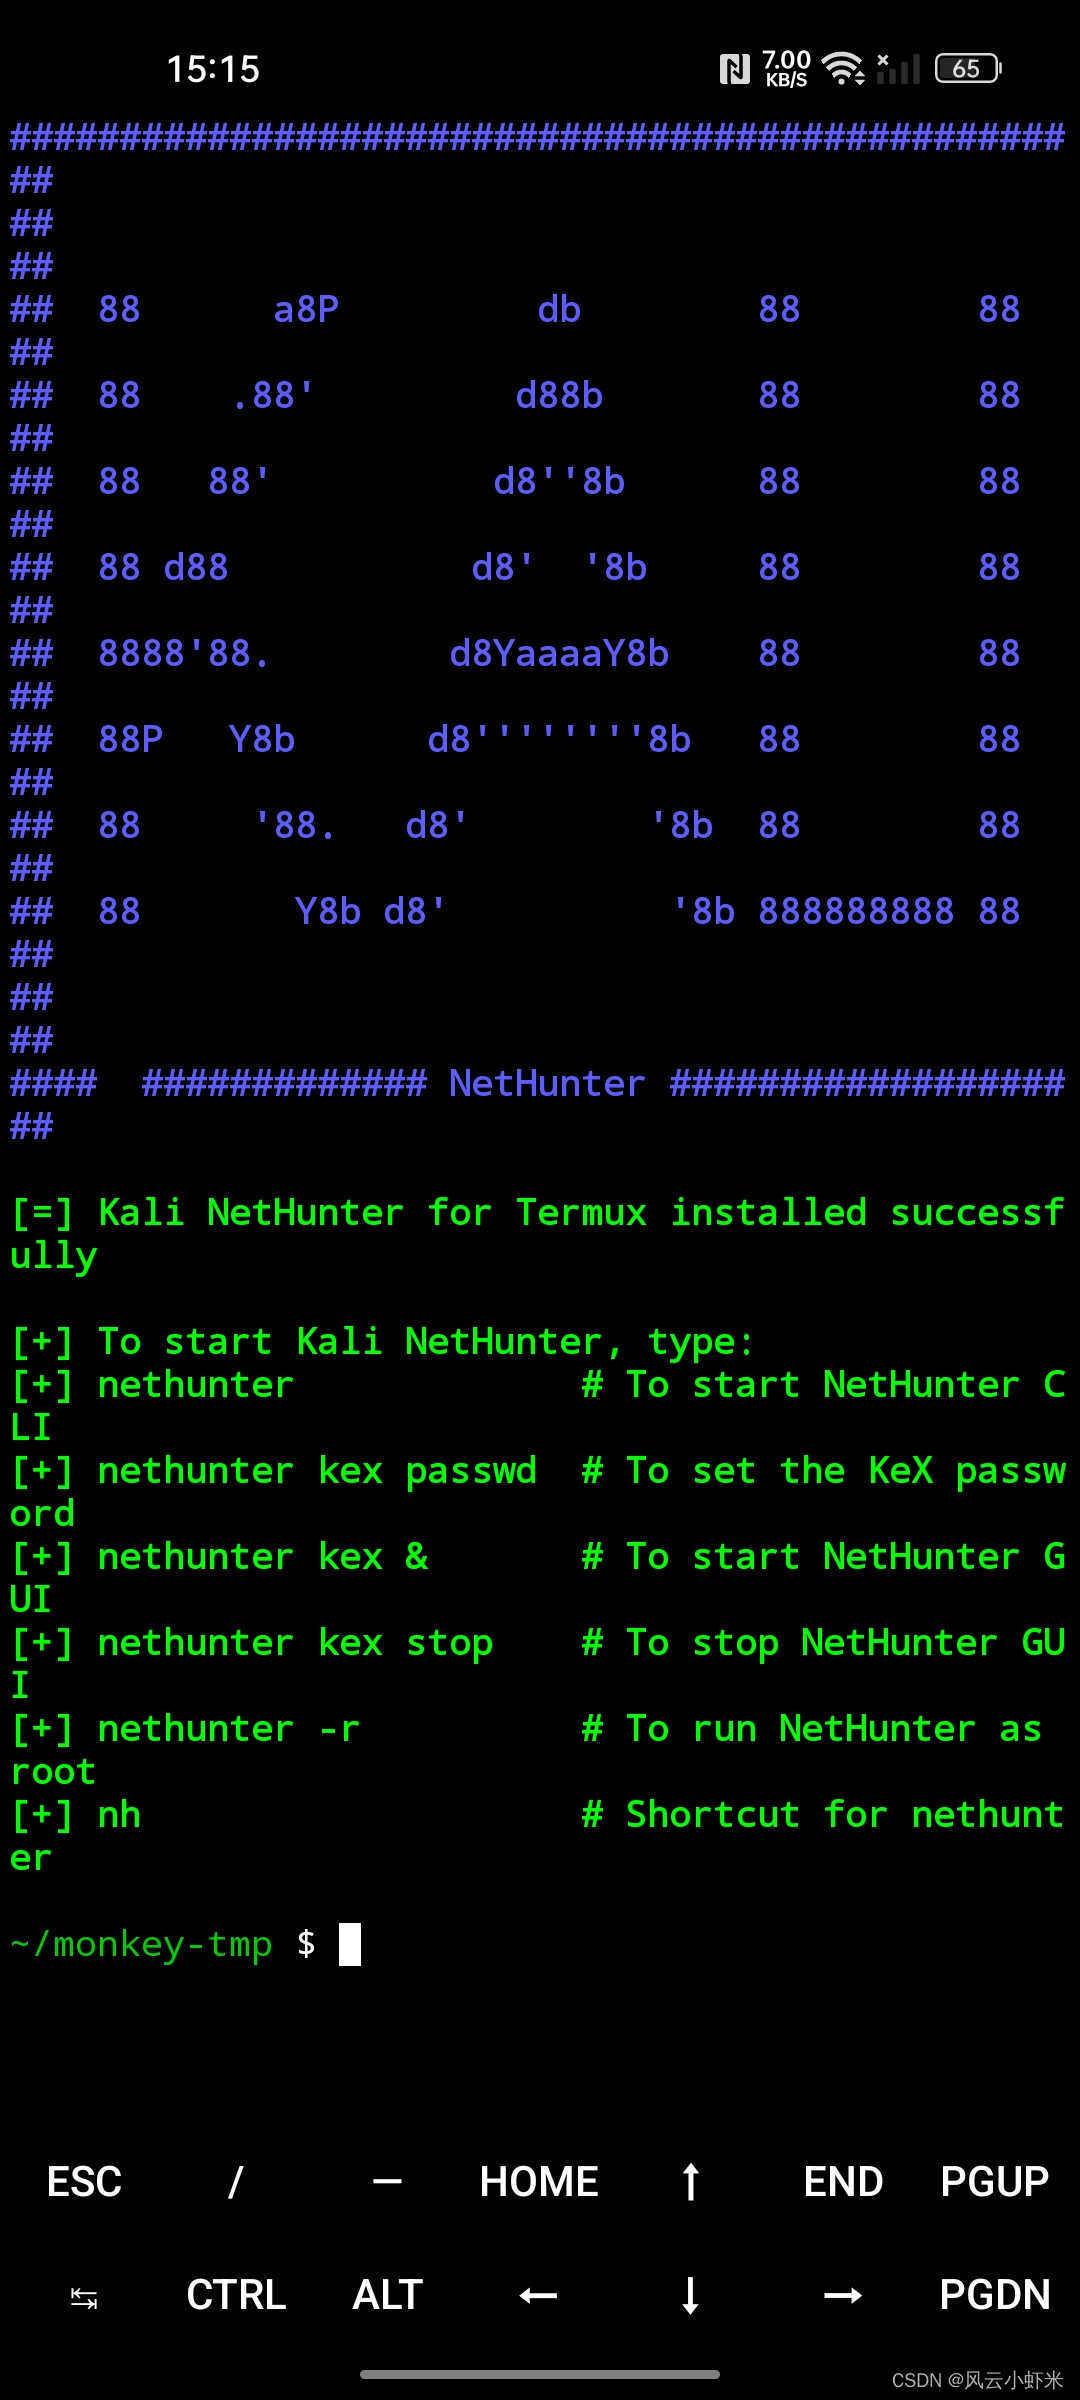
还有很多坑,别太高兴哦
2、更换apt源
nh  #nethunter缩写,进入Kali,root进入  nh -r 默认sudo需要的密码 kali

vim /etc/apt/source.list

deb http://mirrors.aliyun.com/kali kali-rolling main non-free contrib

deb-src http://mirrors.aliyun.com/kali kali-rolling main non-free contrib

apt update #先不要 upgrade避免出问题,马上遇见一个坑,kali nethunter未配置DNS,见报错汇总解决DNS
3、图形化连接
apt install dbus-x11 #不安装会报错,详情见报错汇总
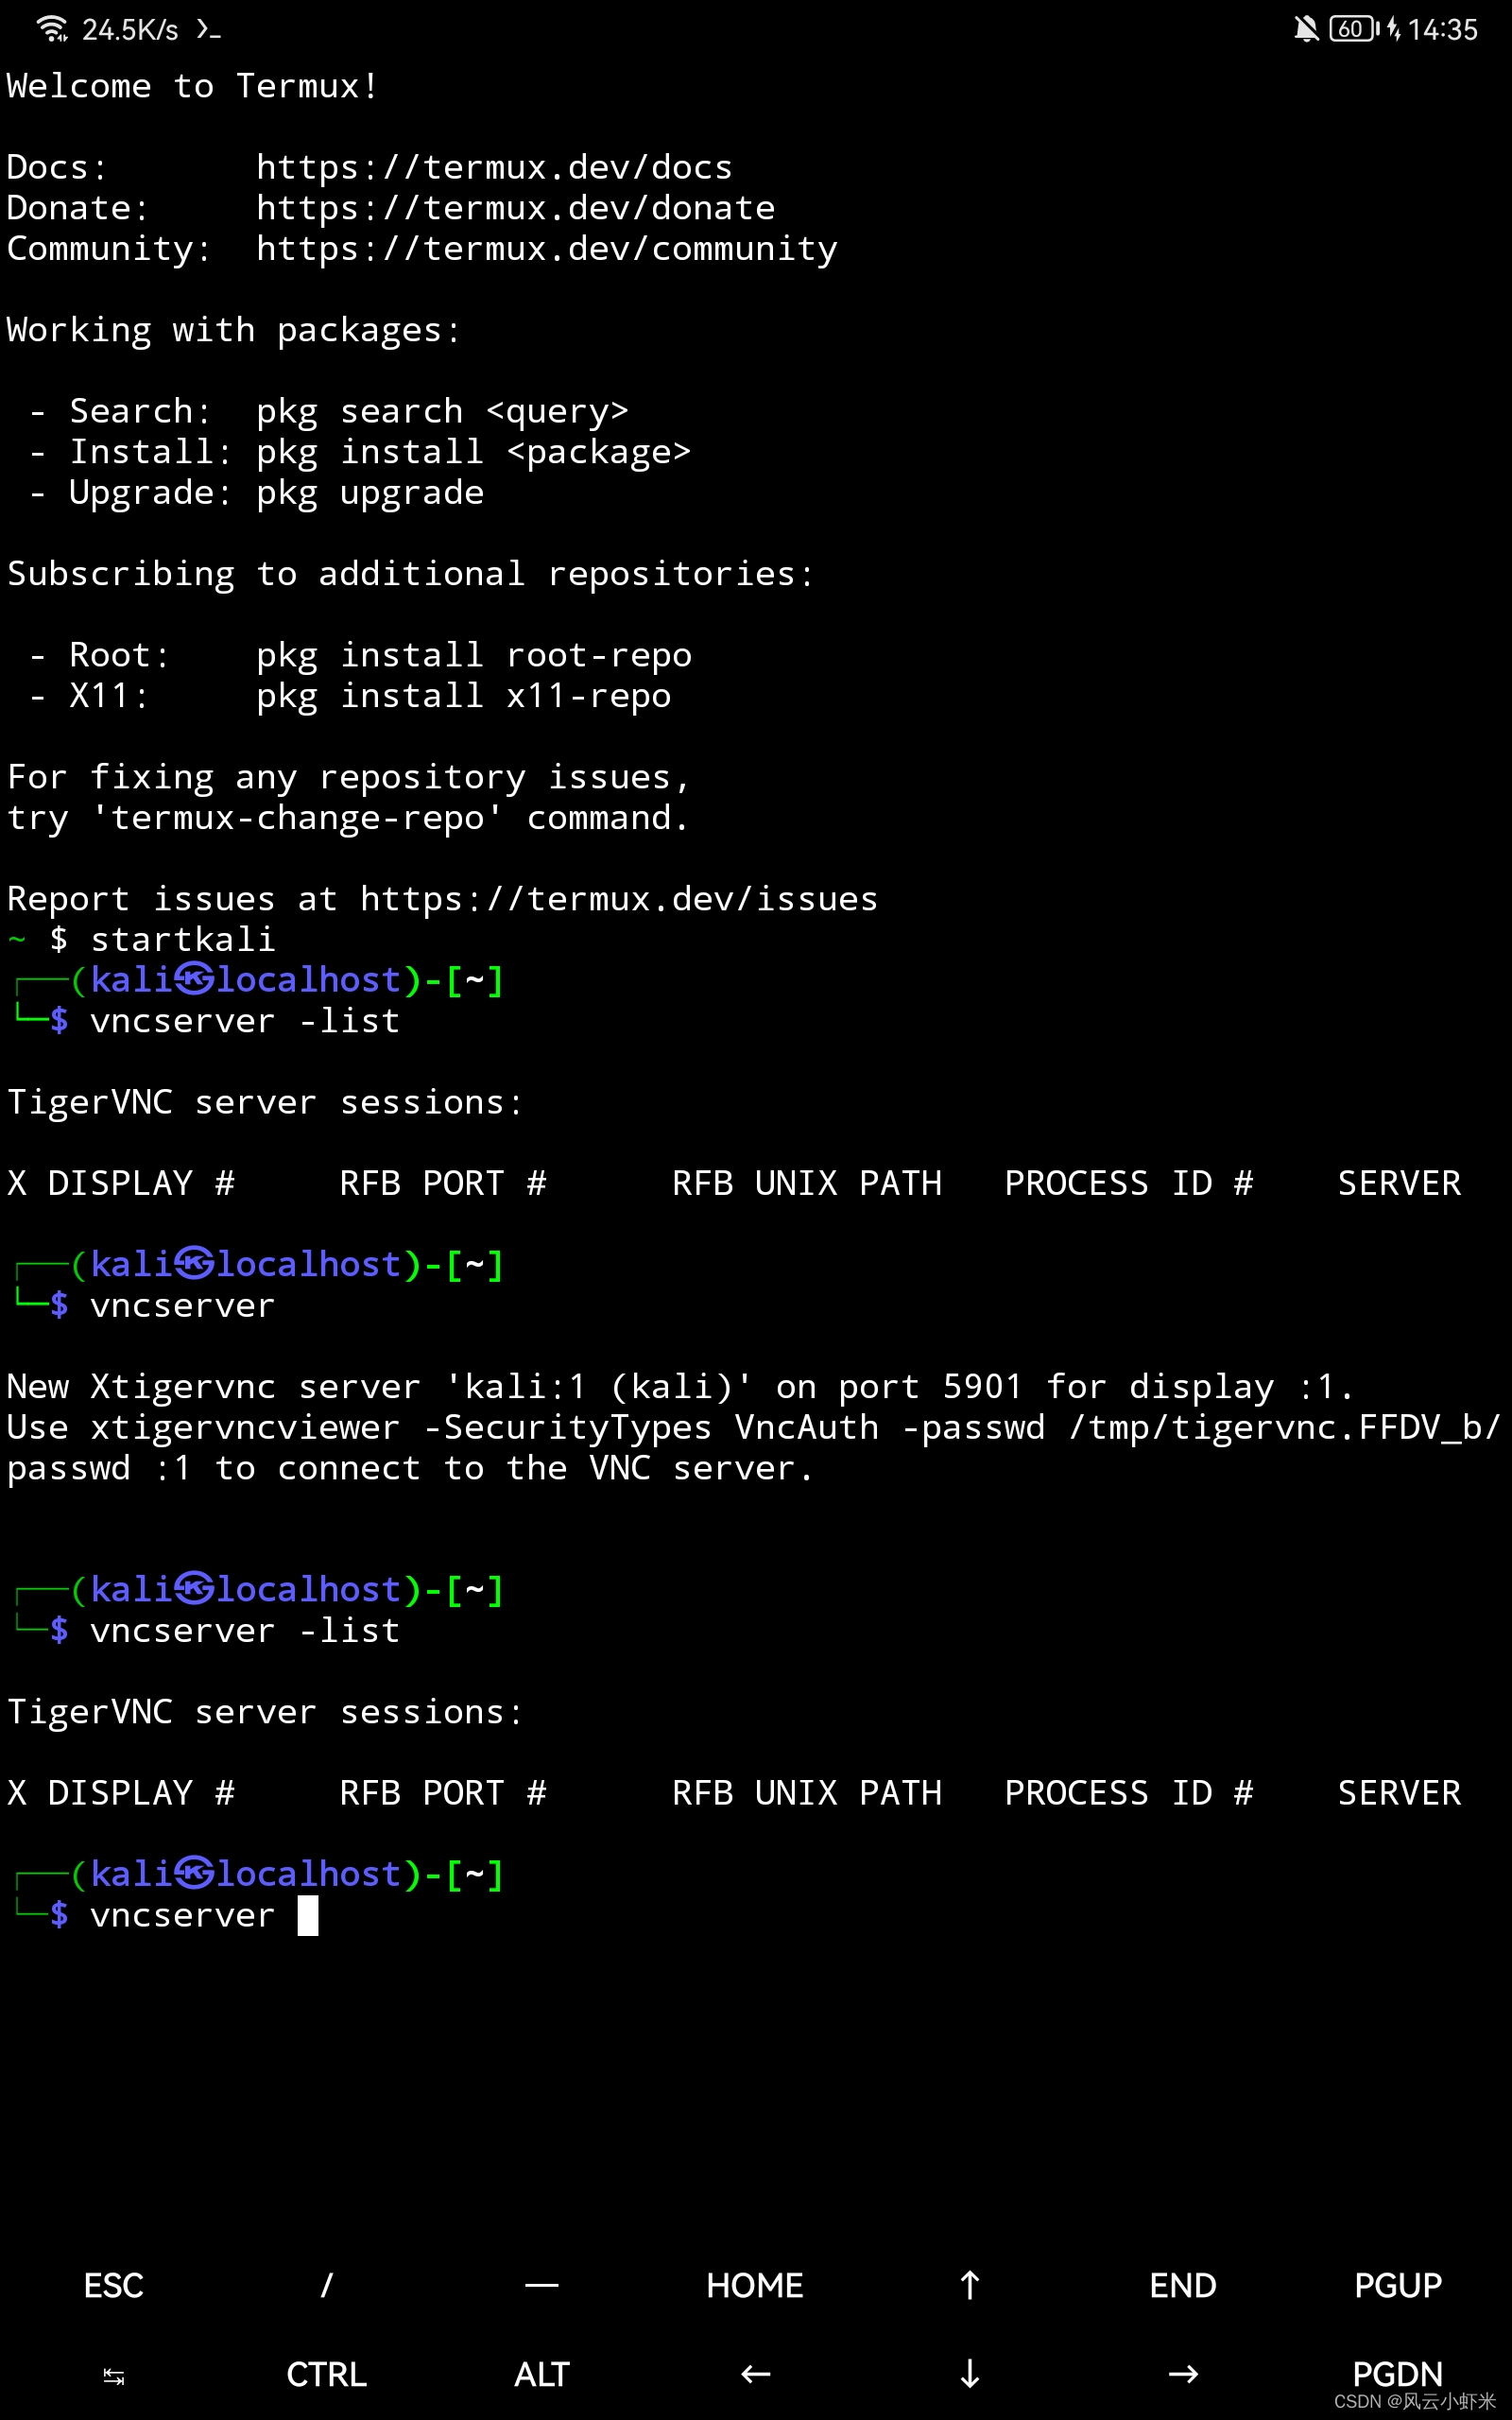
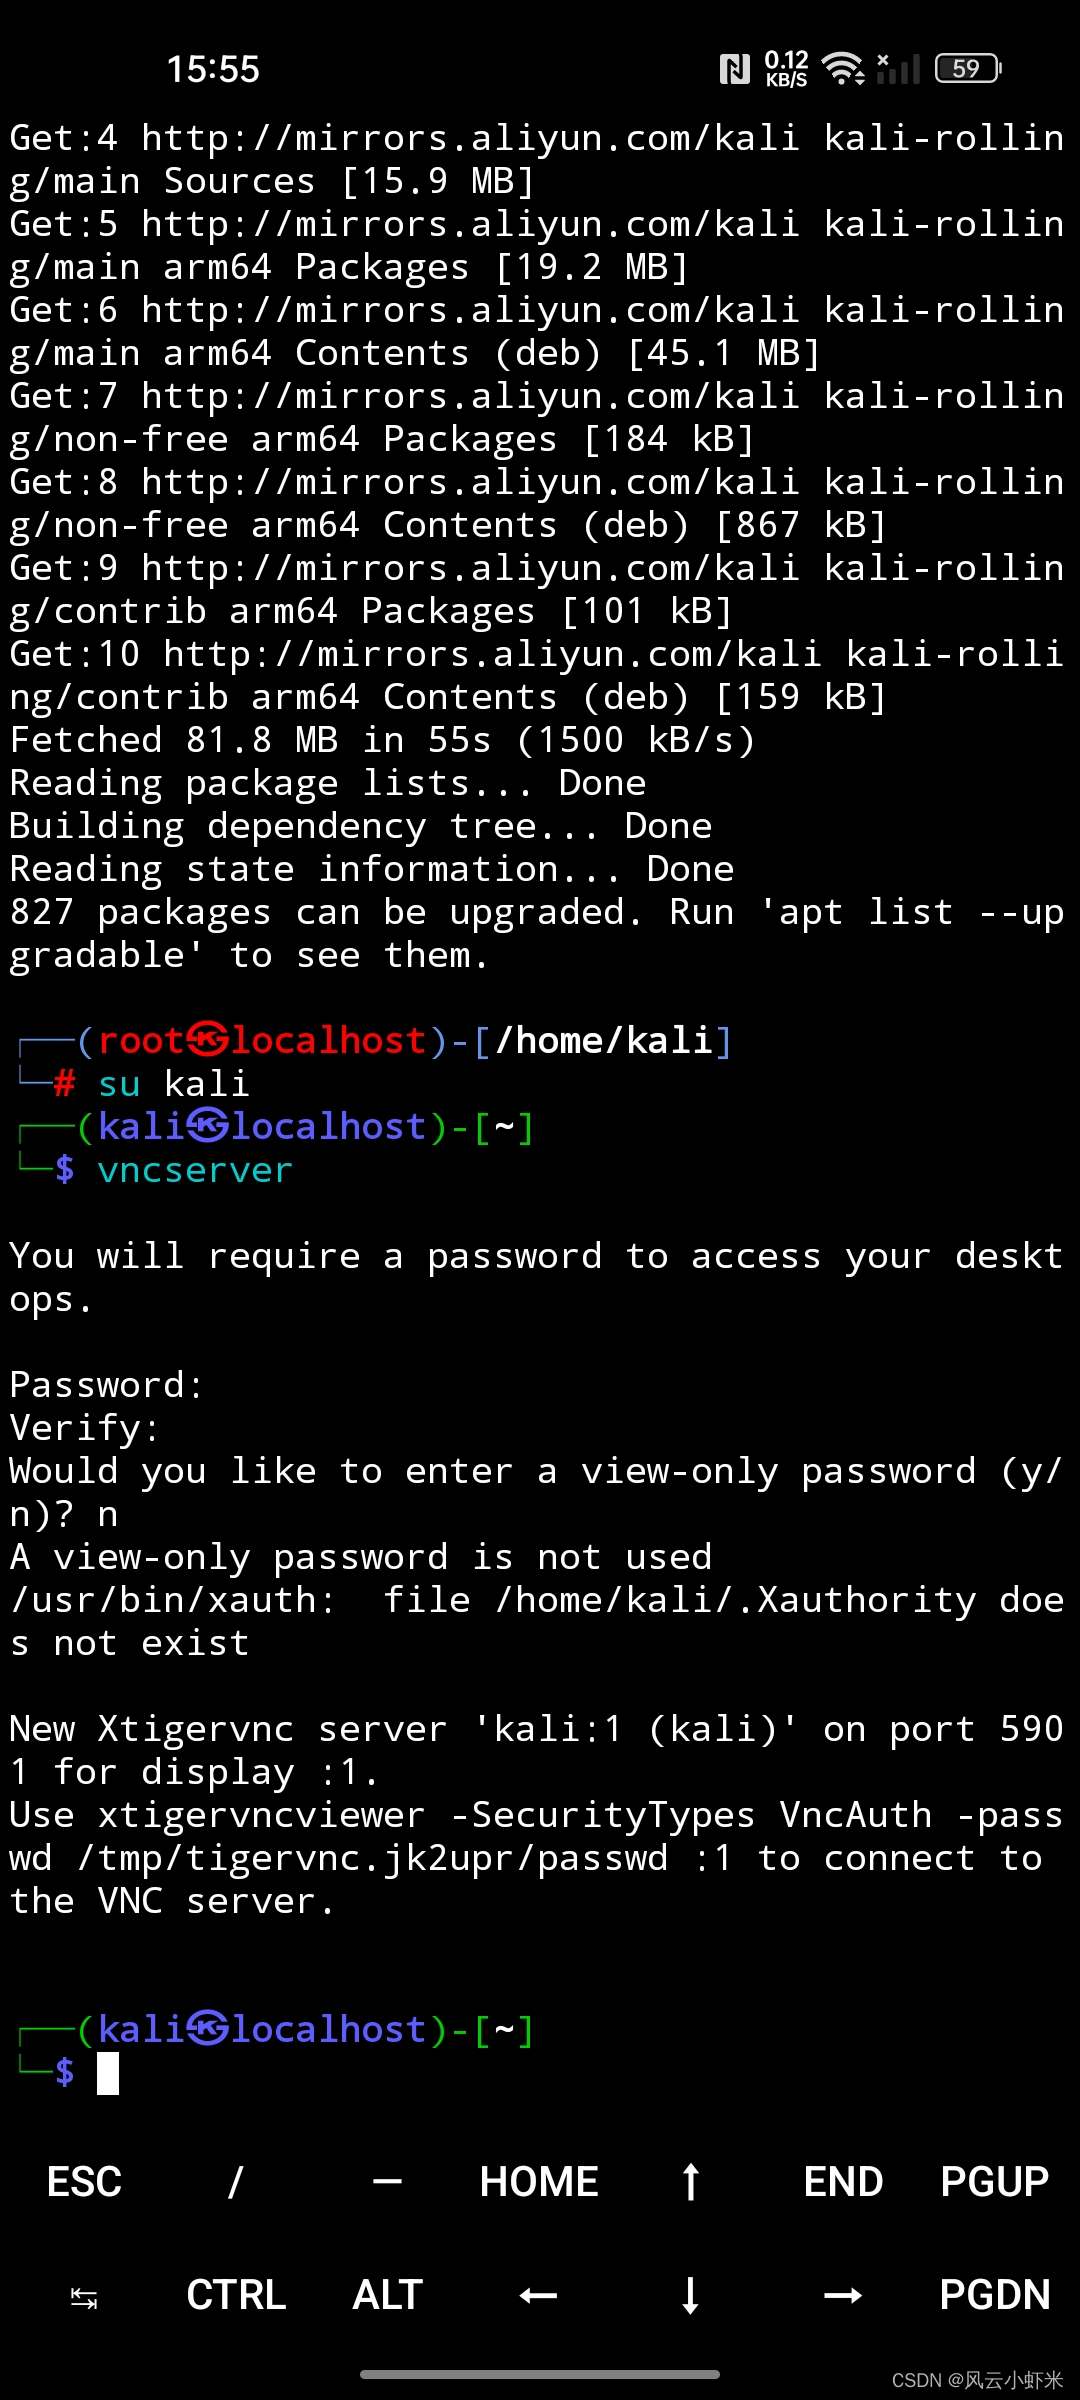
vncserver #默认开启5901  vncserver -list 查看开启列表  vncserver -kill :1 关闭具体Session  vncserver :1 开启指定Session :1对应5901 :2对应5902 依次类推
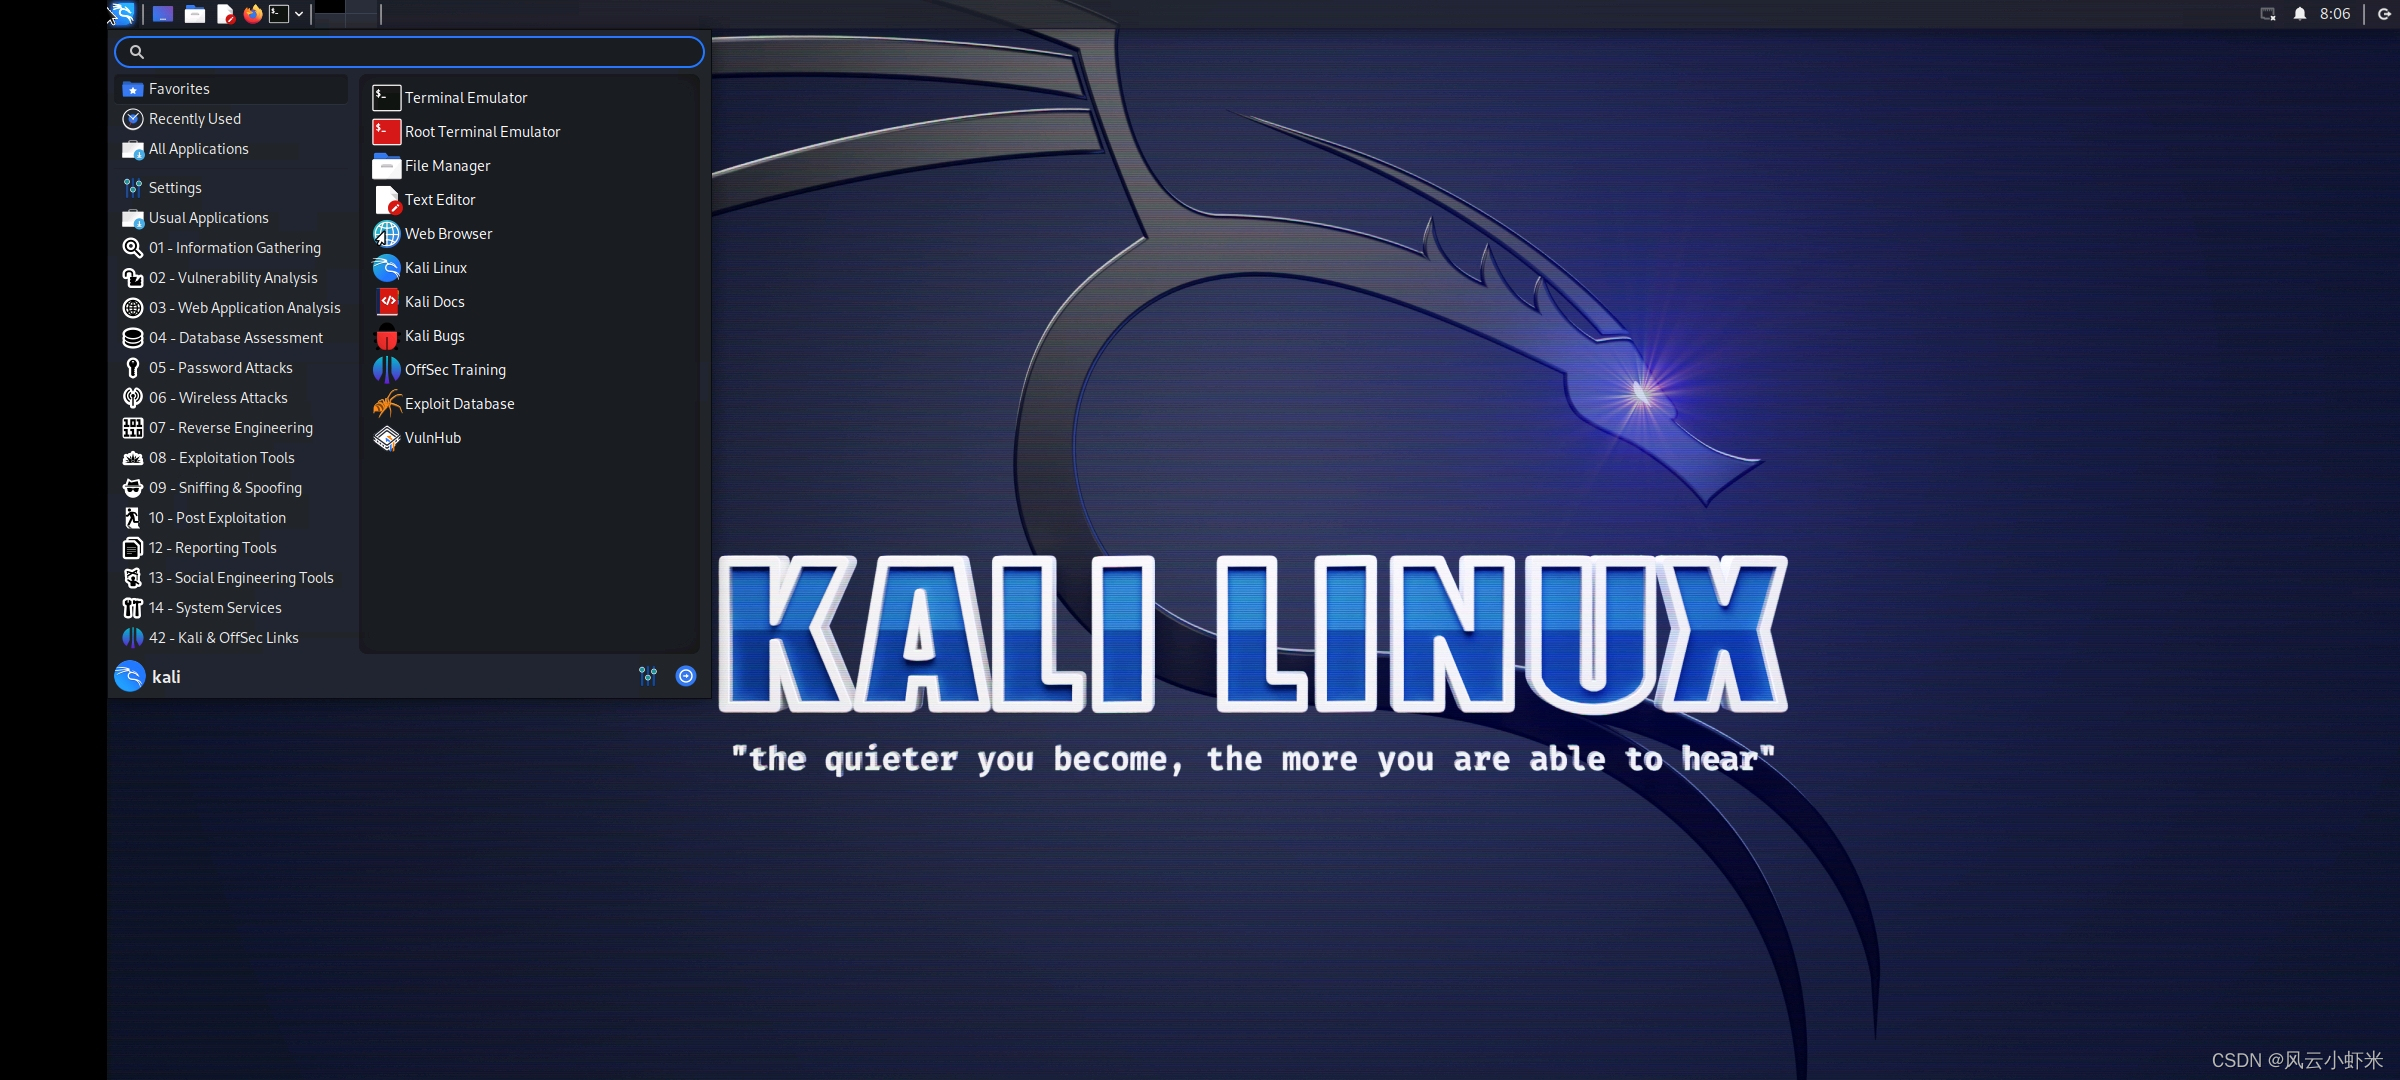
四、报错汇总
1、Kali Linux的VNC连接失败或灰屏
#下面改不改都可,主要是判断易出错情况,进行的逻辑选择保证可以正常链接桌面
$ vim ~/.vnc/xstartup

#!/bin/sh
unset SESSION_MANAGER
unset DBUS_SESSION_BUS_ADDRESS
startxfce4 &
[ -x /etc/vnc/xstartup ] && exec /etc/vnc/xstartup
[ -r $HOME/.Xresources ] && xrdb $HOME/.Xresources
xsetroot -solid grey
如果上面还是没成功连接图形桌面,建议参考如下几个解决方案:
https://blog.csdn.net/xiaokai1999/article/details/129143605
https://blog.csdn.net/kong1287988804/article/details/78614154
2、Kali Nethunter未配置DNS报错
报错信息:
Failed to fetch http://mirrors.aliyun.com/kali/dists/kali-rolling/InRelease Temporary failure resolving ‘mirrors.aliyun.com’
W: Some index files failed to download. They have been ignored, or old ones used instead.
H: Failed to fetch http://http.kali.org/kali/dists/kali-rolling/InRelease Temporary failure resolving ‘http.kali.org’
W: Some index files failed to download. They have been ignored, or old ones used instead.
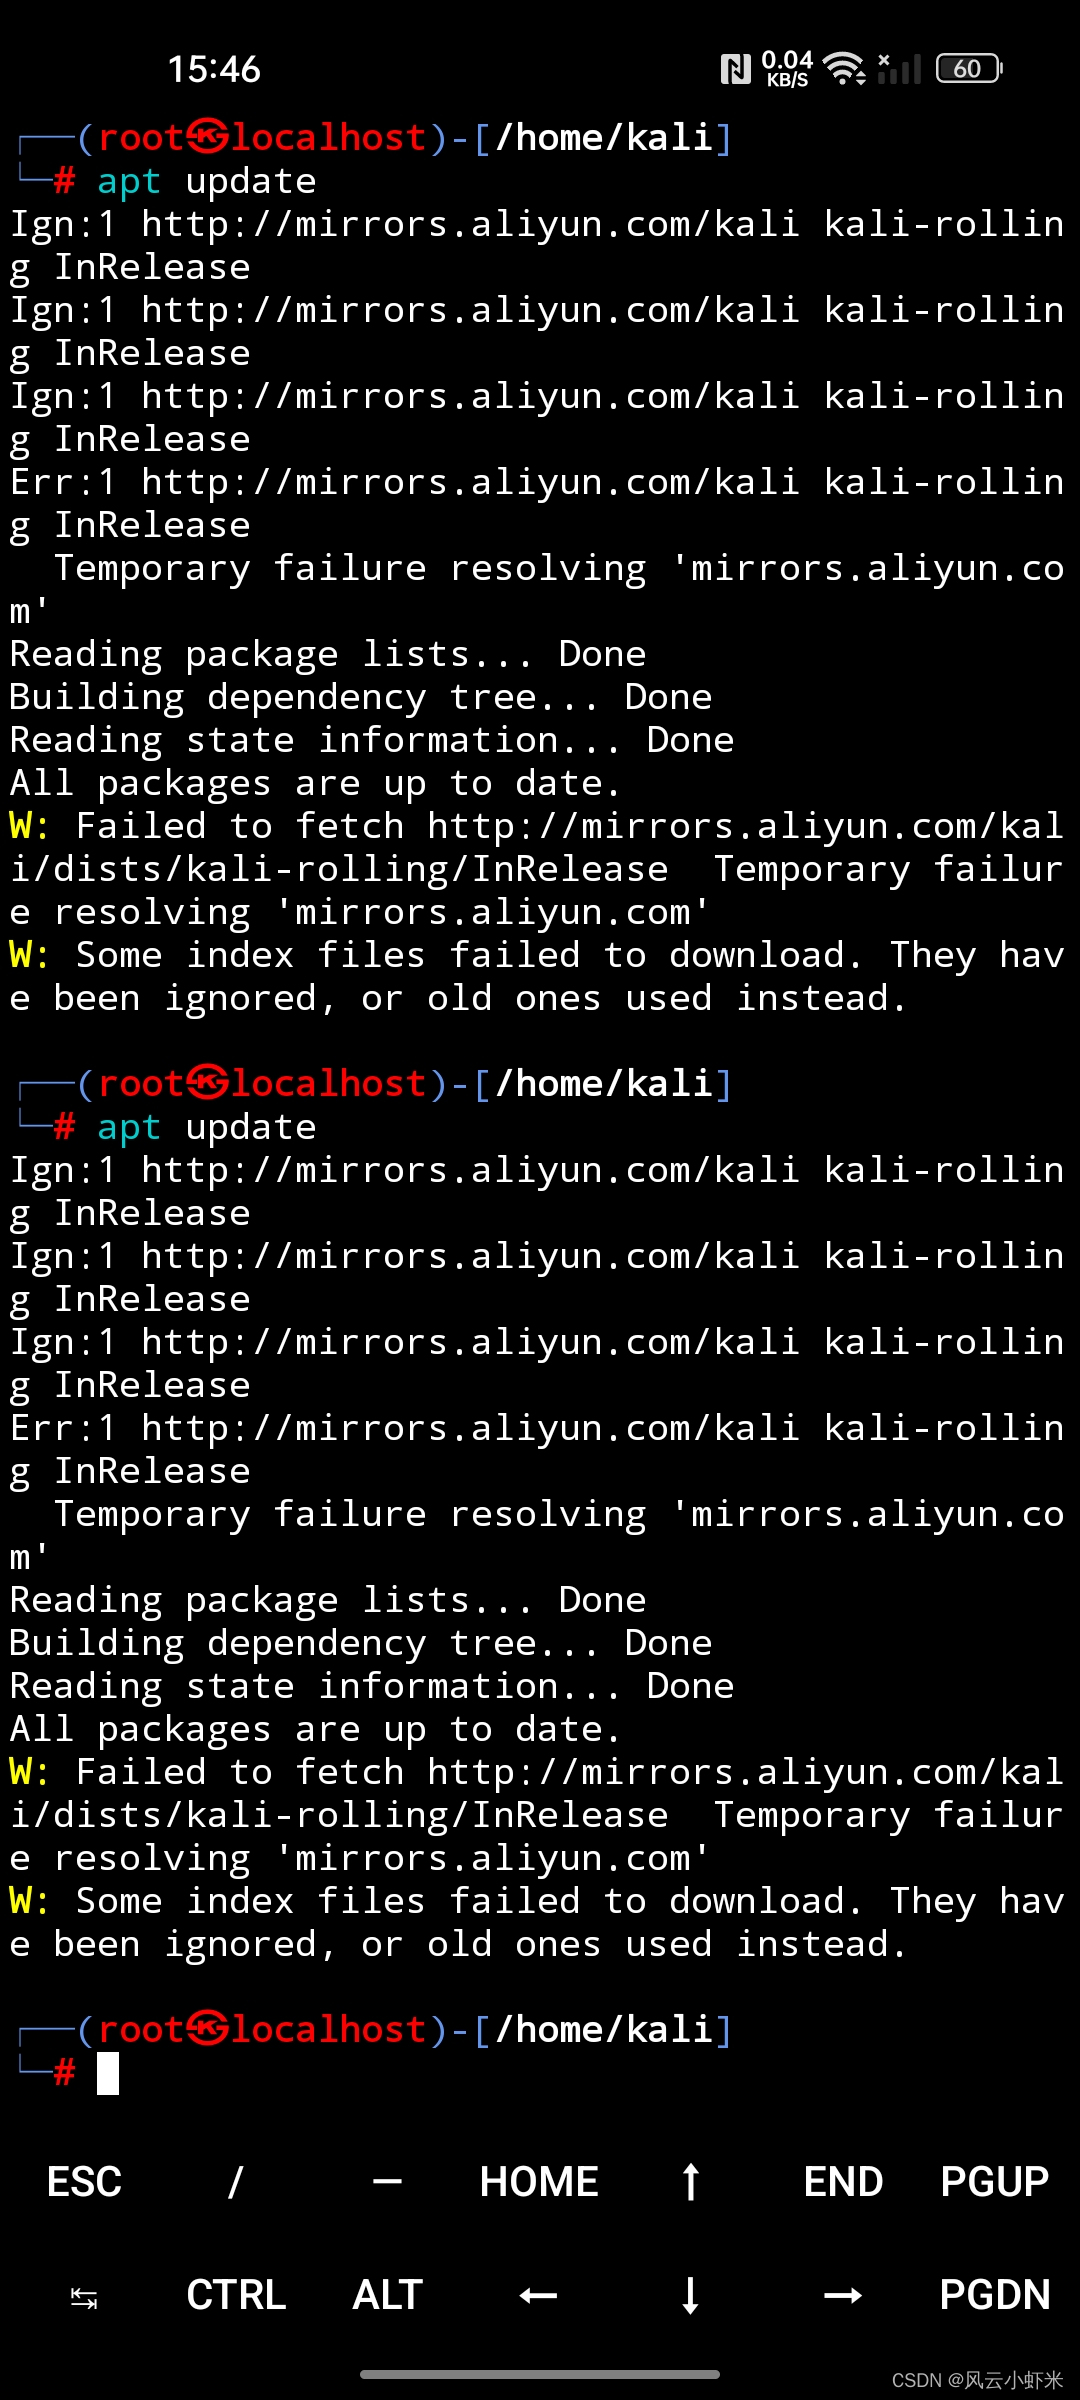
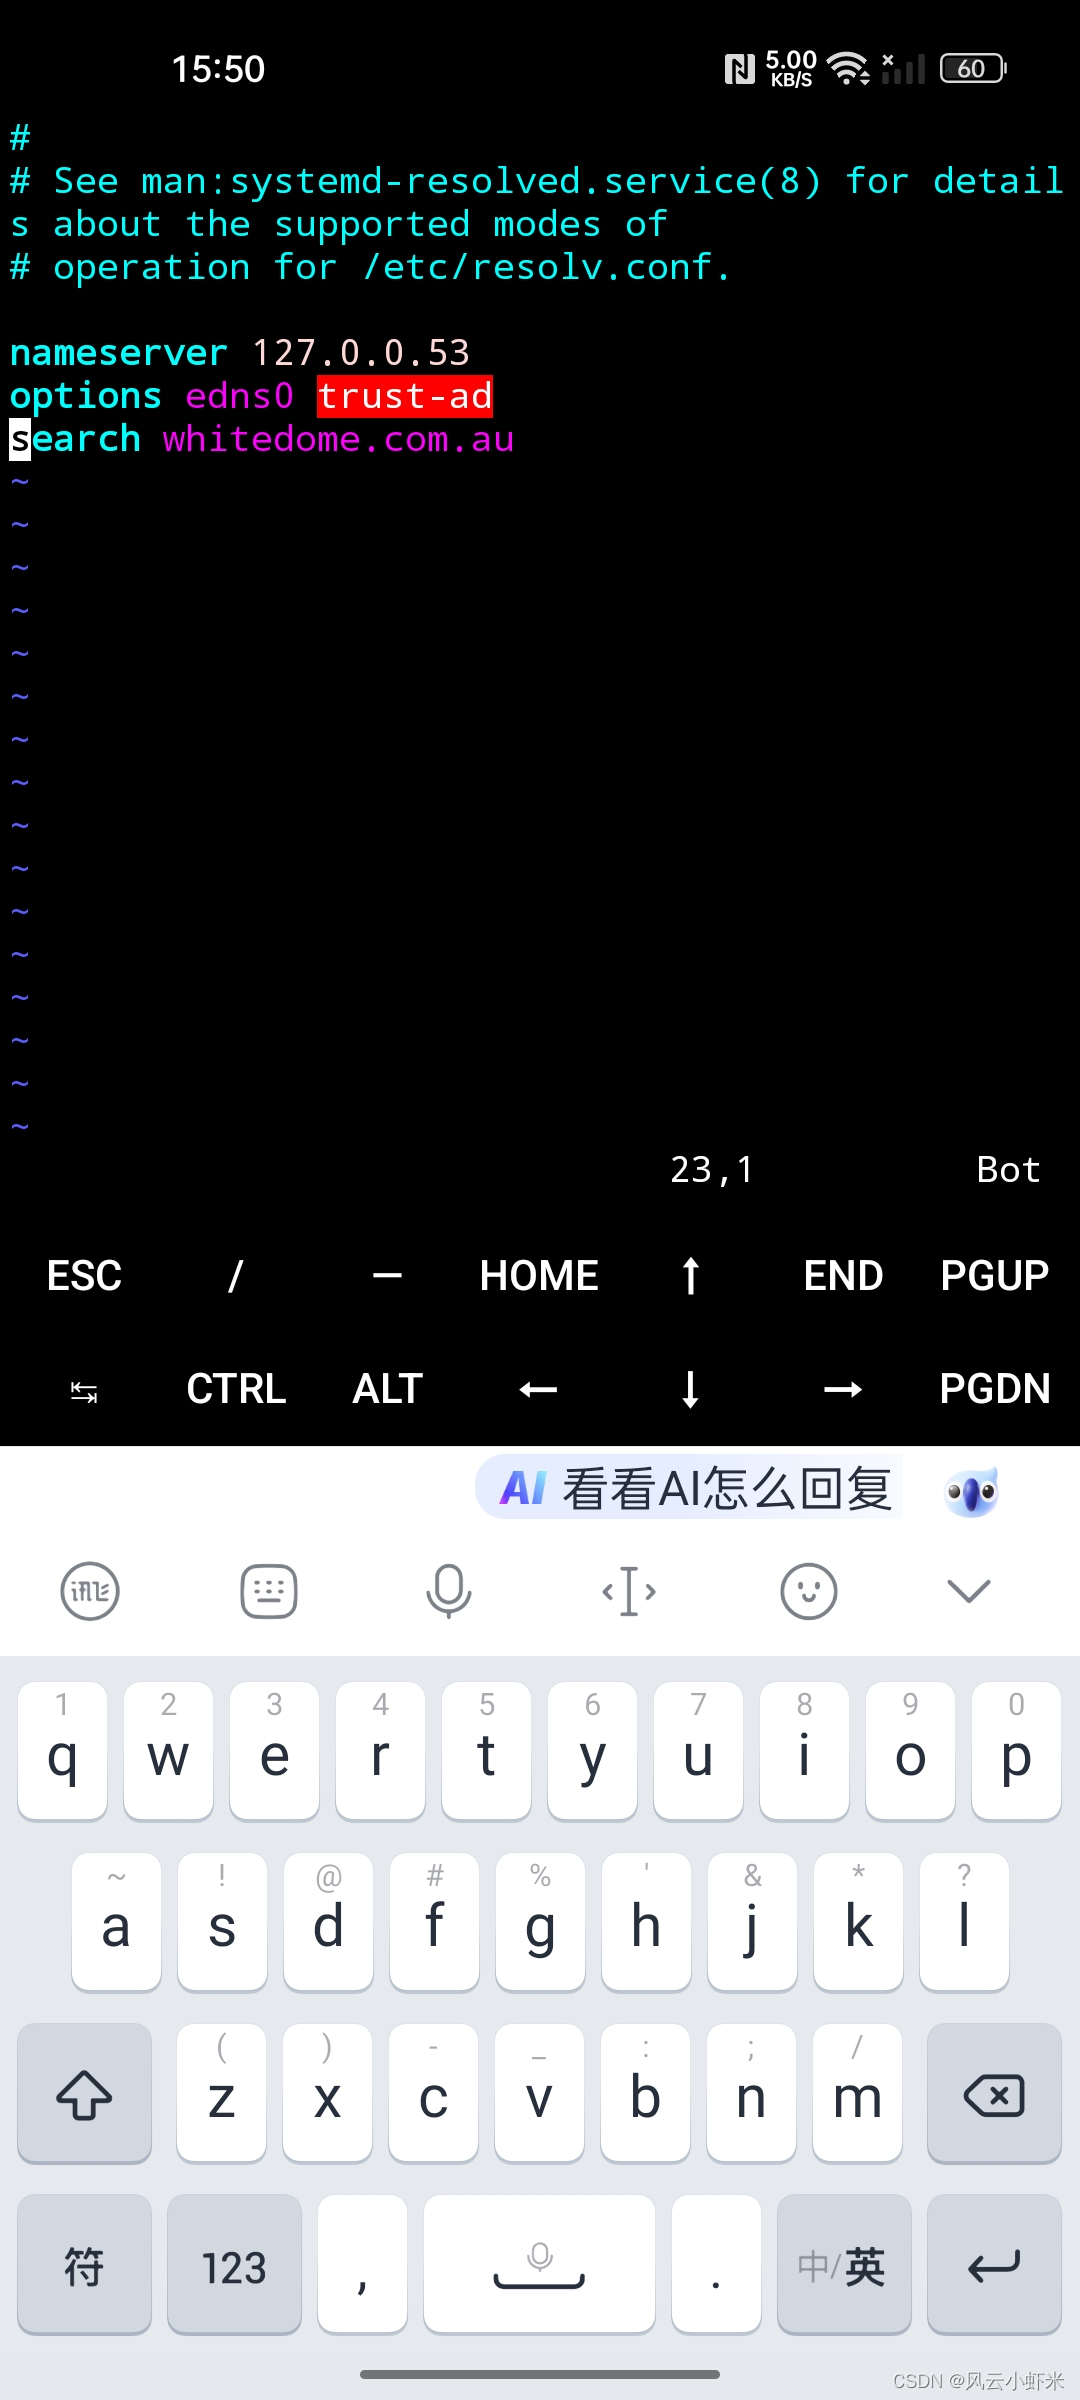
vim /etc/resolv.conf  #root模式下,所有命令都是
#替换下面图片内容,建议原有的三行注释掉,添加下面三行命令
search localdomain
nameserver 223.5.5.5
nameserver 8.8.8.8
3、Kali Nethunter的VNC连接失败
报错信息:
failed to execute child process “dbus-launch” (no such file or directory)

4、Kali Linux更新upgrade时postgresql报错
报错信息:
mainError: Data directory /var/lib/postgresql/15/main must not be owned by root … failed!
E: Sub–process /usr/bin/dpkg returned an error code (1)
#主要是删除postgresql*和重新配置configure
sudo apt update && sudo apt full-upgrade -y

sudo rm -rf /var/lib/dpkg/info/postgresql*

sudo dpkg --configure -a

sudo apt update && sudo apt full-upgrade -y
5、Kali未正确关闭VNC session报错
报错信息:
vncserver: No matching VNC server running for this user!
Linking lock file (/tmp/.X1-lock) in place failed: No such file or directory
#避免经常出现此问题,每次图形化之后logout或vncserver -kill
rm -rf  /root/.vnc #删除 .vnc下所有文件
rm -rf /tmp #删除tmp下所有文件,包括隐藏文件 .X1-lock .X11-unix 这两个必须删除,然后执行下面命令或vncserver
vncserver -depth 24 -geometry 1920x1080
#删tmp下面文件后显示Linking lock file (/tmp/.X1-lock) in place failed: No such file or directory,采取将tmp备份,然后删除tmp创建个空的tmp目录
如果还未解决,可参考其他方案,如下:
https://blog.csdn.net/Qwertyuiop2016/article/details/118105155
6、Kali的自带Firefox报错
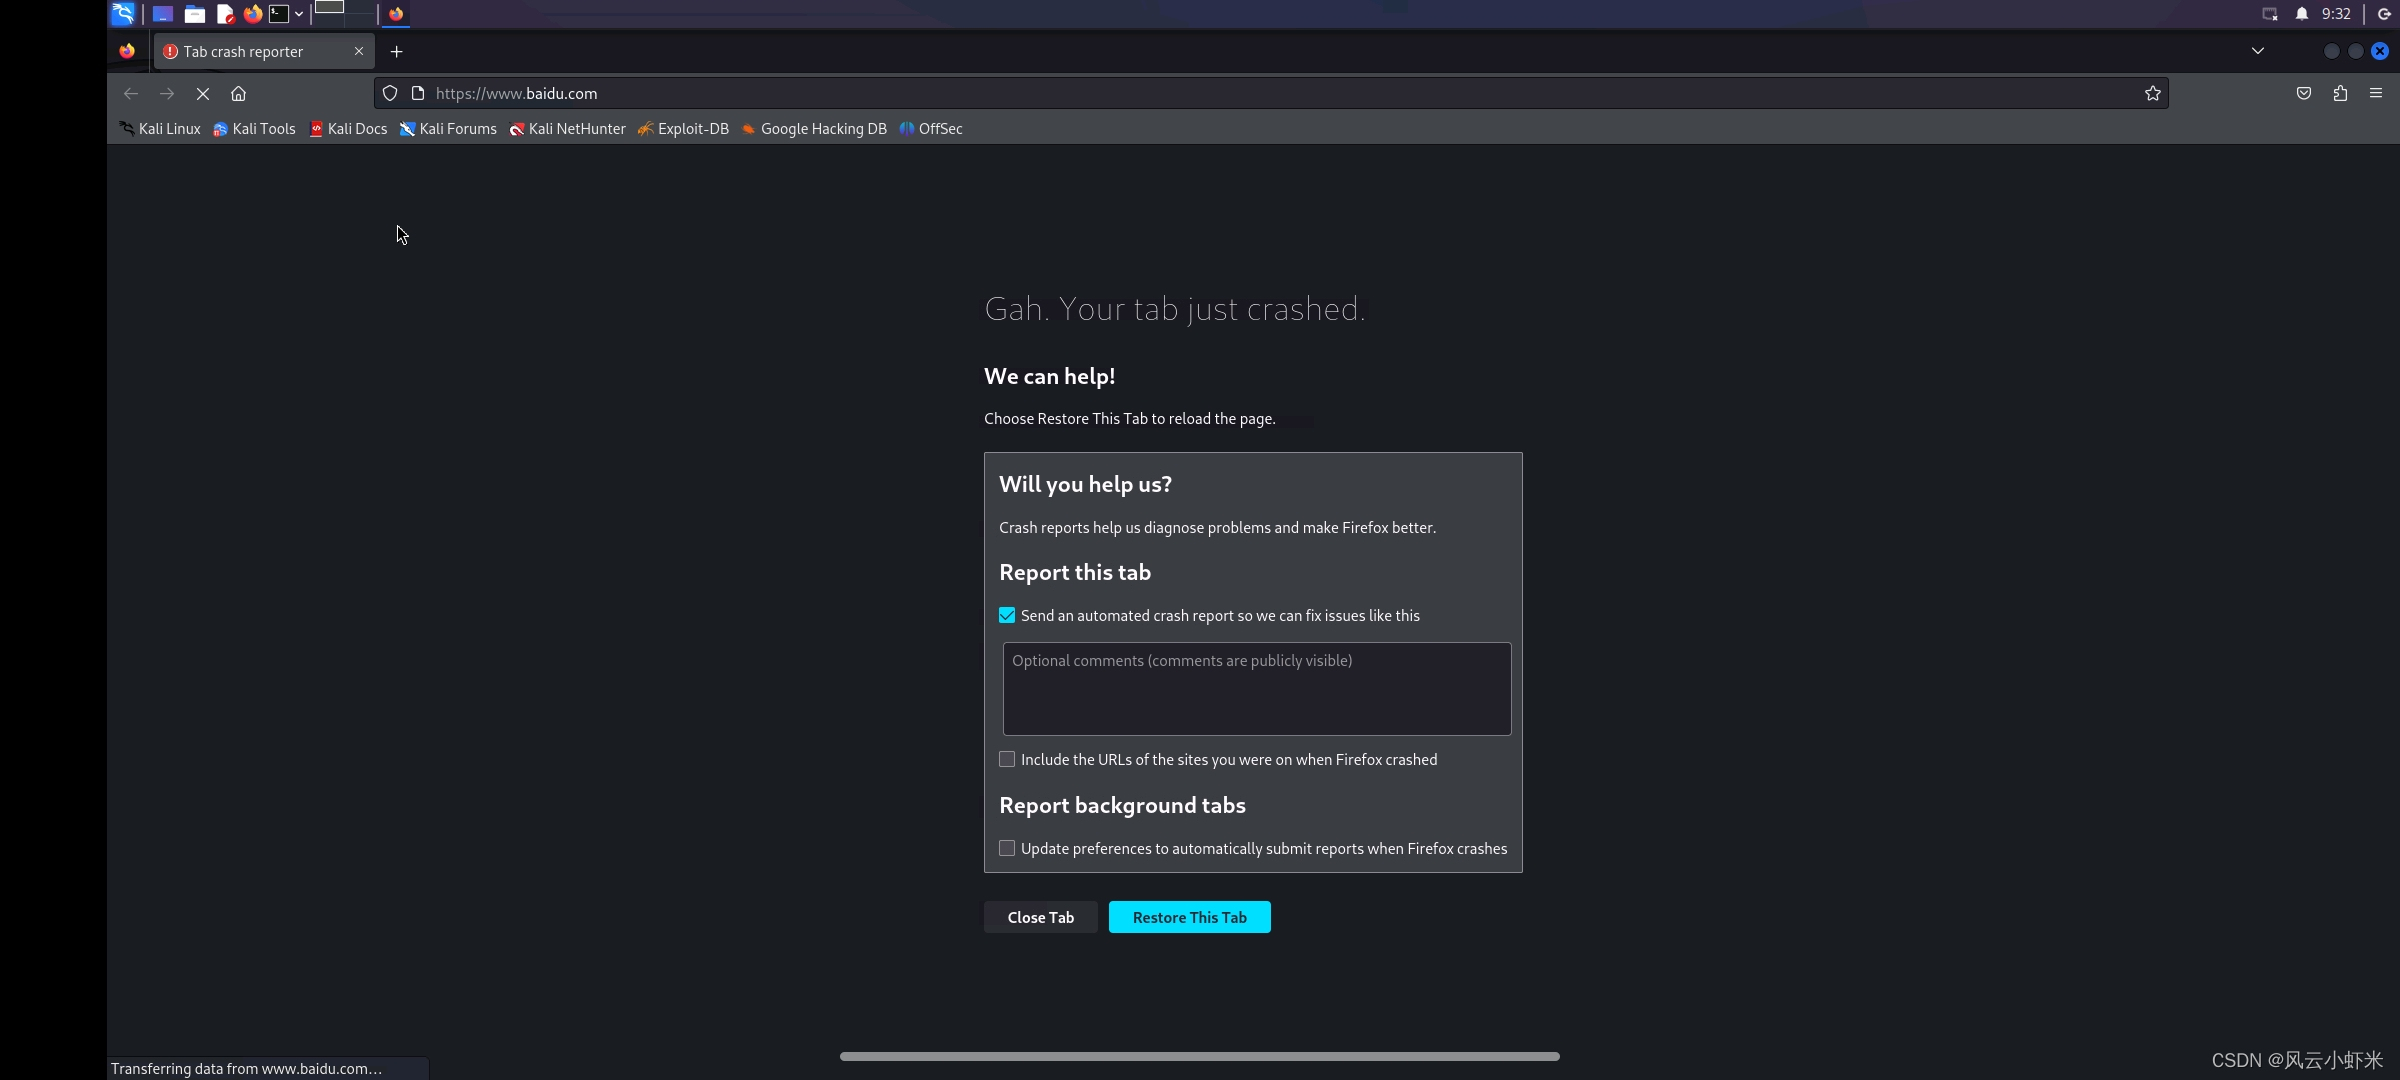
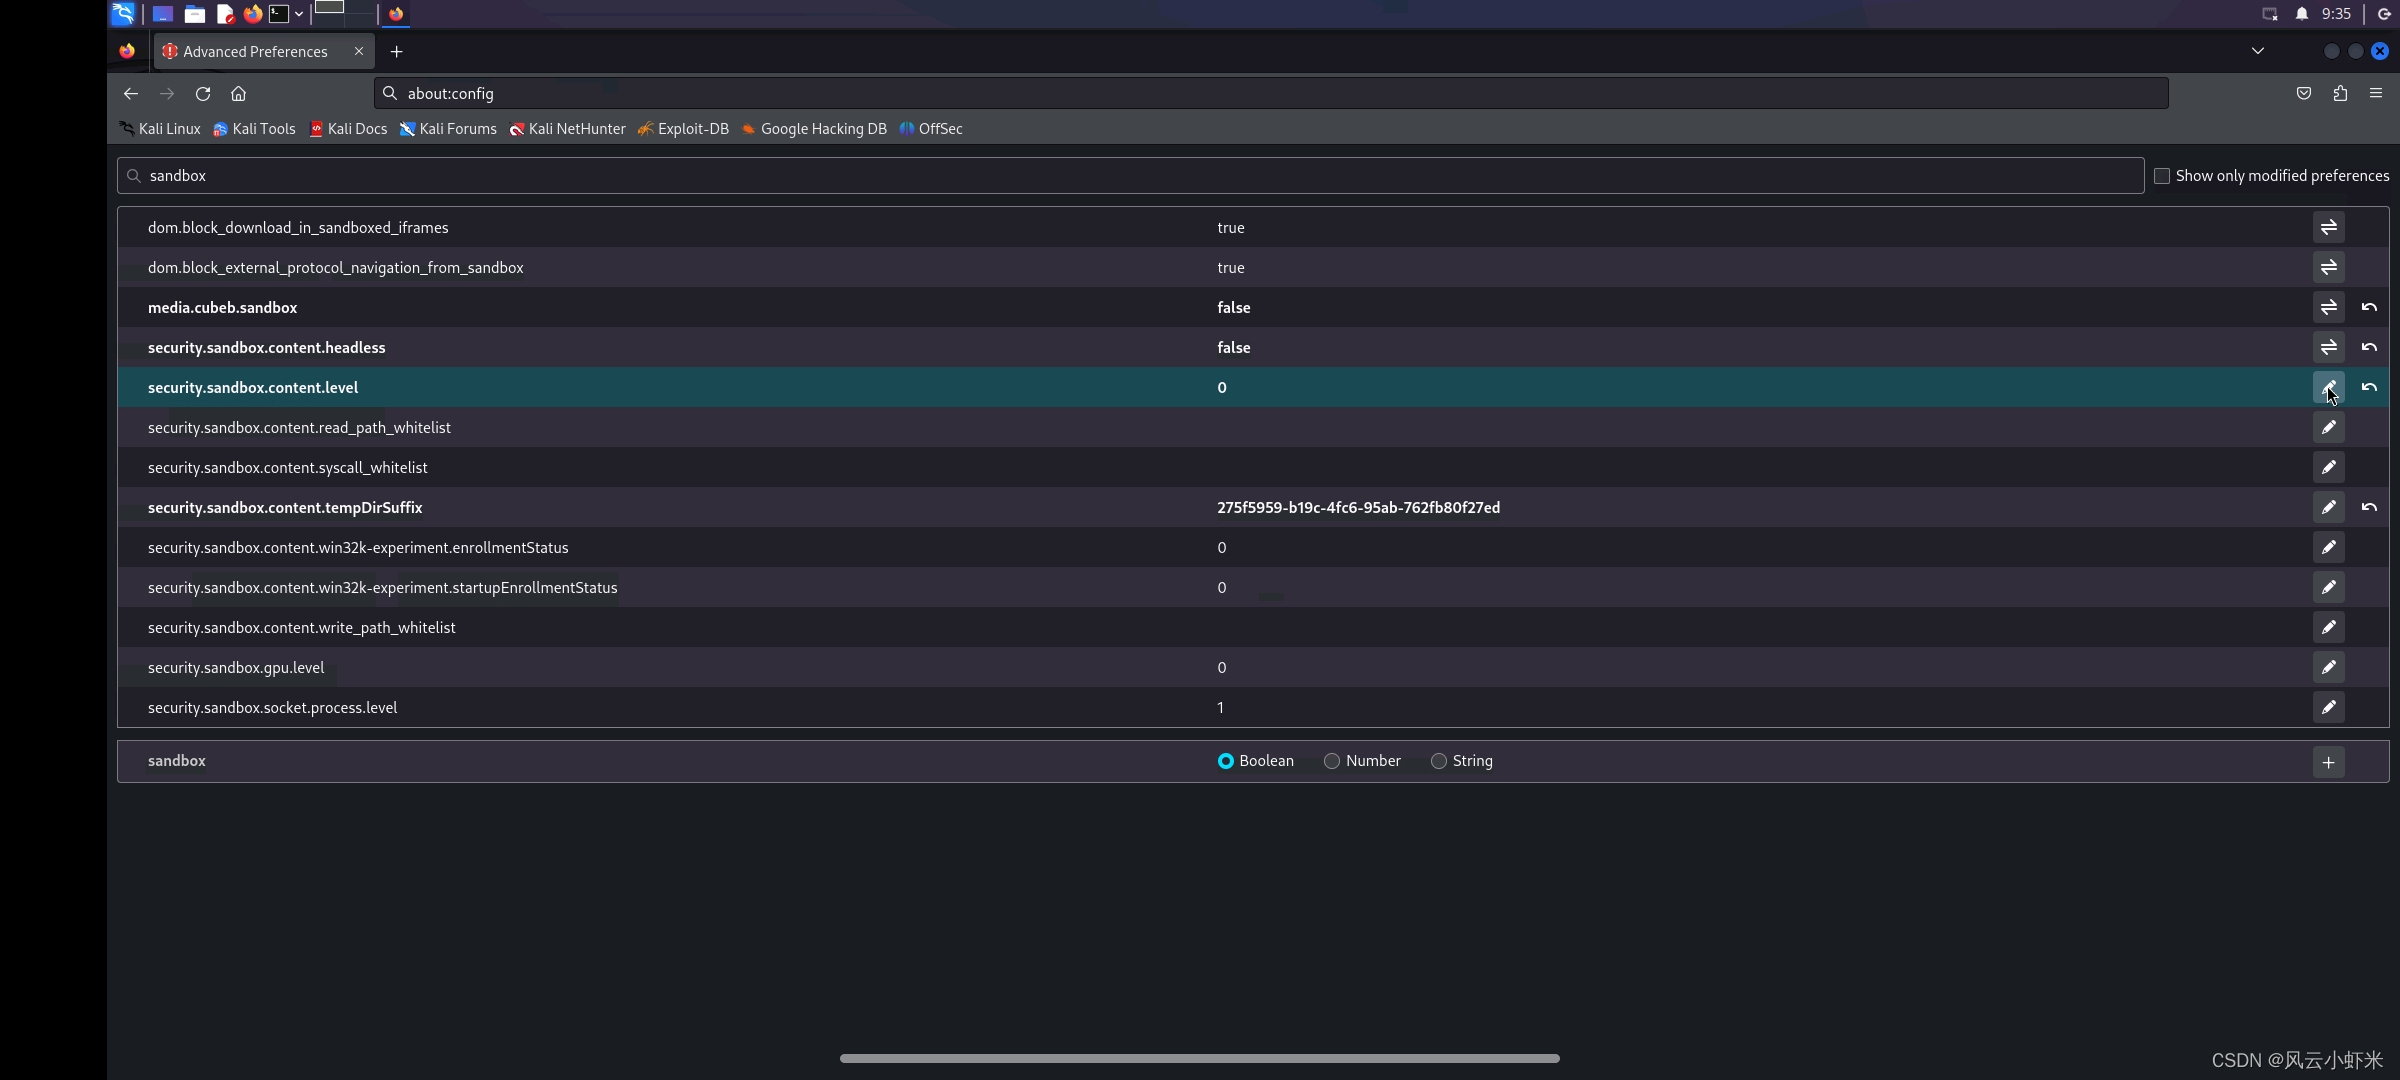
其他方案如下:
#检测火狐是否开启了系统代理,然后完成上面图片配置更改,如果还不能上网,启动下面命令
vim /etc/NetworkManager/NetworkManager.conf
managed=false改成true
service networking restart
systemctl enable --now NetworkManager  #没有NetworkManager 换 network-manager  还没有安装下面的nmcli
#上面错误执行下面
apt install nmcli
NetworkManager start #此时 systemctl 将失效
7、Termux的Kali默认没有Systemctl
报错信息:
System has not been booted with systemd as init system(PID 1)
apt-get install  systemd
apt-get install  systemctl
sudo apt-get install aptitude

sudo aptitude install systemctl
8、Kali自带的apache2报错
报错信息:
Starting Apache httpd web server: apache2/usr/sbin/apache2ctl: 102: ulimit: error setting limit (Operation not permitted)
Setting ulimit failed. See README.Debian for more information.
AH00558: apache2: Could not reliably determine the server’s fully qualified domain name, using ::1. Set the ‘ServerName’ directive globally to suppress this message
(13)Permission denied: AH00072: make_sock: could not bind to address [::]:80
(13)Permission denied: AH00072: make_sock: could not bind to address 0.0.0.0:80
no listening sockets available, shutting down
AH00015: Unable to open logs
1️⃣AH00558: apache2: Could not reliably determine the server’s fully qualified domain name, using ::1. Set the ‘ServerName’ directive globally to suppress this message
sudo vim /etc/apache2/apache2.conf
ServerName localhost:8080 #文件尾添加
2️⃣apache2ctl: 102: ulimit: error setting limit (Operation not permitted)
sudo vim /usr/sbin/apache2ctl
ULIMIT_MAX_FILES="${APACHE_ULIMIT_MAX_FILES:-ulimit -n 8192}" #此部分改为ULIMIT_MAX_FILES=""
if [ "x$ULIMIT_MAX_FILES" != "x" ] ; then
    $ULIMIT_MAX_FILES
3️⃣(13)Permission denied: AH00072: make_sock: could not bind to address [::]:80(13)Permission denied: AH00072: make_sock: could not bind to address 0.0.0.0:80 no listening sockets available, shutting down
sudo vim /etc/apache2/ports.conf #改监听端口
#改为 Listen 8080
五、资源汇总
1、本文资源获取地址
链接:https://pan.baidu.com/s/1oK7j1aMyP1ny_0H_mYEk0w?pwd=what
提取码:what
2、终端间的VNC连接
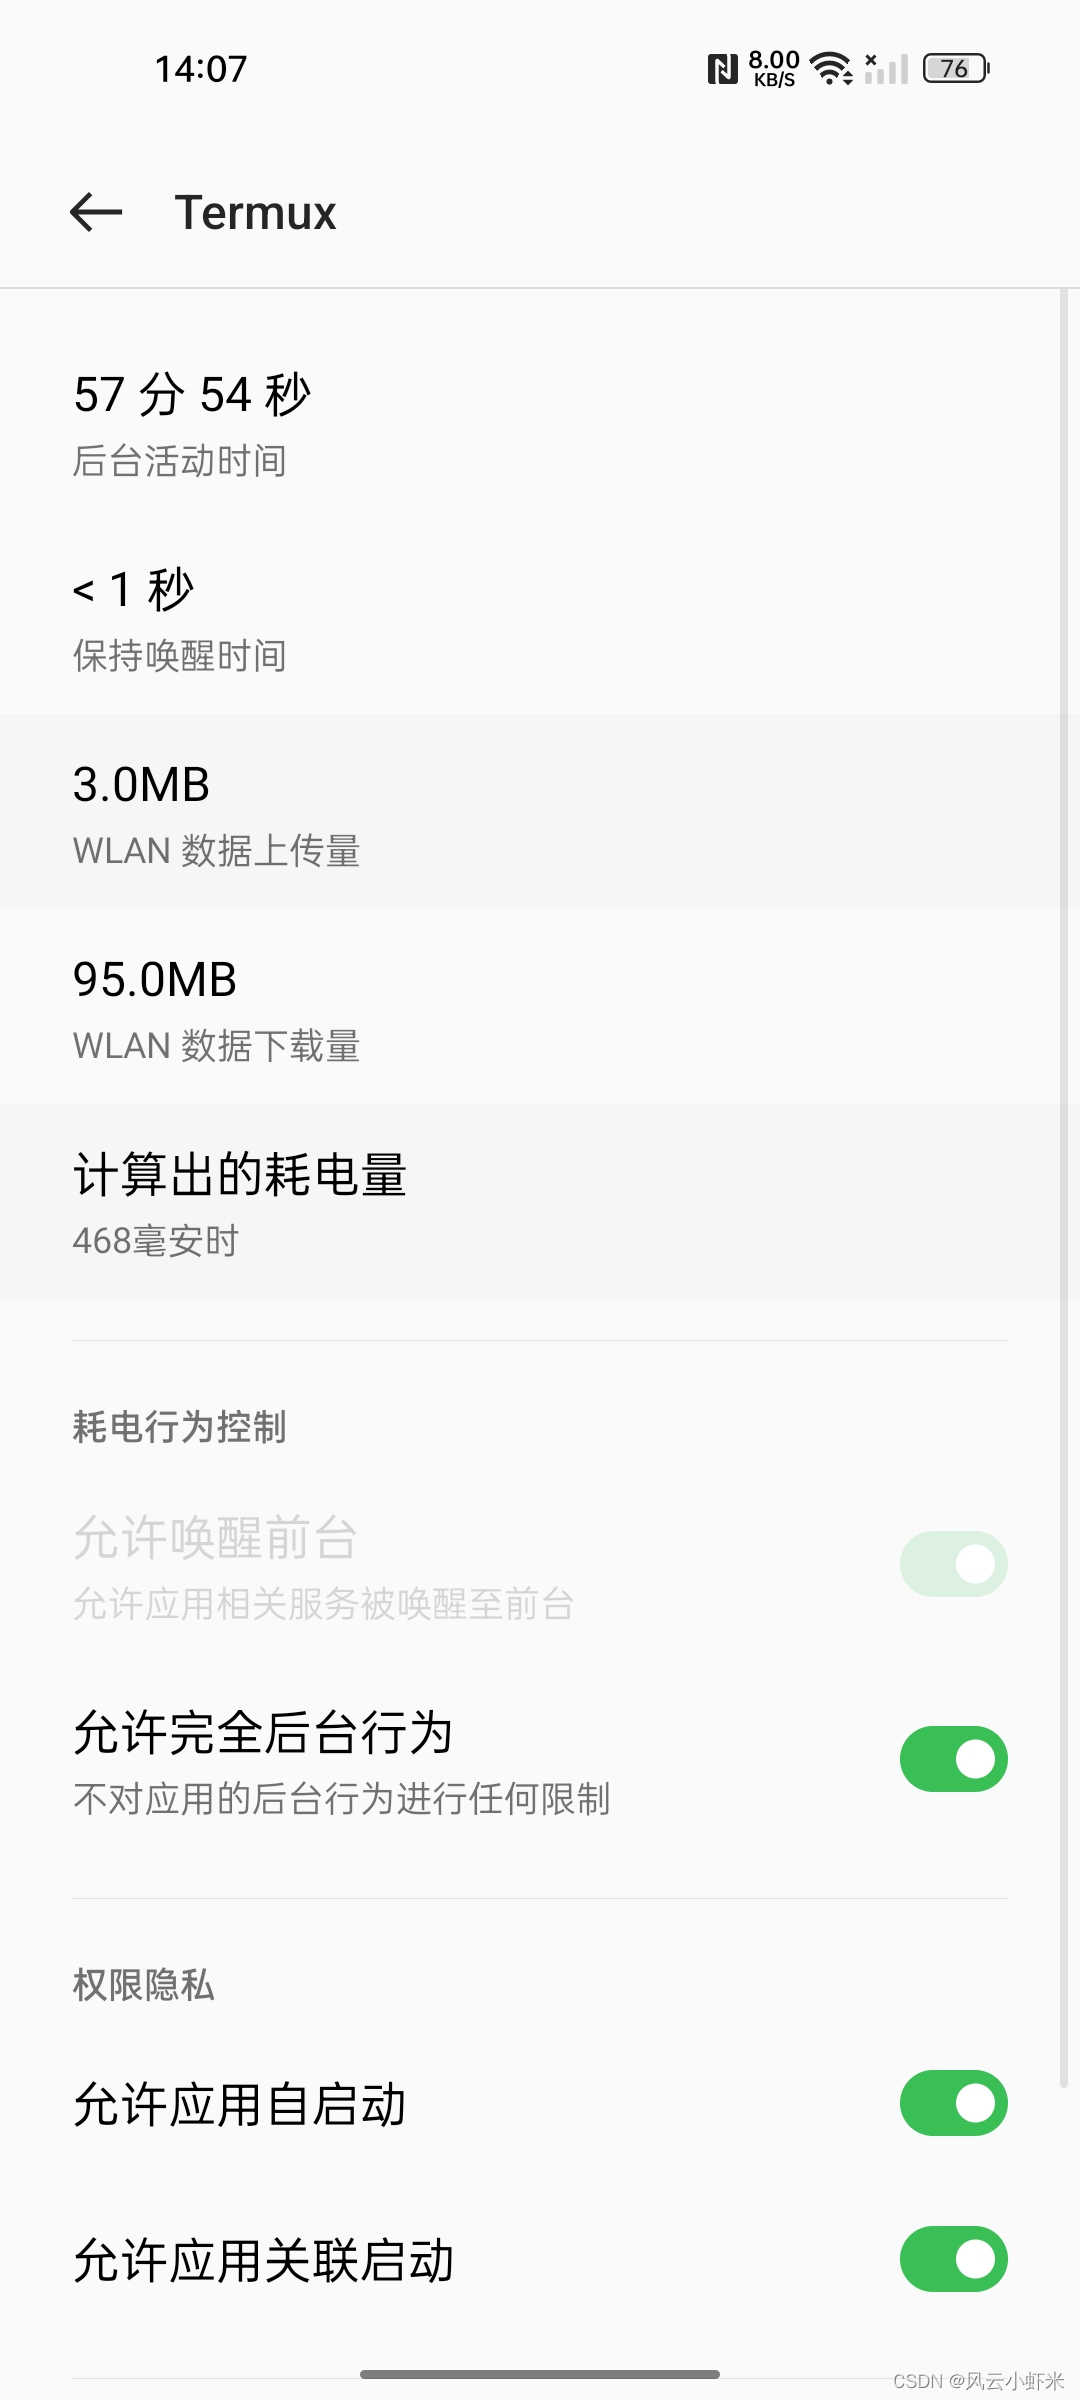
3、Termux后台进程被杀死优化
adb shell "/system/bin/device_config set_sync_disabled_for_tests persistent; /system/bin/device_config put activity_manager max_phantom_processes 2147483647"
其他具体操作,参考如下教程:
https://www.bilibili.com/read/cv20060713/
https://huaweicloud.csdn.net/64e5d7dba3cccc782cc565ca.html
https://blog.csdn.net/m0_72123696/article/details/125349732
4、Termux开启Apache2
下面操作在termux中进行,非Kali内,个人不建议使用kali内的ssh和apache服务,非常多坑,kali内部apache解决方案如上4-8
pkg install apache2
apachectl #开启apache,会有ServerName报错,不影响使用,解决详情见4-8
apachectl -k stop #关闭
cd $PREFIX/share/apache2/default-site/htdocs/ #apache的主页目录位置
5、Termux开启SSH
pkg install openssh
sshd #开启服务
passwd #设置密码  whoami 查看用户名
cat .ssh/authorized_keys  #证书位置,需要导入客户端公钥才可使用
cat  client.pub >> .ssh/authorized_keys
其他实现教程如下:
https://blog.csdn.net/a18845594188/article/details/126544125 #Windows连接termux
https://www.bilibili.com/read/cv25822574/
https://blog.csdn.net/m0_70980326/article/details/131012390 #公网连接termux
原文地址:https://blog.csdn.net/weixin_44839457/article/details/134751516
本文来自互联网用户投稿,该文观点仅代表作者本人,不代表本站立场。本站仅提供信息存储空间服务,不拥有所有权,不承担相关法律责任。
如若转载,请注明出处:http://www.7code.cn/show_31152.html
如若内容造成侵权/违法违规/事实不符,请联系代码007邮箱:suwngjj01@126.com进行投诉反馈,一经查实,立即删除!

