一、背景
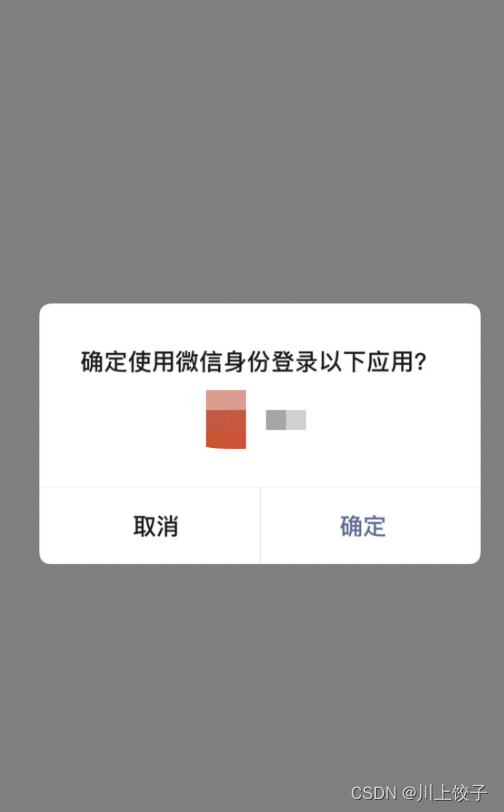
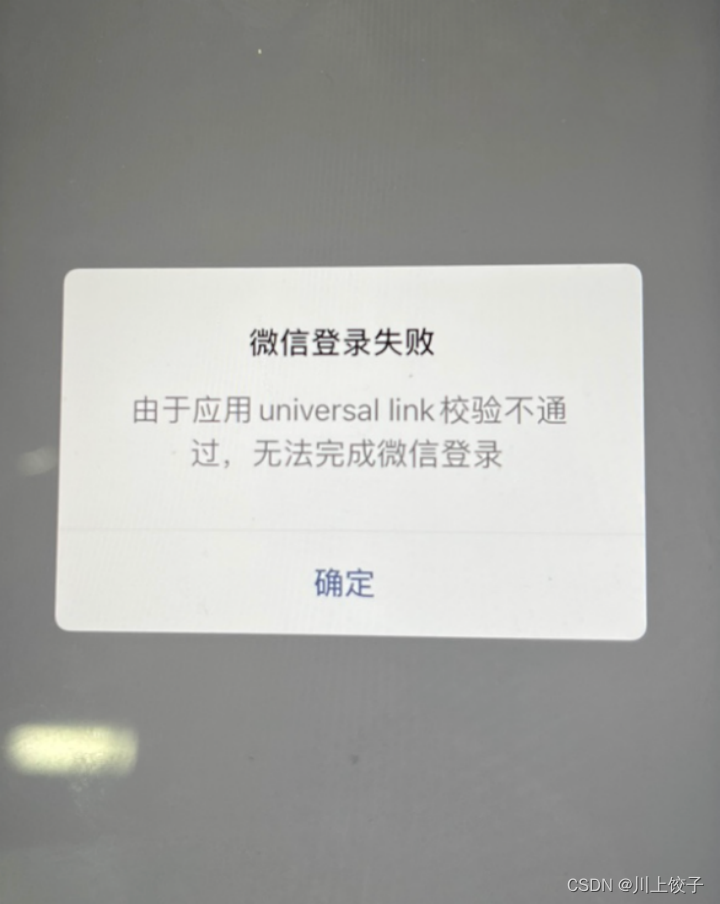
问题:在APP跳转到微信进行授权的时候,提示“由于应用universal link校验不通过,无法完成微信登录”。
二、申请流程
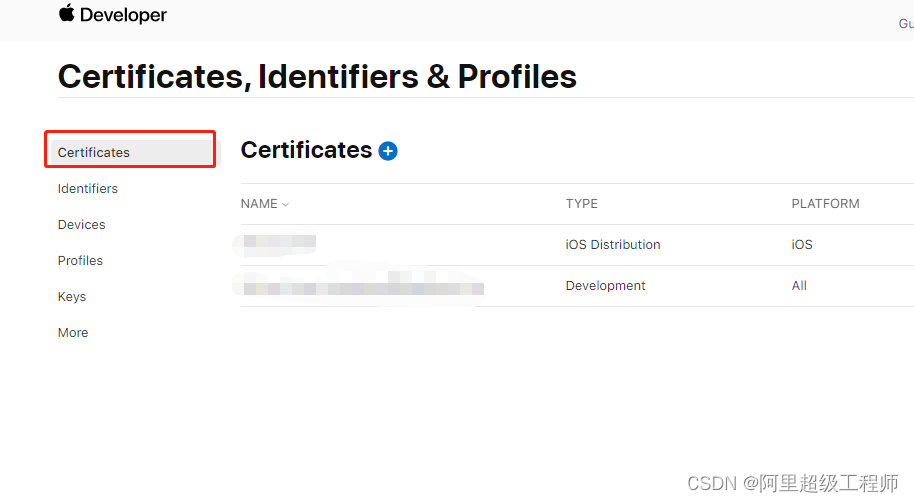
1. 苹果后台管理配置 Identifiers 和 Profiles
https://developer.apple.com/account/resources/identifiers/list
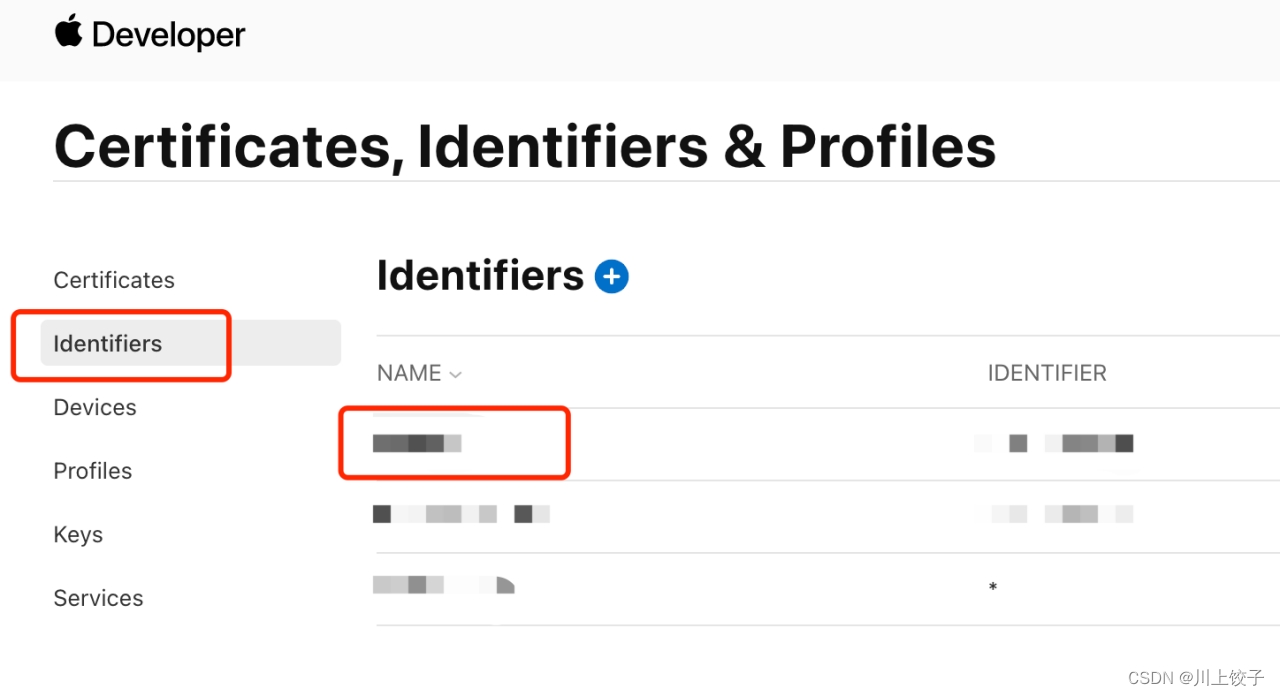
配置 Identifiers:点击 Identifiers 勾选 associated domains 并保存。
配置 Profiles:修改 Identifiers 后,需要重新生成 profile 文件。
2. 配置 apple–app–site–association 文件(文件无后缀)
{
"applinks": {
"apps": [],
"details": [
{
"appID": "Team ID.Bundle ID",
"paths": [ "/your path/*"]
}
]
}
}
举个例子:
team id 是 12ABC812ABC,bundle id 是 com.abc.abc,path 是 app (这个路径是你到时候访问的路径)。那么文件内容就是:
{
"applinks": {
"apps": [],
"details": [
{
"appID": "12ABC812ABC.com.abc.abc",
"paths": [ "/app/*"]
}
]
}
}
Team Id 和 bundle Id 在你的 Identifiers 中可以找到。
比如服务器地址是: https://www.baidu.com/ ,把文件放在这根目录下后,访问 https://www.baidu.com/apple–app–site–association ,这文件就会被下载下来。
你的 universal link 就是:你的服务器地址+你刚在文件中写的path,此处就是: https://www.baidu.com/app/
3. 在 Xcode 中配置 applinks(此处需要mac机)
此处我被卡了很久。因为项目不是用Xcode开发的,但配置这个需要用 Xcode 打开项目。所以我用 Xcode 打开项目就会提示:could not open file.
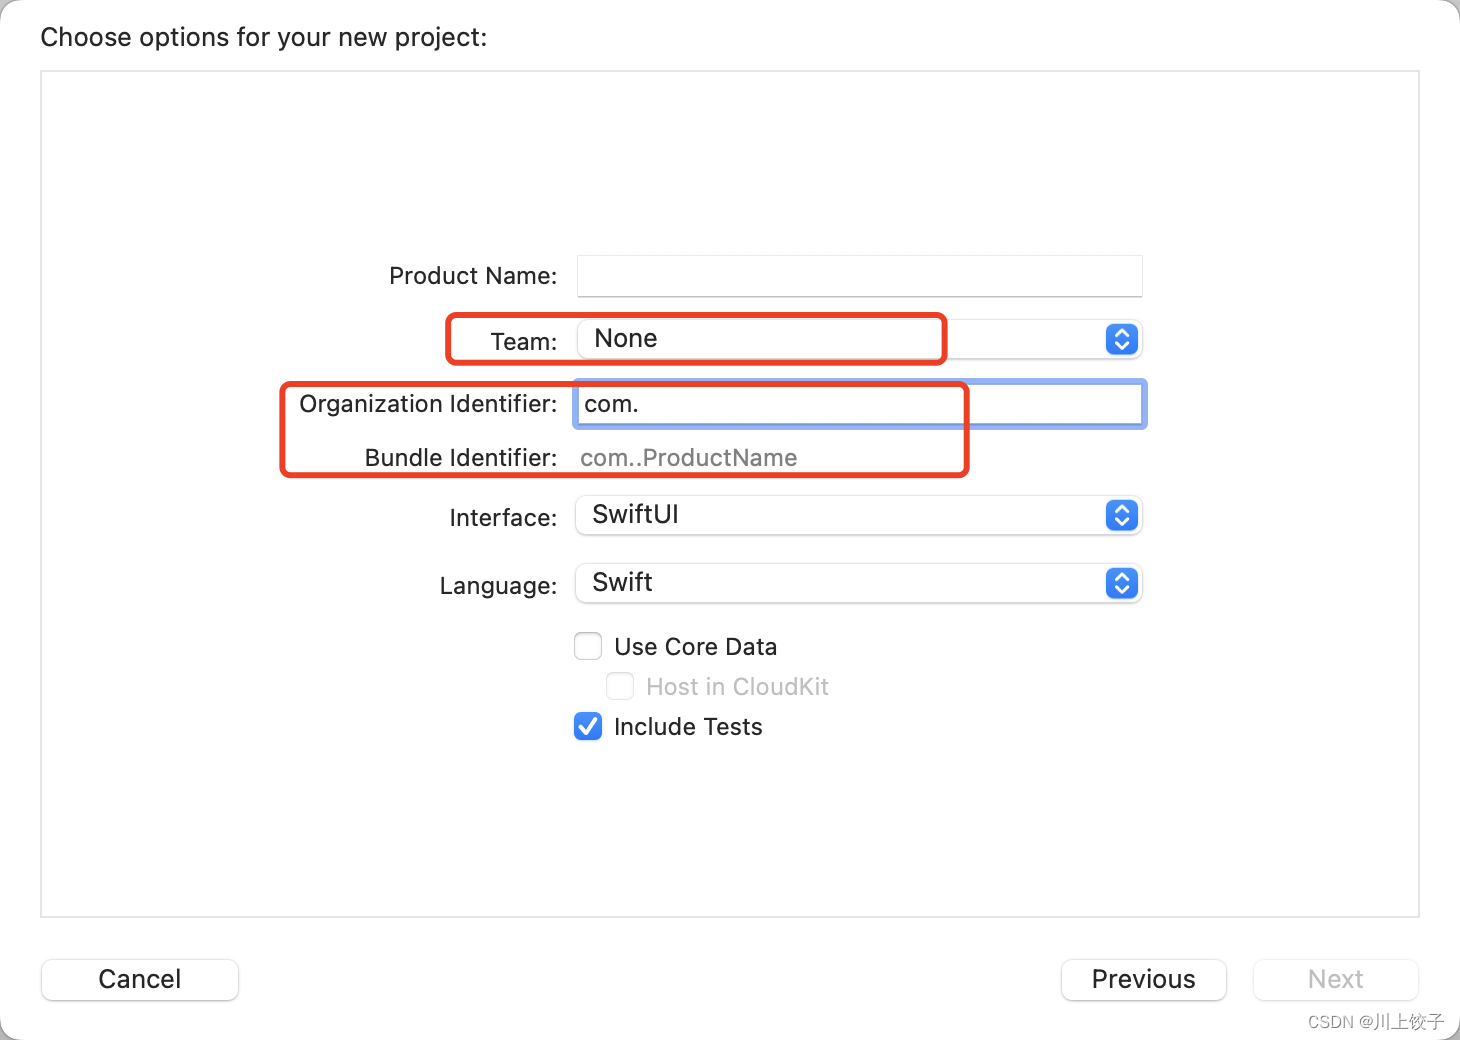
选择你的团队,填入刚才的 bundle id,这样这个新项目就跟你的项目关联起来了。
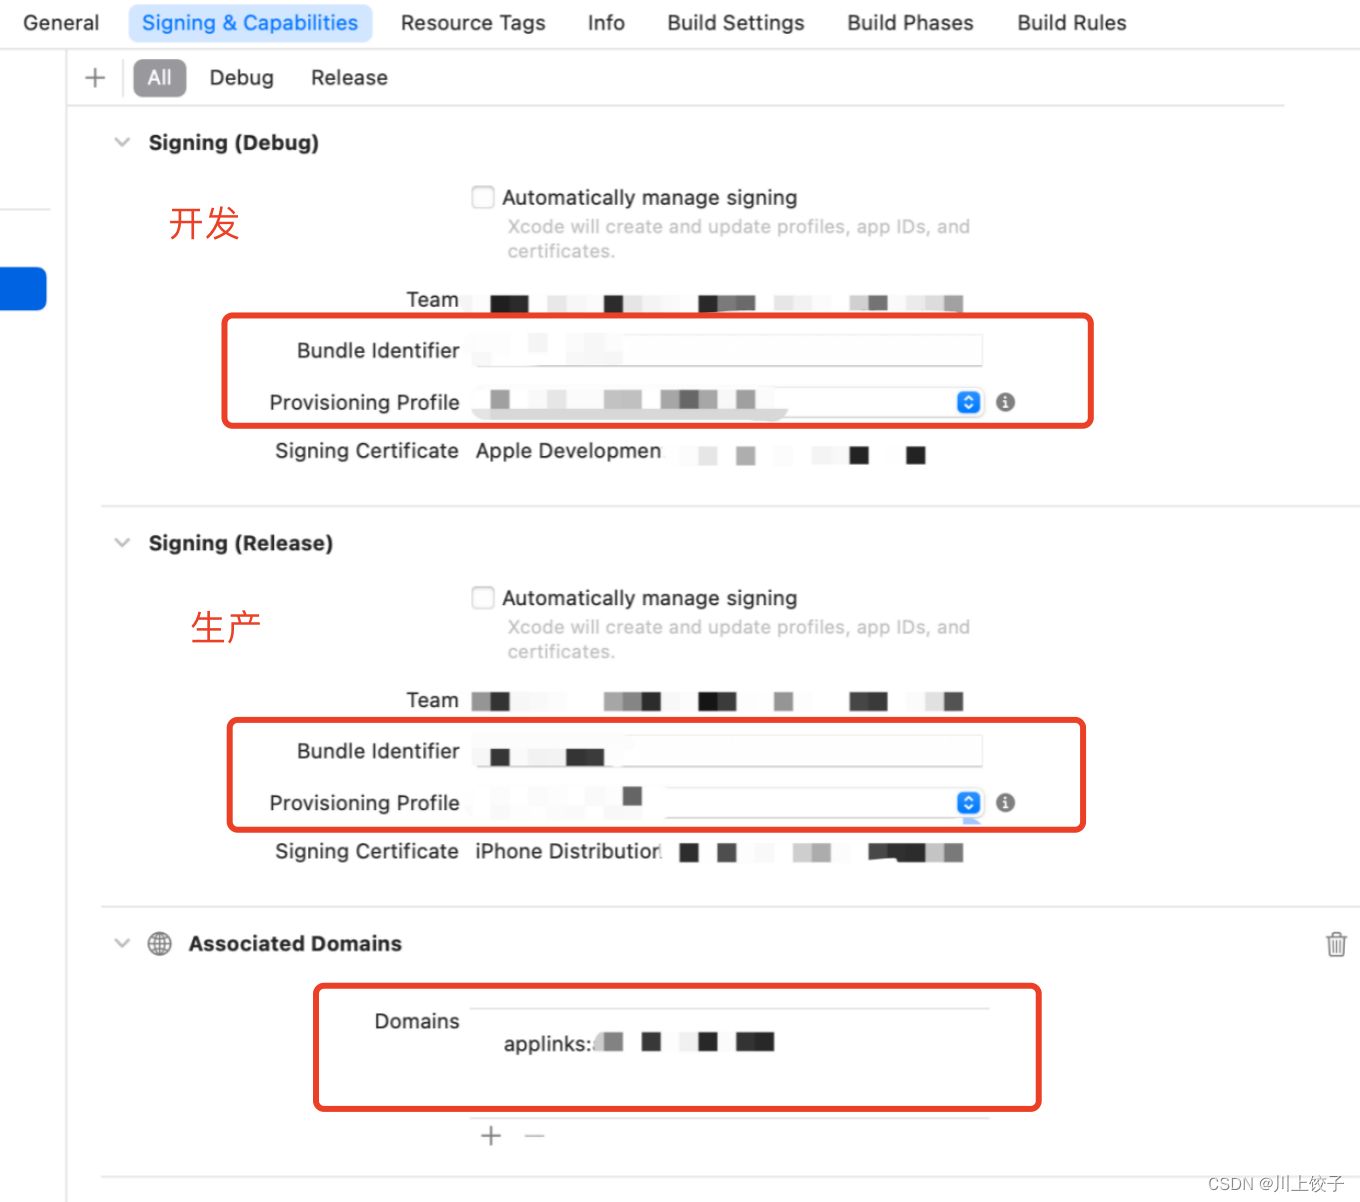
点击 signing & capabilities,选择 all。
填写好开发和生产的 identifier 和 profile;取消自动签名(automatically manage signing)的勾选;然后在下面的 domains 中填入:applinks:你的服务器地址。由于我们上面假设的服务器地址是:https://www.baidu.com/ ,那么此处应该是 applinks:www.baidu.com
这样就算配置好了。
4. 在 HbuilderX 中填写 universal link
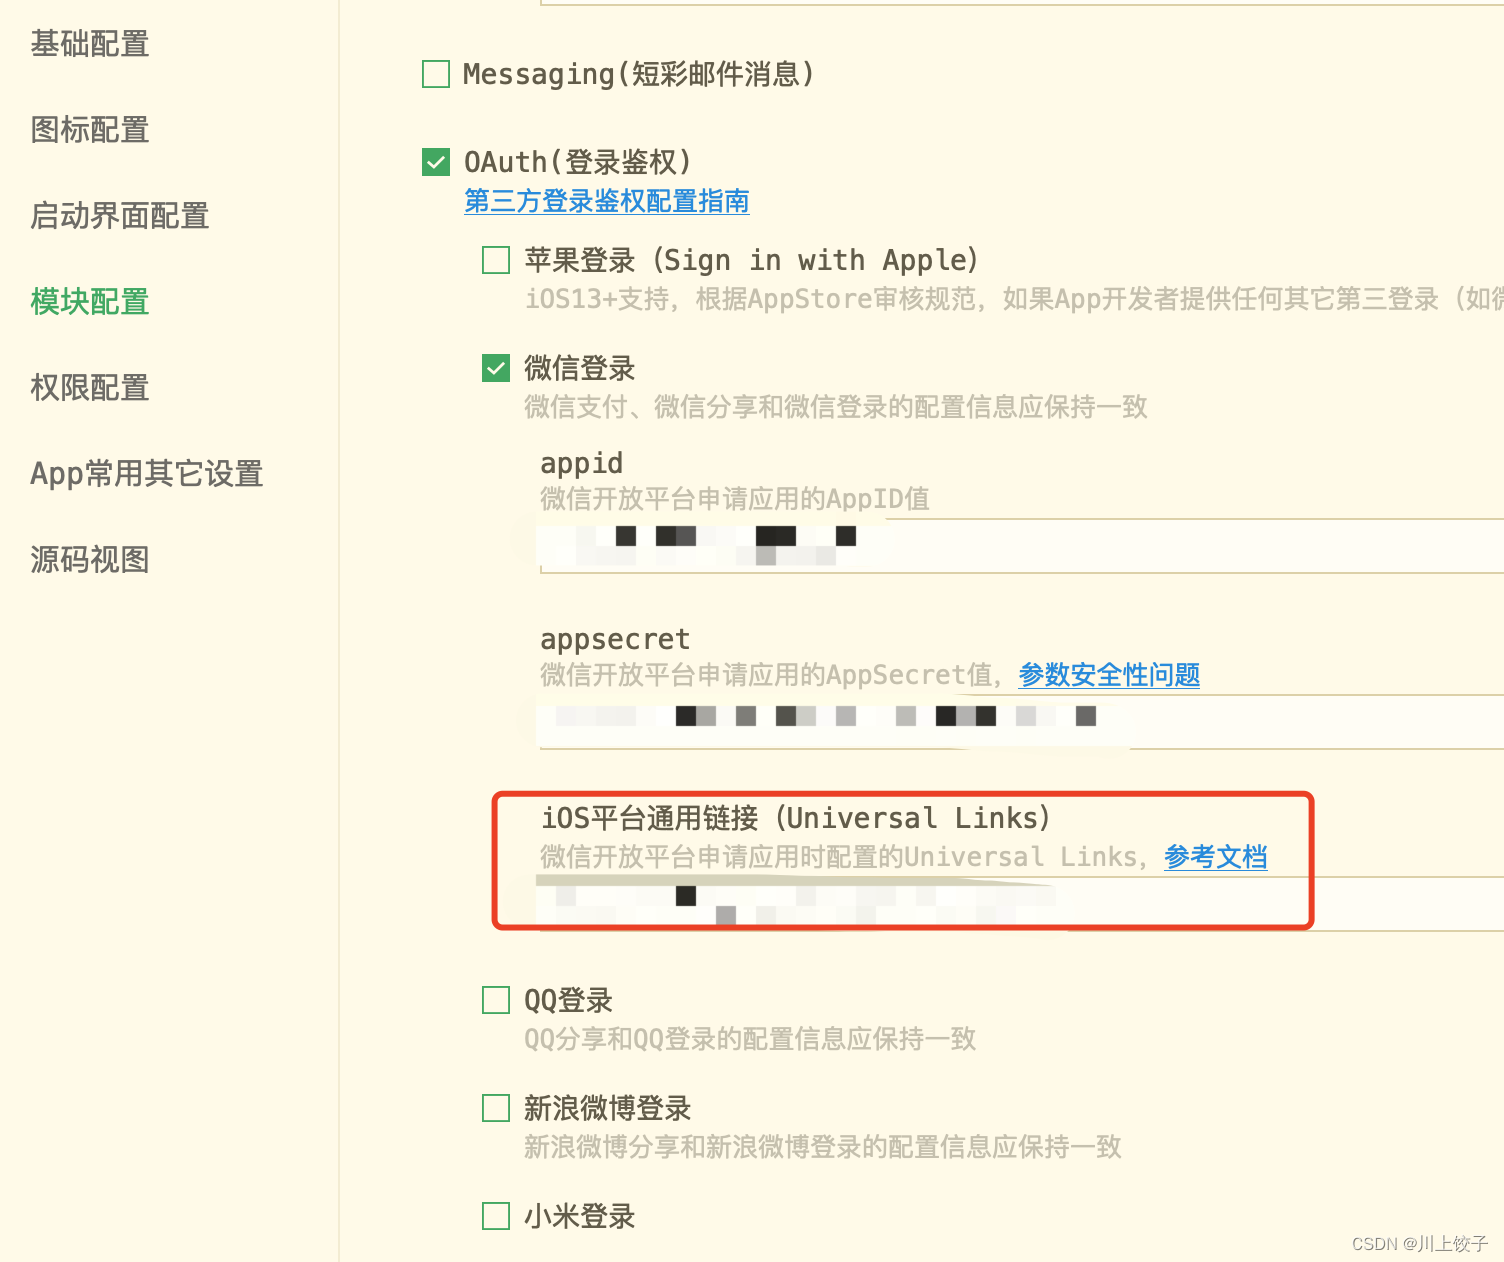
在 manifest.json 文件模块配置里,填入我们的 universal link,也就是: https://www.baidu.com/app/
至此,配置的工作都已经做完了。
在将项目运行到标准基座时,还是提示“universal link校验不通过”。但是运行模式切换成自定义基座就可以了。也就是将项目打包以后,就能校验通过,并获取到微信授权信息。
原文地址:https://blog.csdn.net/outlierQiqi/article/details/130706469
本文来自互联网用户投稿,该文观点仅代表作者本人,不代表本站立场。本站仅提供信息存储空间服务,不拥有所有权,不承担相关法律责任。
如若转载,请注明出处:http://www.7code.cn/show_36292.html
如若内容造成侵权/违法违规/事实不符,请联系代码007邮箱:suwngjj01@126.com进行投诉反馈,一经查实,立即删除!