前言
标题很夸张,实则是AI的功能,今天咱也搞一个登录页,其实满简单的一个东东,大家也都会用到,本次仅限前端,没有任何后台交互,技术vue、vue-router、element-ui,因为背景图是落日,所以就叫它落日余晖登录页吧
1 项目搭建
vue create login-admin
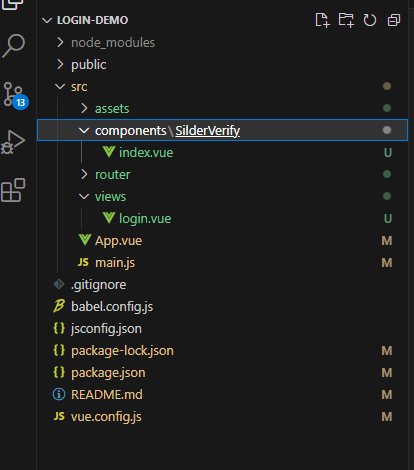
构建后的项目,删掉了原始的helloworld组件,最终目标结构如下:
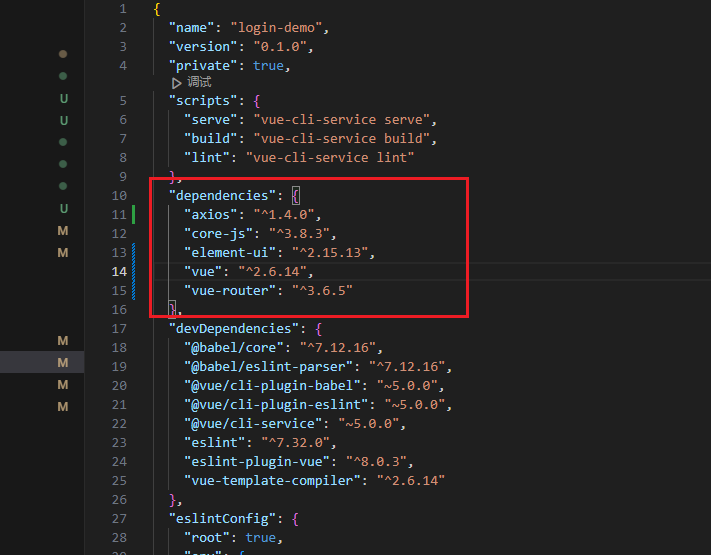
2 依赖引入
npm install element-ui
npm install vue-router@3
由于项目是基于vue2的,故vue–router不能使用4.x版本,后面会有问题,在文末说了。
3 项目调整
①vue–router
新建router/index.js文件,将我们要写的登录页路径放进去
import Vue from 'vue'
import VueRouter from 'vue-router'

Vue.use(VueRouter)

const routes = [
    {
        path: '/',
        name: 'Login',
        component: () => import('@/views/login.vue'),
    }
]

const router = new VueRouter({
    routes
})

export default router;
② App.vue
移除掉老的App.vue中的全部内容,然后我写一个简单的router-view,让他来展示我们的login页面
<template>
<div id="app">
<router-view></router-view>
</div>
</template>
<script>
</script>
<style>
body {
margin: 0px;
}
</style>
这里面的body,由于下面有小坑,所以先给margin清空了
③ main.js
简单调整,将我们写的router引进来,以及element-ui导入进来
import Vue from 'vue'
import router from './router'
import ElementUI from 'element-ui';
import 'element-ui/lib/theme-chalk/index.css';

import App from './App.vue'

Vue.use(ElementUI);
Vue.config.productionTip = false

new Vue({
  router,
  render: h => h(App),
}).$mount('#app')
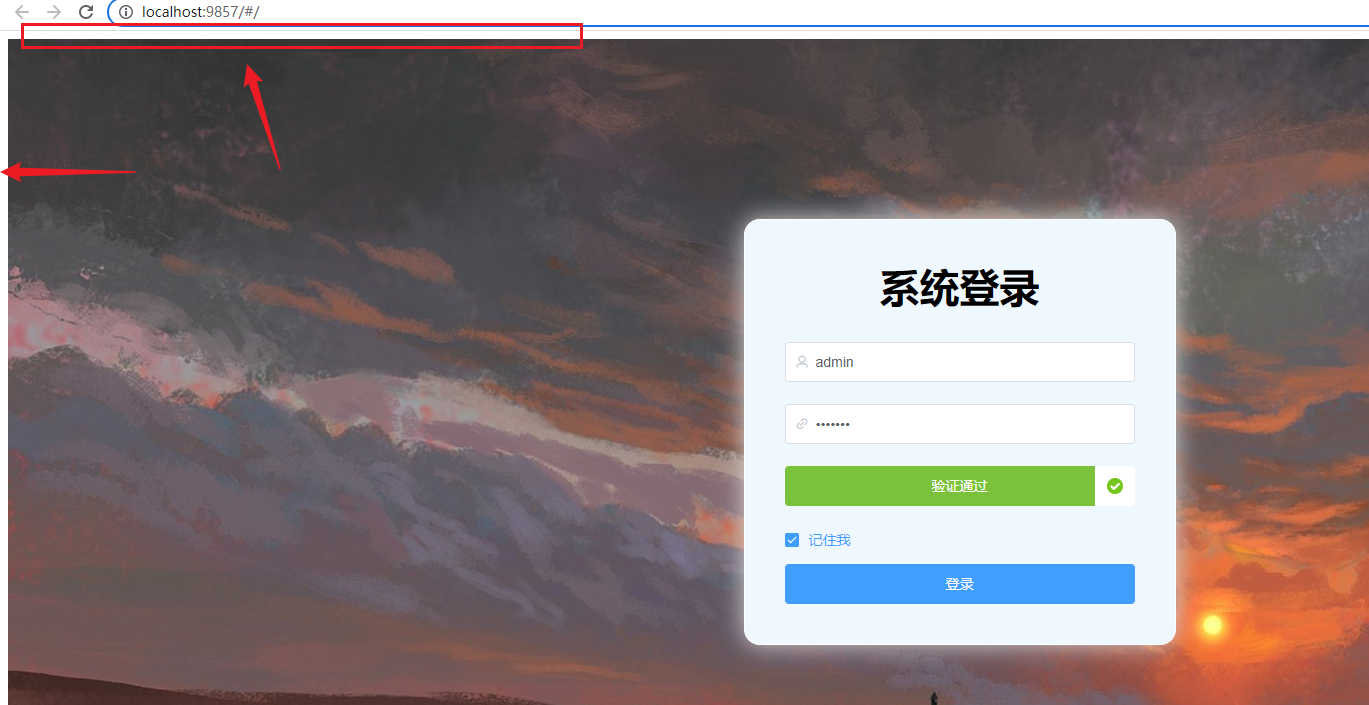
4 写登录页
新建页面views/login.vue这就是我们的核心页面,需要跟上面router中写的路径保持一致,太长了,我就简单复制一下
<template>
  <div class="background">
    <el-form
      :rules="rules"
      ref="loginForm"
      :model="loginForm"
      class="loginContainer"
    >
      <h3 class="loginTitle">系统登录</h3>
      <el-form-item prop="username">
        <el-input
          type="text"
           prefix-icon="el-icon-user"
          v-model="loginForm.username"
          placeholder="请输入用户名"
        >
        </el-input>
      </el-form-item>
      <el-form-item prop="password">
        <el-input
          type="password"
           prefix-icon="el-icon-link"
          v-model="loginForm.password"
          placeholder="请输入密码"
        >
        </el-input>
      </el-form-item>
      <el-form-item>
        <SilderVerify ref="verify"></SilderVerify>
      </el-form-item>
      <el-checkbox v-model="checked" class="loginRemember">记住我</el-checkbox>
      <el-button type="primary" style="width: 100%" @click="submitLogin"
        >登录</el-button
      >
    </el-form>
  </div>
</template>
.background {
  position: absolute;
  background-image: url("../assets/bg.jpg");
  background-size: cover;
  background-position: center center;
  background-repeat: no-repeat;
  height: 100vh;
  width: 100%;
}
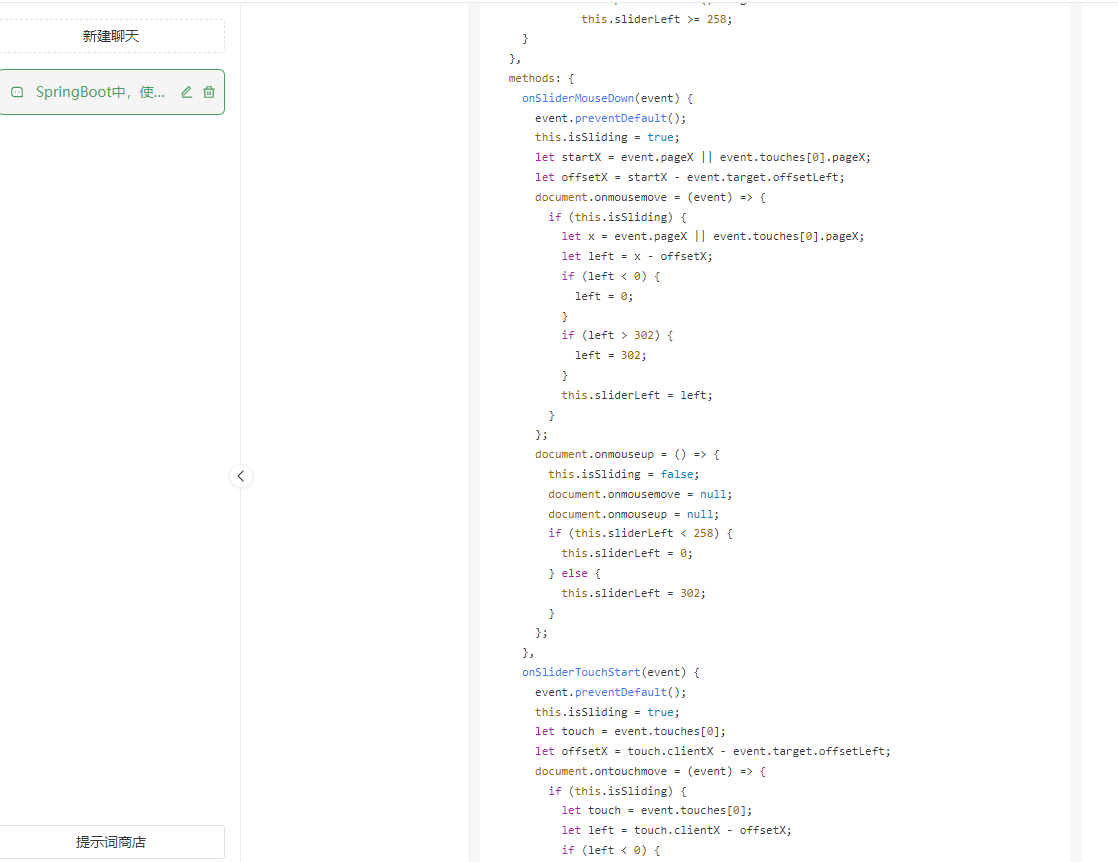
5 写滑块校验
这里直接给他封装成组件了,来自chatgpt的大力支持,新建文件 components/SilderVerify/index.vue,代码搞进去,太长了,我就简单复制一下
<template>
<div class="drag" ref="dragDiv">
<div class="drag_bg"></div>
<div class="drag_text">{{ confirmWords }}</div>
<div
ref="moveDiv"
@mousedown="mouseDownFn($event)"
:class="{ handler_ok_bg: confirmSuccess }"
class="handler handler_bg"
style="position: absolute; top: 0px; left: 0px"
></div>
</div>
</template>
<script>
export default {
name: "SilderVerify",
data() {
return {
beginClientX: 0 /*距离屏幕左端距离*/,
mouseMoveState: false /*触发拖动状态 判断*/,
maxWidth: "" /*拖动最大宽度,依据滑块宽度算出来的*/,
confirmWords: "向右拖动滑块验证" /*滑块文字*/,
confirmSuccess: false /*验证成功判断*/,
};
},
methods: {
//mousedown 事件
mouseDownFn: function (e) {
console.log('mouseDownFn' + e.clientX)
if (!this.confirmSuccess) {
e.preventDefault && e.preventDefault(); //阻止文字选中等 浏览器默认事件
this.mouseMoveState = true;
this.beginClientX = e.clientX;
}
},
//验证成功函数
successFunction() {
this.confirmSuccess = true;
this.confirmWords = "验证通过";
if (window.addEventListener) {
document
.getElementsByTagName("html")[0]
.removeEventListener("mousemove", this.mouseMoveFn);
document
.getElementsByTagName("html")[0]
.removeEventListener("mouseup", this.moseUpFn);
} else {
document
.getElementsByTagName("html")[0]
.removeEventListener("mouseup", () => {});
}
document.getElementsByClassName("drag_text")[0].style.color = "#fff";
document.getElementsByClassName("handler")[0].style.left =
this.maxWidth + "px";
document.getElementsByClassName("drag_bg")[0].style.width =
this.maxWidth + "px";
},
//mousemove事件
mouseMoveFn(e) {
if (this.mouseMoveState) {
let width = e.clientX - this.beginClientX;
if (width > 0 && width <= this.maxWidth) {
document.getElementsByClassName("handler")[0].style.left =
width + "px";
document.getElementsByClassName("drag_bg")[0].style.width =
width + "px";
} else if (width > this.maxWidth) {
this.successFunction();
}
}
},
//mouseup事件
moseUpFn(e) {
console.log('moseUpFn' + e.clientX)
this.mouseMoveState = false;
var width = e.clientX - this.beginClientX;
if (width < this.maxWidth) {
document.getElementsByClassName("handler")[0].style.left = 0 + "px";
document.getElementsByClassName("drag_bg")[0].style.width = 0 + "px";
}
},
},
mounted() {
this.maxWidth =
this.$refs.dragDiv.clientWidth - this.$refs.moveDiv.clientWidth;
document
.getElementsByTagName("html")[0]
.addEventListener("mousemove", this.mouseMoveFn);
document
.getElementsByTagName("html")[0]
.addEventListener("mouseup", this.moseUpFn);
},
};
</script>
6 源码下载
https://download.csdn.net/download/QQ727338622/87789070
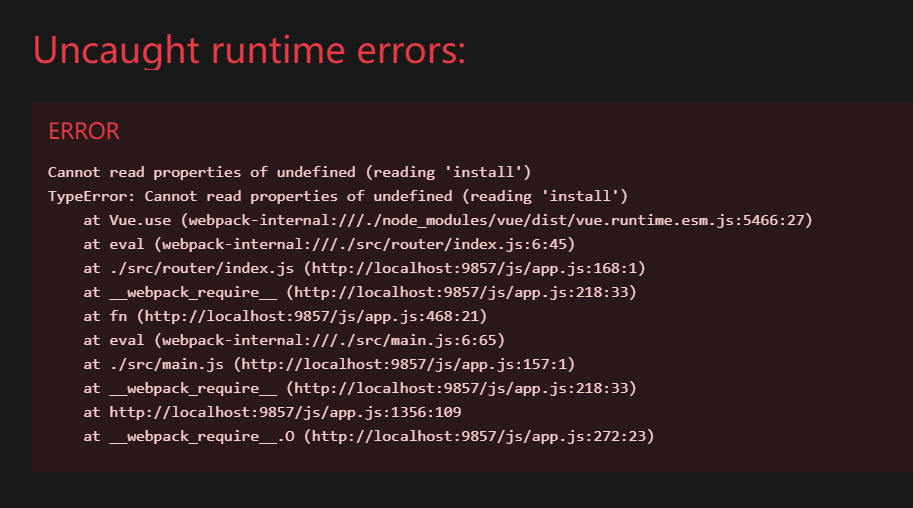
7 问题解决
①项目一直报错
解决:由于安装 vue-router 时,直接运行了 npm install vue-router 命令,造成直接下载最新版 vue-router 4.x,而 4 以后的版本适用于 vue3.0 版本,用在 vue2.0+ 会报错,故换版本
② 背景图存在白边
原文地址:https://blog.csdn.net/QQ727338622/article/details/130695675
本文来自互联网用户投稿,该文观点仅代表作者本人,不代表本站立场。本站仅提供信息存储空间服务,不拥有所有权,不承担相关法律责任。
如若转载,请注明出处:http://www.7code.cn/show_44914.html
如若内容造成侵权/违法违规/事实不符,请联系代码007邮箱:suwngjj01@126.com进行投诉反馈,一经查实,立即删除!