本文介绍: 将下载包html文件夹下webrtcstreamer.js文件和html/libs文件夹下adapter.min.js文件复制到VUE项目public目录下。在index.html文件里引入这两个js文件。下载https://github.com/mpromonet/webrtc-streamer/releases。如下图则启动成功,此时在浏览器访问127.0.0.1:8000可以看到本机监控画面。然后在引入的页面按照最上面的代码写就行了。index.html中引入。
下面准备webrtc-streamer
下载https://github.com/mpromonet/webrtc-streamer/releases

下载后解压
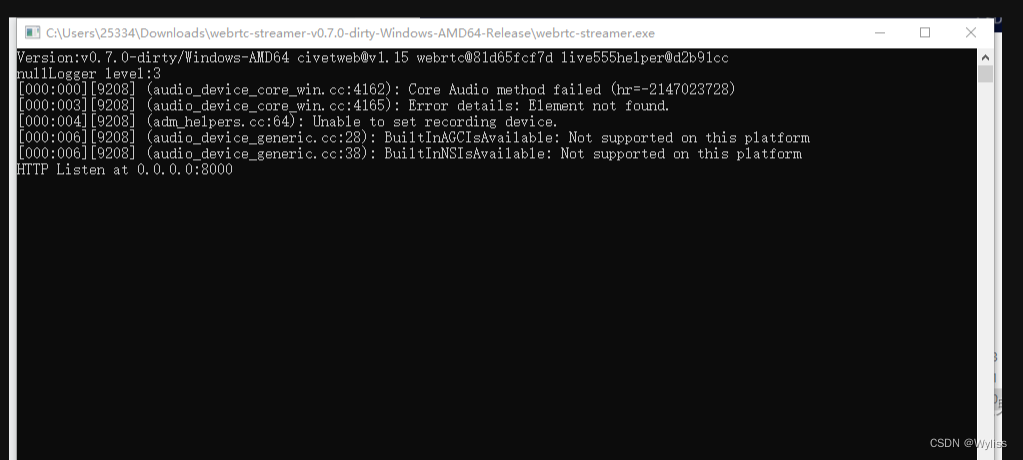
然后启动exe文件
如下图则启动成功,此时在浏览器访问127.0.0.1:8000可以看到本机监控画面
将下载包html文件夹下webrtcstreamer.js文件和html/libs文件夹下adapter.min.js文件复制到VUE项目public目录下。在index.html文件里引入这两个js文件
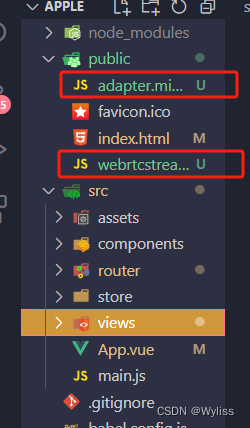
index.html中引入

然后在引入的页面按照最上面的代码写就行了。
声明:本站所有文章,如无特殊说明或标注,均为本站原创发布。任何个人或组织,在未征得本站同意时,禁止复制、盗用、采集、发布本站内容到任何网站、书籍等各类媒体平台。如若本站内容侵犯了原著者的合法权益,可联系我们进行处理。