本文介绍: 原生微信小程序如何动态修改svg图片颜色及尺寸、宽高(封装svgIcon组件),解决ios不显示
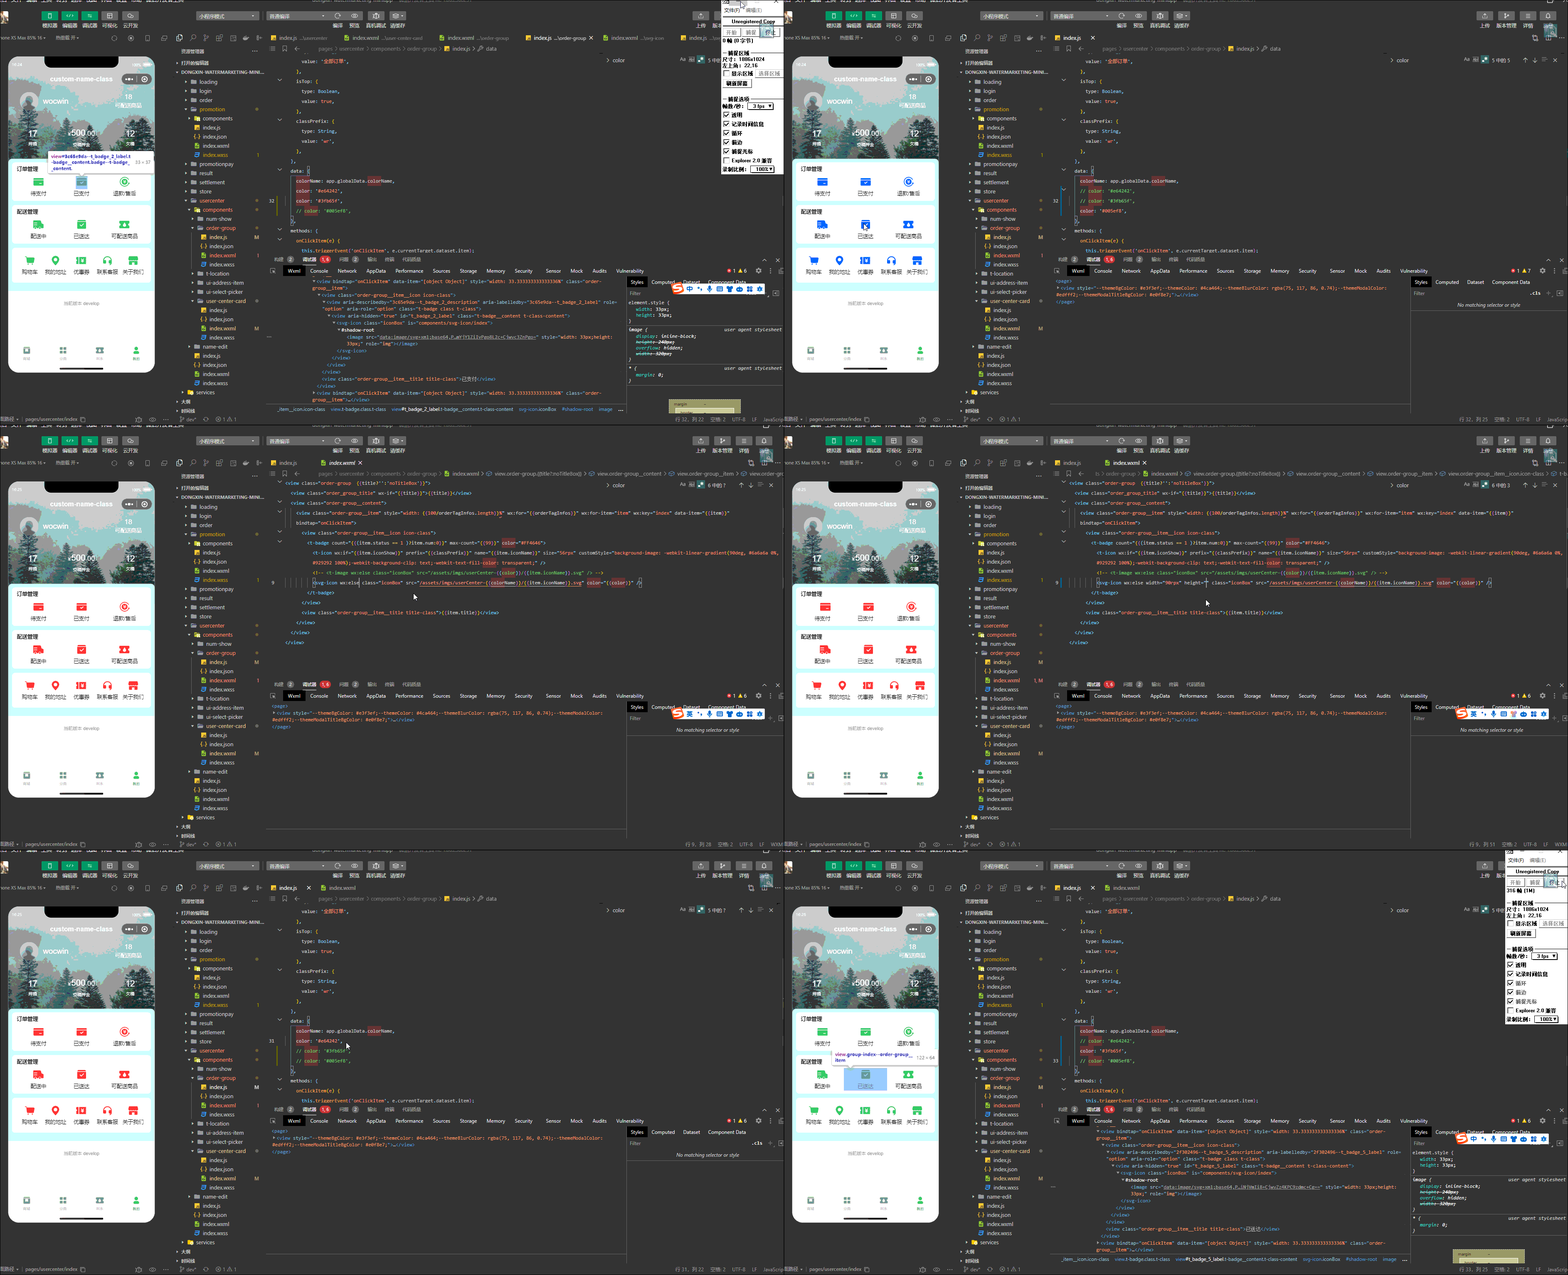
最终效果

前言
动态设置Svg图片颜色就是修改Svg源码的path中的fill属性,
通过wx.getFileSystemManager().readFile读取.xlsx文件
ios不显示需要把encoding设置
binary把文件转成base64
封装svg-icon组件
1、在项目的components下新建svg-icon文件夹,新增base64.js文件
class Base64 {
  constructor() {

  }
  _keyStr = "ABCDEFGHIJKLMNOPQRSTUVWXYZabcdefghijklmnopqrstuvwxyz0123456789+/=";

  encode(input) {
    var output = "";
    var chr1, chr2, chr3, enc1, enc2, enc3, enc4;
    var i = 0;
    input = this._utf8_encode(input);

    while (i < input.length) {

      chr1 = input.charCodeAt(i++);
      chr2 = input.charCodeAt(i++);
      chr3 = input.charCodeAt(i++);

      enc1 = chr1 >> 2;
      enc2 = ((chr1 & 3) << 4) | (chr2 >> 4);
      enc3 = ((chr2 & 15) << 2) | (chr3 >> 6);
      enc4 = chr3 & 63;

      if (isNaN(chr2)) {
        enc3 = enc4 = 64;
      } else if (isNaN(chr3)) {
        enc4 = 64;
      }

      output = output + this._keyStr.charAt(enc1) + this._keyStr.charAt(enc2) + this._keyStr.charAt(enc3) + this._keyStr.charAt(enc4);

    }

    return output;
  };
  // public method for decoding
  decode(input) {
    var output = "";
    var chr1, chr2, chr3;
    var enc1, enc2, enc3, enc4;
    var i = 0;

    input = input.replace(/[^A-Za-z0-9+/=]/g, "");

    while (i < input.length) {

      enc1 = this._keyStr.indexOf(input.charAt(i++));
      enc2 = this._keyStr.indexOf(input.charAt(i++));
      enc3 = this._keyStr.indexOf(input.charAt(i++));
      enc4 = this._keyStr.indexOf(input.charAt(i++));

      chr1 = (enc1 << 2) | (enc2 >> 4);
      chr2 = ((enc2 & 15) << 4) | (enc3 >> 2);
      chr3 = ((enc3 & 3) << 6) | enc4;

      output = output + String.fromCharCode(chr1);

      if (enc3 != 64) {
        output = output + String.fromCharCode(chr2);
      }
      if (enc4 != 64) {
        output = output + String.fromCharCode(chr3);
      }

    }

    output = this._utf8_decode(output);

    return output;
  };

  // private method for UTF-8 encoding
  _utf8_encode(string) {
    string = string.replace(/rn/g, "n");
    var utftext = "";

    for (var n = 0; n < string.length; n++) {

      var c = string.charCodeAt(n);

      if (c < 128) {
        utftext += String.fromCharCode(c);
      } else if ((c > 127) && (c < 2048)) {
        utftext += String.fromCharCode((c >> 6) | 192);
        utftext += String.fromCharCode((c & 63) | 128);
      } else {
        utftext += String.fromCharCode((c >> 12) | 224);
        utftext += String.fromCharCode(((c >> 6) & 63) | 128);
        utftext += String.fromCharCode((c & 63) | 128);
      }

    }

    return utftext;
  };

  // private method for UTF-8 decoding
  _utf8_decode(utftext) {
    var string = "";
    var i = 0;
    var c = 0;
    var c1 = 0;
    var c2 = 0;

    while (i < utftext.length) {

      c = utftext.charCodeAt(i);

      if (c < 128) {
        string += String.fromCharCode(c);
        i++;
      } else if ((c > 191) && (c < 224)) {
        c2 = utftext.charCodeAt(i + 1);
        string += String.fromCharCode(((c & 31) << 6) | (c2 & 63));
        i += 2;
      } else {
        c2 = utftext.charCodeAt(i + 1);
        c3 = utftext.charCodeAt(i + 2);
        string += String.fromCharCode(((c & 15) << 12) | ((c2 & 63) << 6) | (c3 & 63));
        i += 3;
      }

    }

    return string;
  }
}

export {
  Base64
}
2、在项目的components下新建svg-icon文件夹,新增index.js文件
// component/svg.js
const fs = wx.getFileSystemManager()

import { Base64 } from './base64.js';
const base64 = new Base64()

Component({
  properties: {
  // svg图片路径
    src: {
      type: String,
      value: ''
    },
    // svg颜色
    color: {
      type: String,
      value: ''
    },
    // svg宽度
    width: {
      type: String,
      value: '60rpx'
    },
    // svg高度
    height: {
      type: String,
      value: '60rpx'
    }
  },

  observers: {
    'src,color': function (src, color) {
      this.getSvgFile(src, color)
    }
  },
  data: {
    svgData: ''
  },
  methods: {
    getSvgFile(src, color) {
      let that = this;
      fs.readFile({
        filePath: src,
        // encoding: 'UTF-8',
        encoding: 'binary', // 解决ios不显示问题
        position: 0,
        success(res) {
          let sourceFile = res.data;
          let newFile = that.changeColor(sourceFile, color);
          let svgBase64File = base64.encode(newFile);
          that.setData({
            svgData: 'data:image/svg+xml;base64,' + svgBase64File
          })
        },
        fail(res) {
          console.error(res)
        }
      })
    },

    changeColor(sourceFile, color) {
      let newSvg;
      if (/fill=".*?"/.test(sourceFile)) {
        newSvg = sourceFile.replace(/fill=".*?"/g, `fill="${color}"`);  // SVG有默认色
      } else {
        newSvg = sourceFile.replace(/<svg /g, `<svg fill="${color}" `); // 无默认色
      }
      return newSvg
    }
  }
})
3、在项目的components下新建svg-icon文件夹,新增index.json文件
{
  "component": true,
  "usingComponents": {}
}
4、在项目的components下新建svg-icon文件夹,新增index.wxml文件
<block wx:if="{{svgData}}">
  <image style="width: {{width}};height: {{height}};" src="{{svgData}}"></image>
</block>
使用svg-icon组件
1、在使用的页面引入组件(即在json文件中引入)
{
  "usingComponents": {
    "svg-icon": "/components/svg-icon/index"
  }
}
2、在wxml文件中如下使用即可
<svg-icon src="/assets/imgs/userCenter/wocwin.svg" color="#3fb65f" />
相关文章
vue3+ts基于Element-plus再次封装基础组件文档
原文地址:https://blog.csdn.net/cwin8951/article/details/135412941
本文来自互联网用户投稿,该文观点仅代表作者本人,不代表本站立场。本站仅提供信息存储空间服务,不拥有所有权,不承担相关法律责任。
如若转载,请注明出处:http://www.7code.cn/show_52556.html
如若内容造成侵权/违法违规/事实不符,请联系代码007邮箱:suwngjj01@126.com进行投诉反馈,一经查实,立即删除!
主题授权提示:请在后台主题设置-主题授权-激活主题的正版授权,授权购买:RiTheme官网
声明:本站所有文章,如无特殊说明或标注,均为本站原创发布。任何个人或组织,在未征得本站同意时,禁止复制、盗用、采集、发布本站内容到任何网站、书籍等各类媒体平台。如若本站内容侵犯了原著者的合法权益,可联系我们进行处理。


