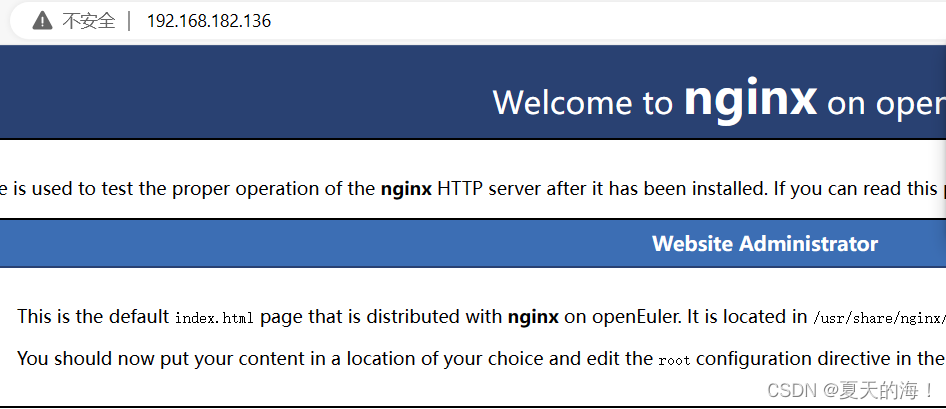
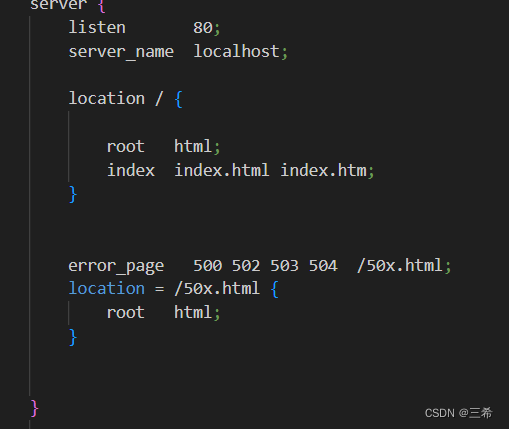
配置两台服务器确保nginx启动并且可以访问
配置nginx代理服务器
可以选择直接安装或者编译安装nginx
root@ubuntu:~# apt install libgd-dev #安装依赖
root@ubuntu:~# apt update
root@ubuntu:~# apt install libpcre3 libpcre3-dev
root@ubuntu:~# apt-get install openssl libssl-dev
root@ubuntu:~# apt intsall make
root@ubuntu:~# wget http://nginx.org/download/nginx-1.22.1.tar.gz #安装压缩包
root@ubuntu:~# tar -zvxf nginx-1.22.1.tar.gz #解压
root@ubuntu:~# cd nginx-1.22.1 #进入nginx目录
./configure --prefix=/www/env/nginx 编译并指定自己的目录
--with-pcre
--with-http_ssl_module
--with-http_v2_module
--with-http_realip_module
--with-http_addition_module
--with-http_sub_module
--with-http_dav_module
--with-http_flv_module
--with-http_mp4_module
--with-http_gunzip_module
--with-http_gzip_static_module
--with-http_random_index_module
--with-http_secure_link_module
--with-http_stub_status_module
--with-http_auth_request_module
--with-http_image_filter_module
--with-http_slice_module
--with-mail
--with-threads
--with-file-aio
--with-stream
--with-mail_ssl_module
--with-stream_ssl_module
预编译完成后
使用make编译
nginx常用命令 常用命令
nginx -s reload 修改配置后重新加载生效
nginx -s stop 快速停止nginx
nginx -s start 启动nginx
nginx -s quit 完整有序的停止nginx
nginx -v 查看nginx的版本
nginx -V 查看版本和nginx的配置选项
nginx -t -c /path/to/nginx.conf 测试nginx配置文件是否正确
nginx -s reopen 重新打开日志文件
进入配置文件进行配置编写
upstream nginx_boot{
#weight权重:权重值越大被分配到的次数就会增多
server 192.168.182.131 weight=100 max_fails=2 fail_timeout=30s;
server 192.168.182.134 weight=100 max_fails=2 fail_timeout=30s;
}
server {
listen 80;
server_name localhost;
#charset koi8-r;
#access_log logs/host.access.log main;
location / {
# root html;
# index index.html index.htm;
root html;
# 配置一下index的地址,最后加上index.ftl。
index index.html index.htm index.jsp index.ftl;
proxy_set_header Host $host;
proxy_set_header X-Real-IP $remote_addr;
proxy_set_header X-Forwarded-For $proxy_add_x_forwarded_for;
# 请求交给名为nginx_boot的upstream上
proxy_pass http://nginx_boot;
}
测试
ip_hash 固定转发 每个访问客户端会固定访问一个后端服务器
upstream nginx_boot {
ip_hash;
server 192.168.182.131;
server 192.168.182.134;
}
最少连接 web请求会被转发到连接数最少的服务器上
upstream nginx_boot {
least_conn;
server 192.168.182.131;
server 192.168.182.134;
}
原文地址:https://blog.csdn.net/CvtNhso/article/details/135873305
本文来自互联网用户投稿,该文观点仅代表作者本人,不代表本站立场。本站仅提供信息存储空间服务,不拥有所有权,不承担相关法律责任。
如若转载,请注明出处:http://www.7code.cn/show_62741.html
如若内容造成侵权/违法违规/事实不符,请联系代码007邮箱:suwngjj01@126.com进行投诉反馈,一经查实,立即删除!