1.Spring 整合RabbitMQ
| 生产者 | 消费者 |
|
|
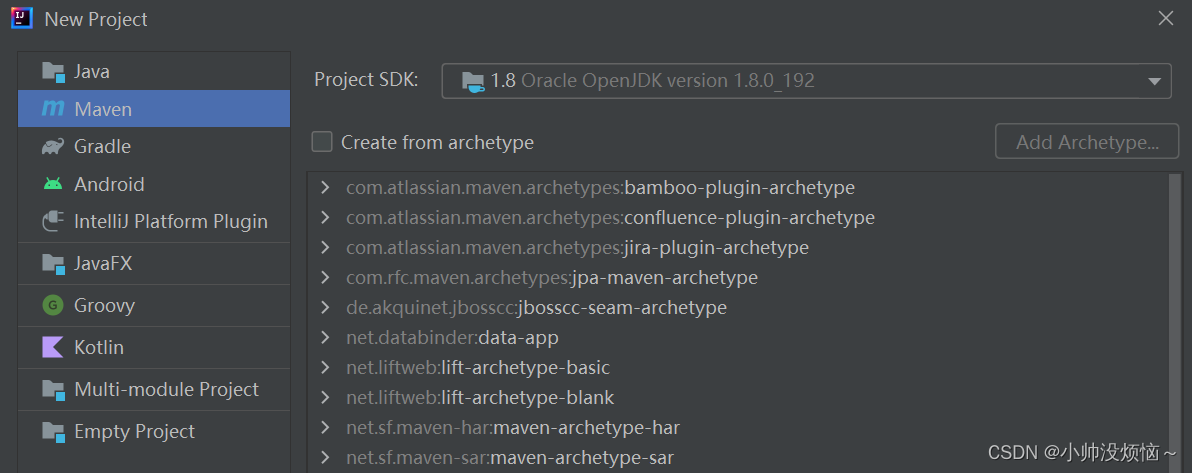
2.创建工程RabbitMQ Producers
spring-rabbitmq-producers
<?xml version="1.0" encoding="UTF-8"?>
<project xmlns="http://maven.apache.org/POM/4.0.0"
         xmlns:xsi="http://www.w3.org/2001/XMLSchema-instance"
         xsi:schemaLocation="http://maven.apache.org/POM/4.0.0 http://maven.apache.org/xsd/maven-4.0.0.xsd">
    <modelVersion>4.0.0</modelVersion>
    <parent>
        <groupId>org.example</groupId>
        <artifactId>spring_rabbit_mq</artifactId>
        <version>1.0-SNAPSHOT</version>
    </parent>

    <artifactId>spring-rabbitmq-producers</artifactId>

    <properties>
        <maven.compiler.source>8</maven.compiler.source>
        <maven.compiler.target>8</maven.compiler.target>
        <project.build.sourceEncoding>UTF-8</project.build.sourceEncoding>
    </properties>

    <dependencies>
        <dependency>
            <groupId>org.springframework</groupId>
            <artifactId>spring-context</artifactId>
            <version>5.1.7.RELEASE</version>
        </dependency>
        <dependency>
            <groupId>org.springframework.amqp</groupId>
            <artifactId>spring-rabbit</artifactId>
            <version>2.1.8.RELEASE</version>
        </dependency>

        <dependency>
            <groupId>junit</groupId>
            <artifactId>junit</artifactId>
            <version>4.12</version>
        </dependency>
        <dependency>
            <groupId>org.springframework</groupId>
            <artifactId>spring-test</artifactId>
            <version>5.1.7.RELEASE</version>
        </dependency>
    </dependencies>

</project>
RabbitMQ配置信息:rabbitmq.properties
rabbitmq.host=127.0.0.1
rabbitmq.port=5672
rabbitmq.username=guest
rabbitmq.password=guest
rabbitmq.virtual-host=/
RabbitMQ的配置信息:spring-rabbitmq-producer.xml
<?xml version="1.0" encoding="UTF-8"?>
<beans xmlns="http://www.springframework.org/schema/beans"
       xmlns:xsi="http://www.w3.org/2001/XMLSchema-instance"
       xmlns:context="http://www.springframework.org/schema/context"
       xmlns:rabbit="http://www.springframework.org/schema/rabbit"
       xsi:schemaLocation="
        http://www.springframework.org/schema/beans
        http://www.springframework.org/schema/beans/spring-beans.xsd
        http://www.springframework.org/schema/rabbit
        http://www.springframework.org/schema/rabbit/spring-rabbit.xsd
        http://www.springframework.org/schema/context
        http://www.springframework.org/schema/context/spring-context.xsd

        ">

    <!-- 加载属性文件 此种方式加载属性文件是给spring的配置文件使用的 -->
    <context:property-placeholder
            location="classpath:rabbitmq.properties"/>
    <!--定义rabbitmq connectionFactory-->
    <rabbit:connection-factory id="connectionFactory" host="${rabbitmq.host}"
                               port="${rabbitmq.port}"
                               username="${rabbitmq.username}"
                               password="${rabbitmq.password}"
                               virtual-host="${rabbitmq.virtual-host}" />
    <!--定义交换机、队列-->
    <rabbit:admin connection-factory="connectionFactory"/>
    <!--定义持久化队列,不存在则自动创建,不绑定到默认交换机
        默认交换机类型为direct,名字:”“,路由键为队列名称-->
    <rabbit:queue id="spring_queue" name="spring_queue" auto-declare="true"/>

    <!--~~~~~~~~~~~广播模式:所有队列都能收到消息~~~~~~~~~-->
    <!--定义广播交换机中的持久化队列,不存在则自动创建-->
    <rabbit:queue id="spring_fanout_queue_1" name="spring_fanout_queue_1" auto-declare="true"/>
    <rabbit:queue id="spring_fanout_queue_2" name="spring_fanout_queue_2" auto-declare="true"/>

    <!--定义广播类型交换机,绑定上述两个队列-->
    <rabbit:fanout-exchange id="spring_fanout_exchange" name="spring_fanout_exchange" auto-declare="">
        <rabbit:bindings>
            <rabbit:binding queue="spring_fanout_queue_1"/>
            <rabbit:binding queue="spring_fanout_queue_2"/>
        </rabbit:bindings>
    </rabbit:fanout-exchange>

    <!--~~~~~~~~~~~通配符模式:*匹配一个#匹配多个~~~~~~~~~-->
    <!--定义通配符模式-->
    <rabbit:queue id="spring_topic_queue_star" name="spring_topic_queue_star" auto-declare="true"/>
    <rabbit:queue id="spring_topic_queue_well" name="spring_topic_queue_well" auto-declare="true"/>
    <rabbit:queue id="spring_topic_queue_well2" name="spring_topic_queue_well2" auto-declare="true"/>

    <!--定义通配符交换机,绑定上述两个队列-->
    <rabbit:topic-exchange id="spring_topic_exchange" name="spring_topic_exchange" auto-declare="">
        <rabbit:bindings>
            <rabbit:binding pattern="heima.*" queue="spring_topic_queue_star"/>
            <rabbit:binding pattern="hema.#" queue="spring_topic_queue_well"/>
            <rabbit:binding pattern="hema.haha.#" queue="spring_topic_queue_well2"/>
        </rabbit:bindings>
    </rabbit:topic-exchange>

    <!--定义rabbitTemplate对象操作可以在代码中方便发送消息-->
    <rabbit:template id="rabbitTemplate" connection-factory="connectionFactory"/>
</beans>
rabbitMQ发送消息的代码:ProducerTest.java
package org.example;

import org.junit.Test;
import org.junit.runner.RunWith;
import org.springframework.amqp.rabbit.core.RabbitTemplate;
import org.springframework.beans.factory.annotation.Autowired;
import org.springframework.test.context.ContextConfiguration;
import org.springframework.test.context.junit4.SpringJUnit4ClassRunner;

@RunWith(SpringJUnit4ClassRunner.class)
@ContextConfiguration(locations = "classpath:spring-rabbitmq-producer.xml")
public class ProducerTest {

    //1.注入rabbitTemplate
    @Autowired
    private RabbitTemplate rabbitTemplate;

    /**
     * 测试rabbitMQ的简单工作模式
     */
    @Test
    public void testHelloWorld(){
        //2.发送消息
        rabbitTemplate.convertAndSend("spring_queue","hello world spring ....");
    }

    @Test
    public void testFanout(){
        //2.发送消息
        rabbitTemplate.convertAndSend("spring_fanout_exchange","","spring fanout ....");
    }

    @Test
    public void testTopic(){
        //2.发送消息
        rabbitTemplate.convertAndSend("spring_topic_exchange","heima.hehe.haha","spring topic ....");
    }
}
3.创建工程RabbitMQ Consumers
RabbitMQ consumer的pom文件和spring-rabbitmq-consumers项目的pom文件一致
RabbitMQ Consumer的配置文件:rabbitmq.properties和spring-rabbitmq-consumers项目的rabbitmq.properties文件一致
RabbitMQ Consumer的配置文件:spring-rabbitmq-consumer.xml
<?xml version="1.0" encoding="UTF-8"?>
<beans xmlns="http://www.springframework.org/schema/beans"
       xmlns:xsi="http://www.w3.org/2001/XMLSchema-instance"
       xmlns:context="http://www.springframework.org/schema/context"
       xmlns:rabbit="http://www.springframework.org/schema/rabbit"
       xsi:schemaLocation="
        http://www.springframework.org/schema/beans
        http://www.springframework.org/schema/beans/spring-beans.xsd
        http://www.springframework.org/schema/rabbit
        http://www.springframework.org/schema/rabbit/spring-rabbit.xsd
        http://www.springframework.org/schema/context
        http://www.springframework.org/schema/context/spring-context.xsd

        ">

    <!-- 加载属性文件 此种方式加载属性文件是给spring的配置文件使用的 -->
    <context:property-placeholder
            location="classpath:rabbitmq.properties"/>
    <!--定义rabbitmq connectionFactory-->
    <rabbit:connection-factory id="connectionFactory" host="${rabbitmq.host}"
                               port="${rabbitmq.port}"
                               username="${rabbitmq.username}"
                               password="${rabbitmq.password}"
                               virtual-host="${rabbitmq.virtual-host}" />

    <!--定义监听器-->
    <bean id="springQueueListener" class="org.example.listener.SpringQueueListener"/>
    <bean id="fanoutListListener1" class="org.example.listener.FanoutListListener1"/>
    <bean id="fanoutListListener2" class="org.example.listener.FanoutListListener2"/>
    <bean id="topicListListenerStar" class="org.example.listener.TopicListListenerStar"/>
    <bean id="topicListListenerWell" class="org.example.listener.TopicListListenerWell"/>
    <bean id="topicListListenerWell2" class="org.example.listener.TopicListListenerWell2"/>

    <!--注册监听器容器-->
    <rabbit:listener-container connection-factory="connectionFactory" auto-declare="true">
        <rabbit:listener ref="springQueueListener" queue-names="spring_queue"/>
        <rabbit:listener ref="fanoutListListener1" queue-names="spring_fanout_queue_1"/>
        <rabbit:listener ref="fanoutListListener2" queue-names="spring_fanout_queue_2"/>
        <rabbit:listener ref="topicListListenerStar" queue-names="spring_topic_queue_star"/>
        <rabbit:listener ref="topicListListenerWell" queue-names="spring_topic_queue_well"/>
        <rabbit:listener ref="topicListListenerWell2" queue-names="spring_topic_queue_well2"/>
    </rabbit:listener-container>

    <!--定义rabbitTemplate对象操作可以在代码中方便发送消息-->
    <rabbit:template id="rabbitTemplate" connection-factory="connectionFactory"/>
</beans>
编写Listener代码
package org.example.listener;

import org.springframework.amqp.core.Message;
import org.springframework.amqp.core.MessageListener;

public class SpringQueueListener implements MessageListener {
    @Override
    public void onMessage(Message message) {
        //打印消息
        System.out.println(new String(message.getBody()));
    }
}
监听器在配置文件绑定了对应的队列,当消费者启动起来的时候,监听到消息时,自动消费并打印。
ConsumerTest.java
import org.junit.Test;
import org.junit.runner.RunWith;
import org.springframework.test.context.ContextConfiguration;
import org.springframework.test.context.junit4.SpringJUnit4ClassRunner;

@RunWith(SpringJUnit4ClassRunner.class)
@ContextConfiguration(locations = "classpath:spring-rabbitmq-consumer.xml")
public class ConsumerTest {


    @Test
    public void test1() throws InterruptedException {
        Thread.sleep(5000);

    }
}
4.SpringBoot整合RabbitMQ
| 生产者 |
1.创建生产者SpringBoot工程 2.引入依赖 3.编写yml配置,基本信息配置 4.定义交换机,队列及绑定关系的配置类 5.注入RabbitTemplate,调用方法,完成消息发送 |
| 消费者 |
1.创建消费者SpringBoot工程 2.引入依赖 3.编写yml配置,基本信息配置 4.定义监听类,使用@RabbitListener注解完成队列监听 |
|
总结:
|
|
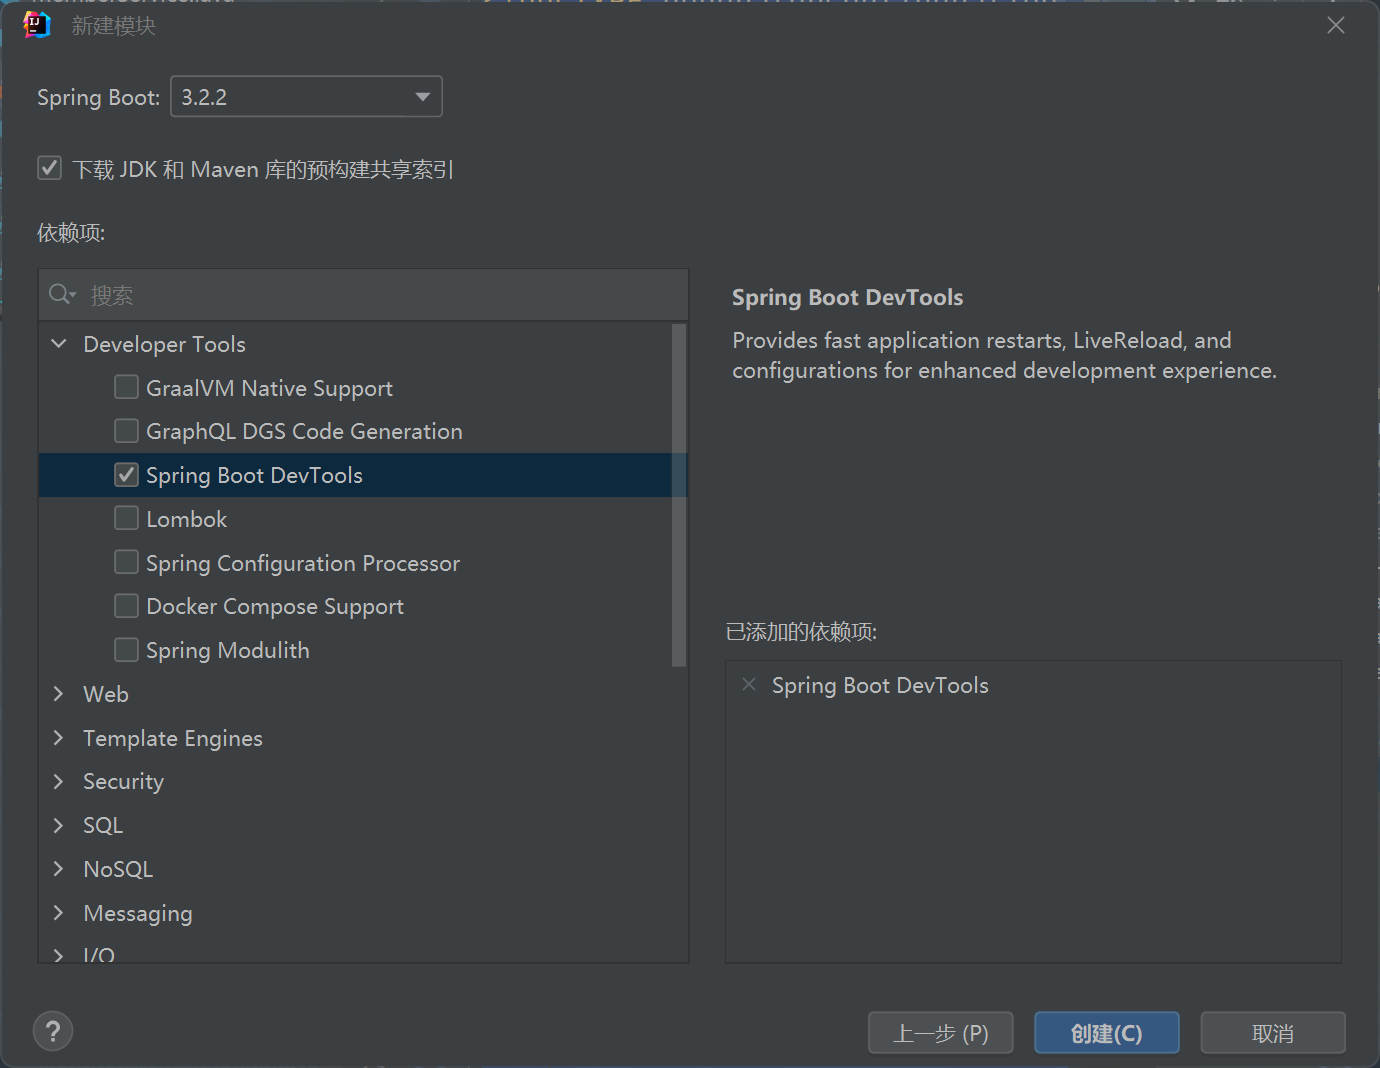
5.创建SpringBoot RabbitMQ Producers
pom.xml文件
<?xml version="1.0" encoding="UTF-8"?>
<project xmlns="http://maven.apache.org/POM/4.0.0" xmlns:xsi="http://www.w3.org/2001/XMLSchema-instance"
	xsi:schemaLocation="http://maven.apache.org/POM/4.0.0 https://maven.apache.org/xsd/maven-4.0.0.xsd">
	<modelVersion>4.0.0</modelVersion>
	<parent>
		<groupId>org.springframework.boot</groupId>
		<artifactId>spring-boot-starter-parent</artifactId>
		<version>2.7.9</version>
		<relativePath/> <!-- lookup parent from repository -->
	</parent>
	<groupId>com.example</groupId>
	<artifactId>springboot-rabbitmq-producers</artifactId>
	<version>0.0.1-SNAPSHOT</version>
	<name>springboot-rabbitmq-producers</name>
	<description>Demo project for Spring Boot  Producers</description>
	<properties>
		<java.version>8</java.version>
	</properties>
	<dependencies>
		<dependency>
			<groupId>org.springframework.boot</groupId>
			<artifactId>spring-boot-starter-amqp</artifactId>
		</dependency>

		<dependency>
			<groupId>org.springframework.boot</groupId>
			<artifactId>spring-boot-devtools</artifactId>
			<scope>runtime</scope>
			<optional>true</optional>
		</dependency>
		<dependency>
			<groupId>org.springframework.boot</groupId>
			<artifactId>spring-boot-starter-test</artifactId>
			<scope>test</scope>
		</dependency>
		<dependency>
			<groupId>org.springframework.amqp</groupId>
			<artifactId>spring-rabbit-test</artifactId>
			<scope>test</scope>
		</dependency>
		<dependency>
			<groupId>junit</groupId>
			<artifactId>junit</artifactId>
			<scope>test</scope>
		</dependency>
	</dependencies>

	<build>
		<plugins>
			<plugin>
				<groupId>org.springframework.boot</groupId>
				<artifactId>spring-boot-maven-plugin</artifactId>
			</plugin>
		</plugins>
	</build>

</project>
配置文件:application.yml
spring:
  rabbitmq:
    host: 127.0.0.1
    port: 5672
    username: guest
    password: guest
    virtual-host: /
配置类:RabbitMQConfig.java
package com.example.config;

import org.springframework.amqp.core.*;
import org.springframework.beans.factory.annotation.Configurable;
import org.springframework.beans.factory.annotation.Qualifier;
import org.springframework.context.annotation.Bean;
import org.springframework.context.annotation.Configuration;

@Configuration
public class RabbitMQConfig {

    public static final String EXCHANGE_NAME = "boot_topic_exchange";
    public static final String QUEUE_NAME = "boot_queue";

    //1.交换机
    @Bean("bootExchange")
    public Exchange bootExchange() {
        return ExchangeBuilder.topicExchange(EXCHANGE_NAME).durable(true).build();
    }

    //2.Queue队列
    @Bean("bootQueue")
    public Queue bootQueue() {
        return QueueBuilder.durable(QUEUE_NAME).build();
    }

    //3.绑定队列和交换机 Binding

    /**
     * 绑定
     * @param queue 知道绑定哪个队列
     * @param exchange 知道哪个交换机
     * routingKey 路由键
     * @return
     */
    @Bean
    public Binding bindQueueExchange(@Qualifier("bootQueue") Queue queue,@Qualifier("bootExchange") Exchange exchange) {
        return BindingBuilder.bind(queue).to(exchange).with("boot.#").noargs();
    }
}
测试方法
package com.example.test;

import com.example.config.RabbitMQConfig;
import org.junit.Test;
import org.junit.runner.RunWith;
import org.springframework.amqp.rabbit.core.RabbitTemplate;
import org.springframework.beans.factory.annotation.Autowired;
import org.springframework.boot.test.context.SpringBootTest;
import org.springframework.test.context.junit4.SpringRunner;

@SpringBootTest
@RunWith(SpringRunner.class)
public class ProducerTest {
    //1.注入RabbitTemplage
    @Autowired
    private RabbitTemplate rabbitTemplate;

    @Test
    public void testSend(){
        rabbitTemplate.convertAndSend(RabbitMQConfig.EXCHANGE_NAME,"boot.haha","boot mq hello ~~~");
    }

}
6.创建SpringBoot RabbitMQ Consumers
配置文件:pom.xml和application.yml 和RabbitMQ Producer一样
Consumer的Listener
package com.example.listener;

import org.springframework.amqp.core.Message;
import org.springframework.amqp.rabbit.annotation.RabbitListener;
import org.springframework.stereotype.Component;

@Component
public class RabbitMQListener {

    @RabbitListener(queues = "boot_queue")
    public void ListenerQueue(Message message){
        System.out.println(new String(message.getBody()));
    }
}
测试方法
package com.example.test;


import org.junit.Test;
import org.junit.runner.RunWith;
import org.springframework.amqp.rabbit.core.RabbitTemplate;
import org.springframework.beans.factory.annotation.Autowired;
import org.springframework.boot.test.context.SpringBootTest;
import org.springframework.test.context.junit4.SpringRunner;

@SpringBootTest
@RunWith(SpringRunner.class)
public class ConsumerTest {

    @Test
    public void testReceive(){
        System.out.println("接收成功");
    }
}

原文地址:https://blog.csdn.net/lt_BeiMo/article/details/135860171
本文来自互联网用户投稿,该文观点仅代表作者本人,不代表本站立场。本站仅提供信息存储空间服务,不拥有所有权,不承担相关法律责任。
如若转载,请注明出处:http://www.7code.cn/show_63387.html
如若内容造成侵权/违法违规/事实不符,请联系代码007邮箱:suwngjj01@126.com进行投诉反馈,一经查实,立即删除!


