方法一:事件绑定+属性绑定
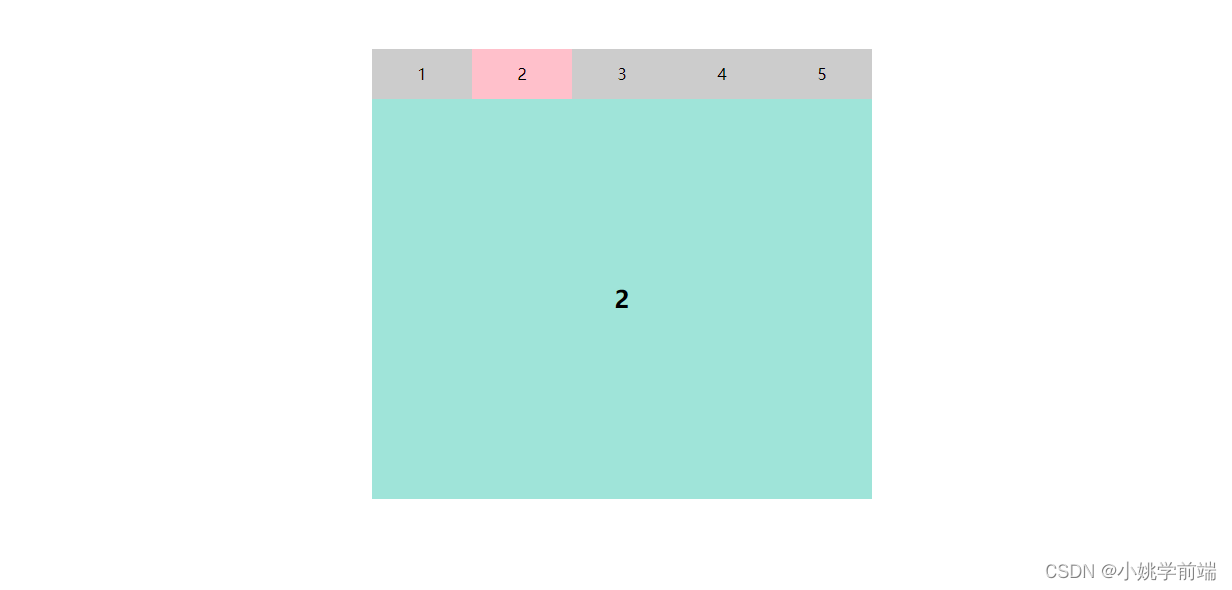
效果图
完整代码
<!DOCTYPE html>
<html lang="en">
<head>
    <meta charset="UTF-8">
    <meta name="viewport" content="width=device-width, initial-scale=1.0">
    <title>tab</title>
    <style>
        *{
            margin: 0;
            padding: 0;
        }
        h2{
            width: 500px;
            height: 400px;
            background: #9fe4d9;
            text-align: center;
            line-height: 400px;
            display: none;
        }
        #app .kk{
            width: 500px;
            height: 50px;
            display: flex;
            justify-content: space-between;

        }
        #app{

            width: 500px;
            margin: 50px auto;
        }
        span{
            flex: 1;
            text-align: center;
            line-height: 50px;
            background: #ccc;
        }
        .on{
            background: pink;
        }
        #app .onn{
            display: block;
        }

    </style>
</head>
<body>
    <div id="app">
        <div class="kk">
        <span :class =" n==1 && 'on'" @click.self="n=1">1</span>
        <span :class =" n==2 && 'on'" @click.self="n=2">2</span>
        <span :class =" n==3 && 'on'" @click.self="n=3">3</span>
        <span :class =" n==4 && 'on'" @click.self="n=4">4</span>
        <span :class =" n==5 && 'on'" @click.self="n=5">5</span>
        </div>

        <h2 :class =" n==1 && 'onn'">1</h2>
        <h2 :class =" n==2 && 'onn'">2</h2>
        <h2 :class =" n==3 && 'onn'">3</h2>
        <h2 :class =" n==4 && 'onn'">4</h2>
        <h2 :class =" n==5 && 'onn'">5</h2>

    </div>
</body>
</html>
<script type="module">
import {createApp} from './js/vue.esm-browser.js';
createApp({
    data() {
        return {
           n:1
        }
    },
    methods:{

       },
}).mount('#app')
</script>方法二:属性绑定+ 动态组件 component标签
该组件具有一个is属性,is属性的值 是 要渲染组件的名字,即为is属性的值是哪一个组件名,
component 标签就会渲染哪一个组件
缺点:component 可以动态渲染组件的内容,但是每一个切换,都会重新渲染组件内容,降低渲染效率
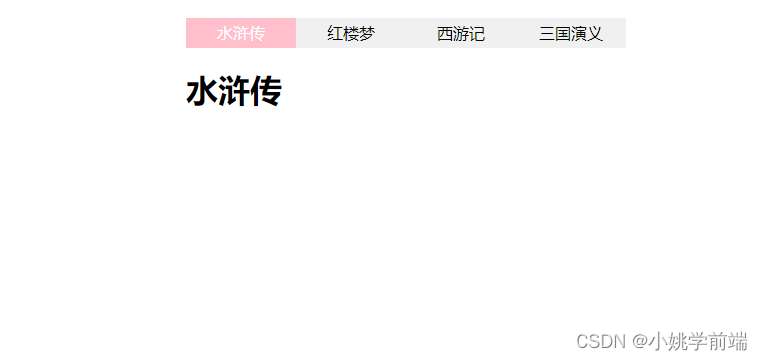
效果图
完整代码
<!DOCTYPE html>
<html lang="en">
<head>
    <meta charset="UTF-8">
    <meta name="viewport" content="width=device-width, initial-scale=1.0">
    <title>动态组件</title>
    <style>
        *{
            margin: 0;
            padding: 0;
        }
        .wp{
            width: 440px;
            height: 30px;
            margin: 20px auto;
            display: flex;
            background: #f0f0f0;
        }
        .wp span{
            flex: 1;
            height: 30px;
            text-align: center;
            line-height: 30px;
            cursor: pointer;
        }
        .wp span.on{
            background: pink;
            color: #fff;
        }
        h1{
            width: 440px;
            margin: 0 auto;

        }
    </style>
</head>
<body>
    <div id="app">
        <div class="wp">
            <span :class="num==1&&'on'" @click="num=1">水浒传</span>
            <span :class="num==2&&'on'" @click="num=2">红楼梦</span>
            <span :class="num==3&&'on'" @click="num=3">西游记</span>
            <span :class="num==4&&'on'" @click="num=4">三国演义</span>
        </div>

        <!--
            动态组件 使用标签 component
            该组件具有一个is属性,is属性的值 是 要渲染组件的名字,即为is属性的值是哪一个组件名,
            component 标签就会渲染哪一个组件

            缺点:component 可以动态渲染组件的内容,但是每一个切换,都会重新渲染组件内容,降低渲染效率

            使用keep-alive 标签(组件),可以缓存曾经渲染过的组件,从而提高渲染效率
         -->
         <keep-alive>
        <component :is="'comp'+num"></component>
         </keep-alive>
    </div>
</body>
</html>
<script type="module">
 import { createApp } from './js/vue.esm-browser.js';
 let comp1={
    template:'<h1>水浒传</h1>'
 }
 let comp2={
    template:'<h1>红楼梦</h1>'
 }
 let comp3={
    template:`
    <h1>西游记</h1>
    <p>{{n}}</p>
    <button @click = "n++">点击++</button>
    `,
    data() {
        return {
            n:100,
        }
    },
 }
 let comp4={
    template:'<h1>三国演义</h1>'
 }
 let aa = {
    template:'<h1>金瓶梅</h1>'
 }
 createApp({
    data() {
        return {
            num:1,

        }
    },

    components:{
        comp1,comp2,comp3,comp4,aa
    }
 }).mount('#app')
</script>原文地址:https://blog.csdn.net/qq_52799985/article/details/134634411
本文来自互联网用户投稿,该文观点仅代表作者本人,不代表本站立场。本站仅提供信息存储空间服务,不拥有所有权,不承担相关法律责任。
如若转载,请注明出处:http://www.7code.cn/show_656.html
如若内容造成侵权/违法违规/事实不符,请联系代码007邮箱:suwngjj01@126.com进行投诉反馈,一经查实,立即删除!
主题授权提示:请在后台主题设置-主题授权-激活主题的正版授权,授权购买:RiTheme官网
声明:本站所有文章,如无特殊说明或标注,均为本站原创发布。任何个人或组织,在未征得本站同意时,禁止复制、盗用、采集、发布本站内容到任何网站、书籍等各类媒体平台。如若本站内容侵犯了原著者的合法权益,可联系我们进行处理。


